It’s no secret that a sleek bun is my favorite hairstyle. In fact, it’s the opposite of a secret! It’s very rare to see me wearing my hair any other way, as I’ve now been embracing sleek buns for almost five years. Over these years, I’ve fine-tuned and perfected this hairstyle. Although many of you have requested to see my hair down more often, I rarely stray from a sleek bun because it’s the style that works for me. Today I’m excited to share more about why I love this hairstyle, a sleek hair bun tutorial, tips for perfecting this style, and outfit inspiration to wear with a sleek bun.
Why I Love a Sleek Bun
I consider my beauty and hair evolution to be just as important as my style evolution. When I first started blogging in 2010 my outfits were much different than the ones I wear today. It only makes sense that as my fashion choices have evolved, so has my hairstyle.
There are so many reasons why I love a good bun – this style just “works for me”! For one, this hairstyle compliments my personal fashion choices. Since I typically focus on over-the-top fashion, I feel like a sleek bun really allows my outfits to stand out and shine. Another bonus? A style like this looks fabulous with a statement headband or a pair of big, big earrings – which happen to be two of my favorite accessories.
I also feel comfortable and confident when wearing my hair this way. Once you get the hang of it, a sleek bun is fast and simple to create and stays put all day. After I put it up in the morning, I don’t even have to think about it or worry that I need to touch it up!
Another reason why I love a simple bun is because it has significantly transformed the health of my hair – goodbye split ends and a head full of flyaways! Before I started wearing my hair in this style back in 2018, I was curling my fine, color-treated hair every day. This resulted in so much damage. After switching to a sleek hair bun and going a bit darker, my hair has become so much healthier and now has minimal breakage and damage.
Frequently Asked Questions
Almost every time I do a question and answer session, I receive so many questions about how to create my sleek hair bun (along with questions about how I started blogging and my merchandising career). So before sharing my tutorial, I thought it might be helpful to address some of these questions!
What products do I need for a sleek bun?
I’ll be breaking down all of my favorite sleek bun products in today’s tutorial! I use a heat protectant, mousse, hair serum, keratin oil, and hairspray. You can also check out my favorite beauty products of all time for additional skin and hair product recommendations.
What brush do you use for a sleek bun?
I’ve found that a boar bristle brush is the key to getting the sleek look I want. I use it for brushing and also when pulling my hair back in a ponytail before the bun.
Are sleek buns in style?
I think one of the wonderful things about a sleek bun is that it is a classic and timeless hairstyle. Similar to clothing, hairstyles go through cycles and trends, but in my opinion, a low, slick bun always feels relevant.
Does a sleek bun damage your hair?
Quite the opposite! As I previously shared, my hair has become significantly healthier ever since I started wearing this hairstyle. It requires much less heat and is more gentle on my hair.
Sleek Bun Tutorial
Now that I’ve covered why the sleek bun has become my go-to hairstyle of choice and some frequently asked questions, I’m excited to dive in and share how to create this classic hairstyle!
Step One: Apply Heat Protectant
While my hair is still quite damp I apply this Blowdry Cream, which is an amazing heat protectant! Even though I only blow dry my hair for 2-3 minutes (after step three), I have found that this cream is essential in protecting my fine, color-treated hair. Another option that I have used and loved is this Kerastase heat protectant.
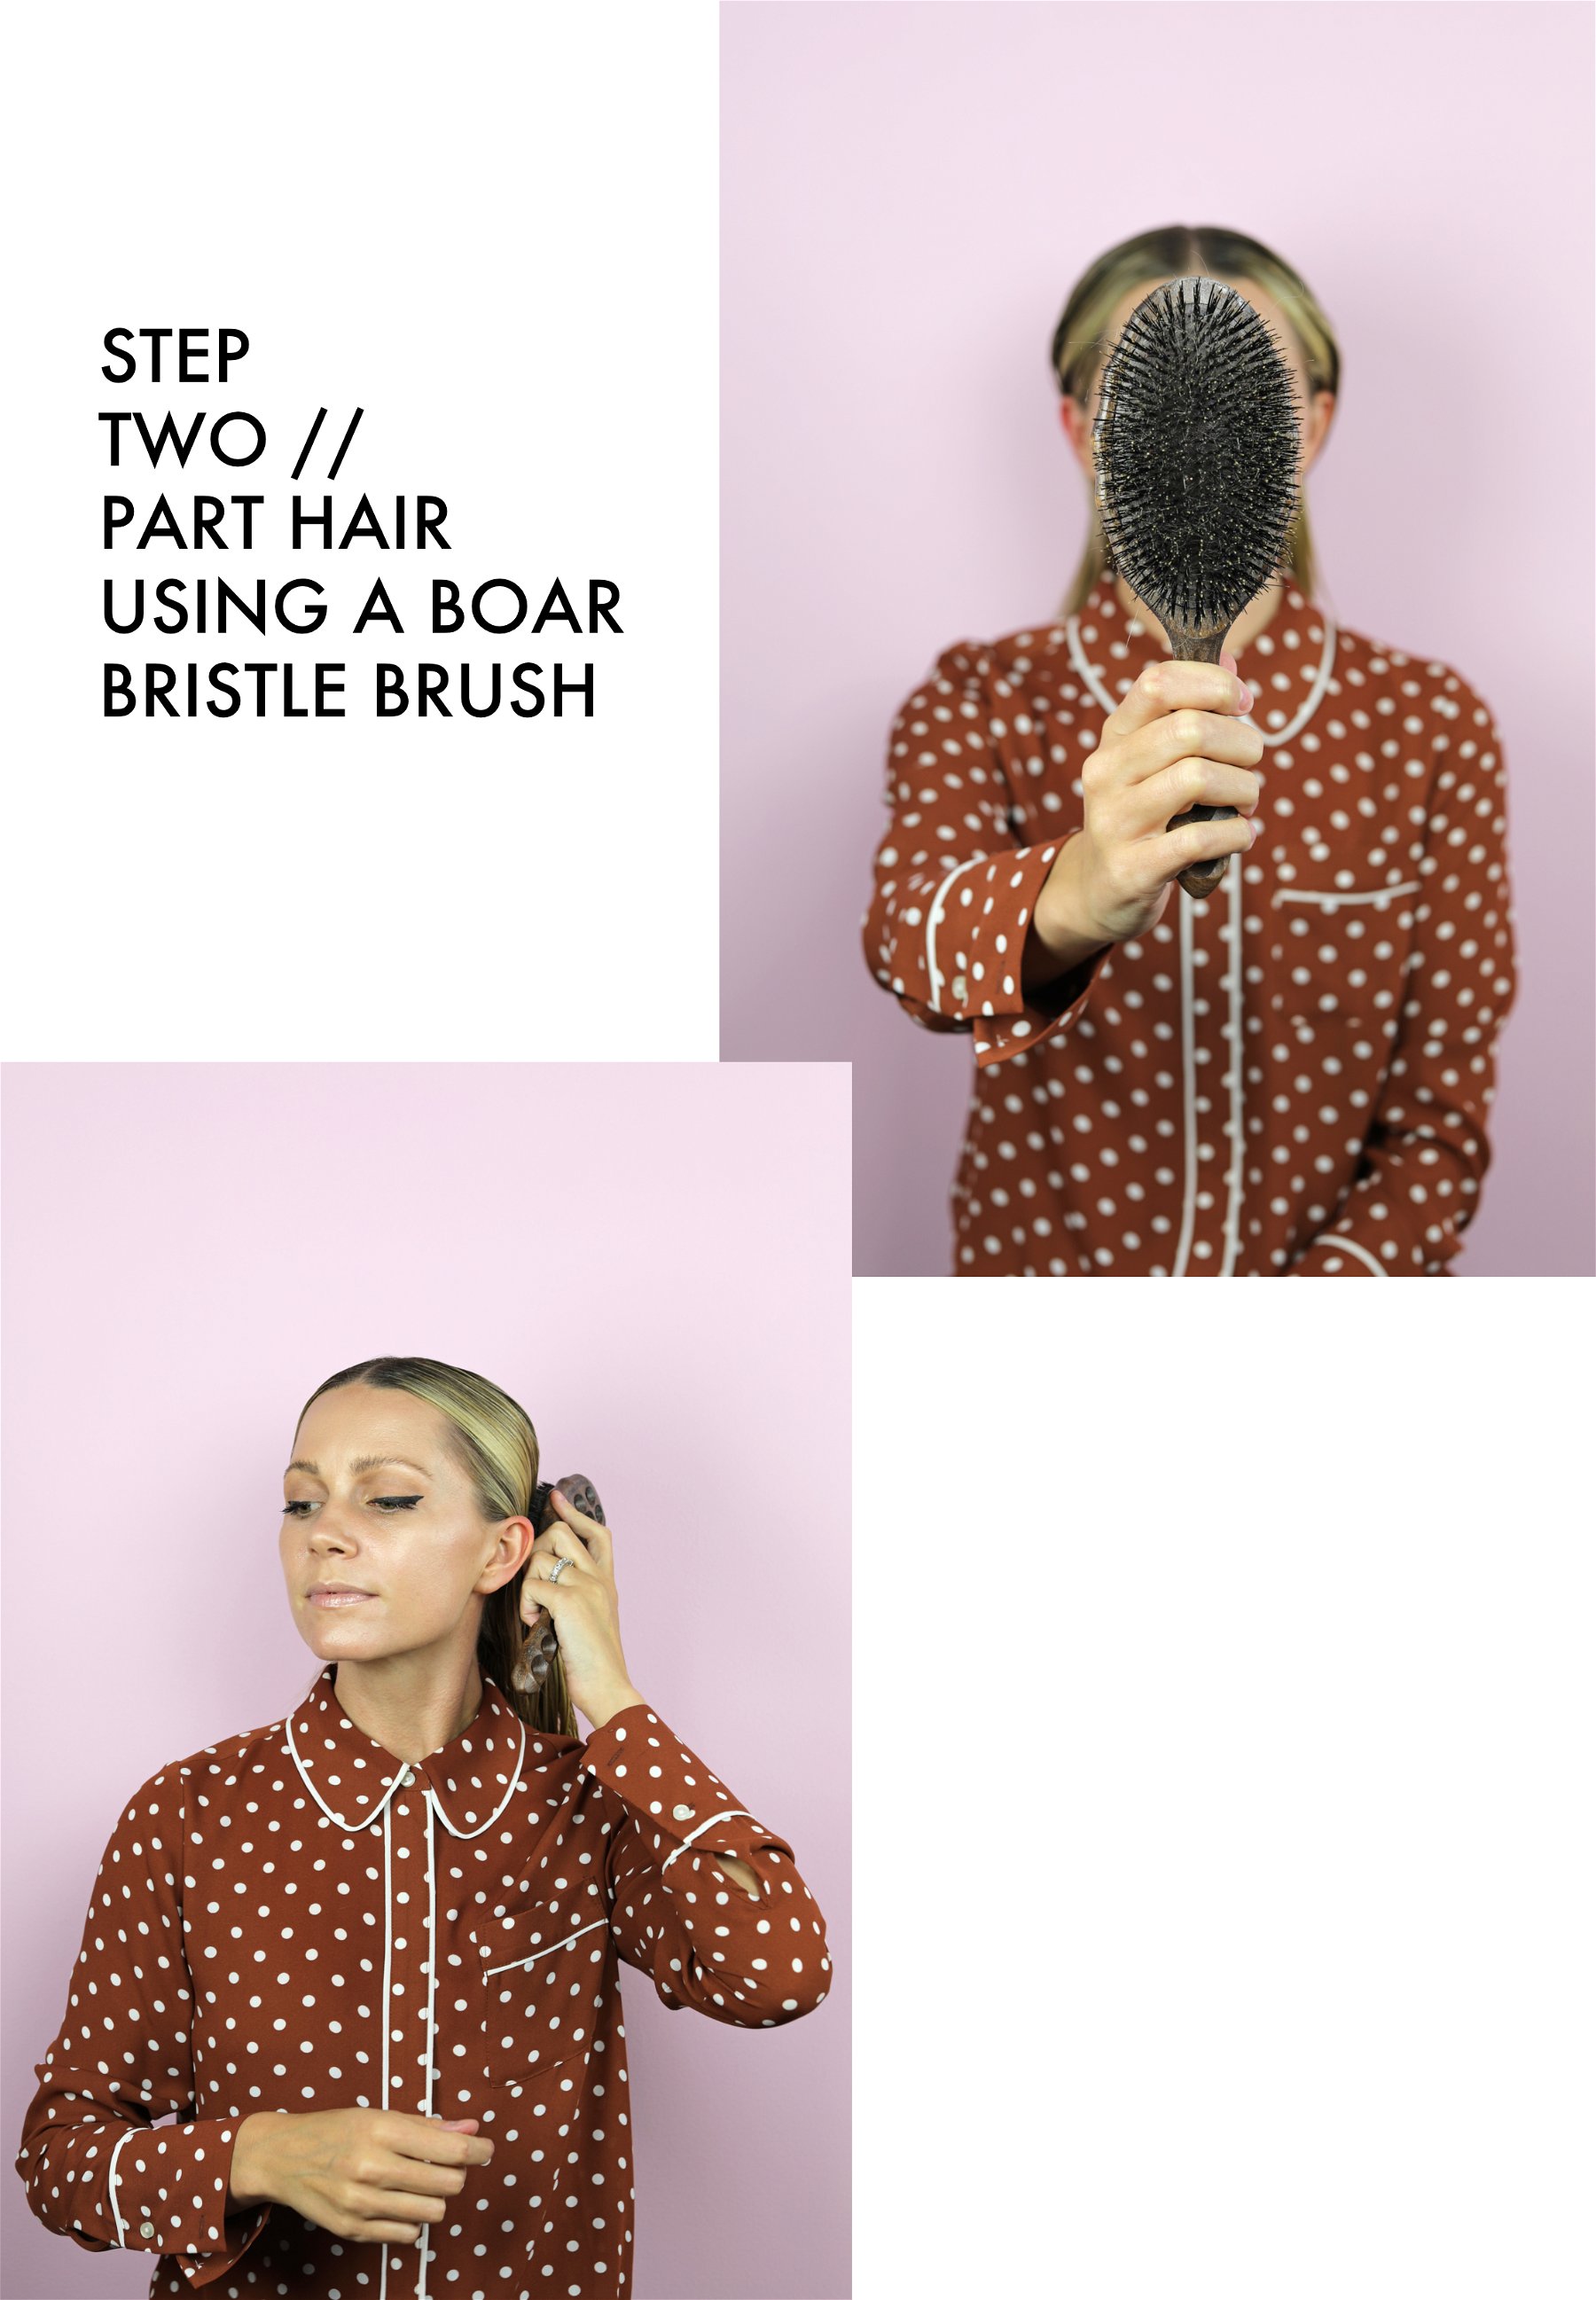
Step Two: Part Hair Using a Boar Bristle Brush
Using a boar bristle brush, I part my hair down the center and smooth out each side. This brush is the key to getting the sleek look I want. If you’re looking for a more affordable option, this boar bristle brush has rave reviews!
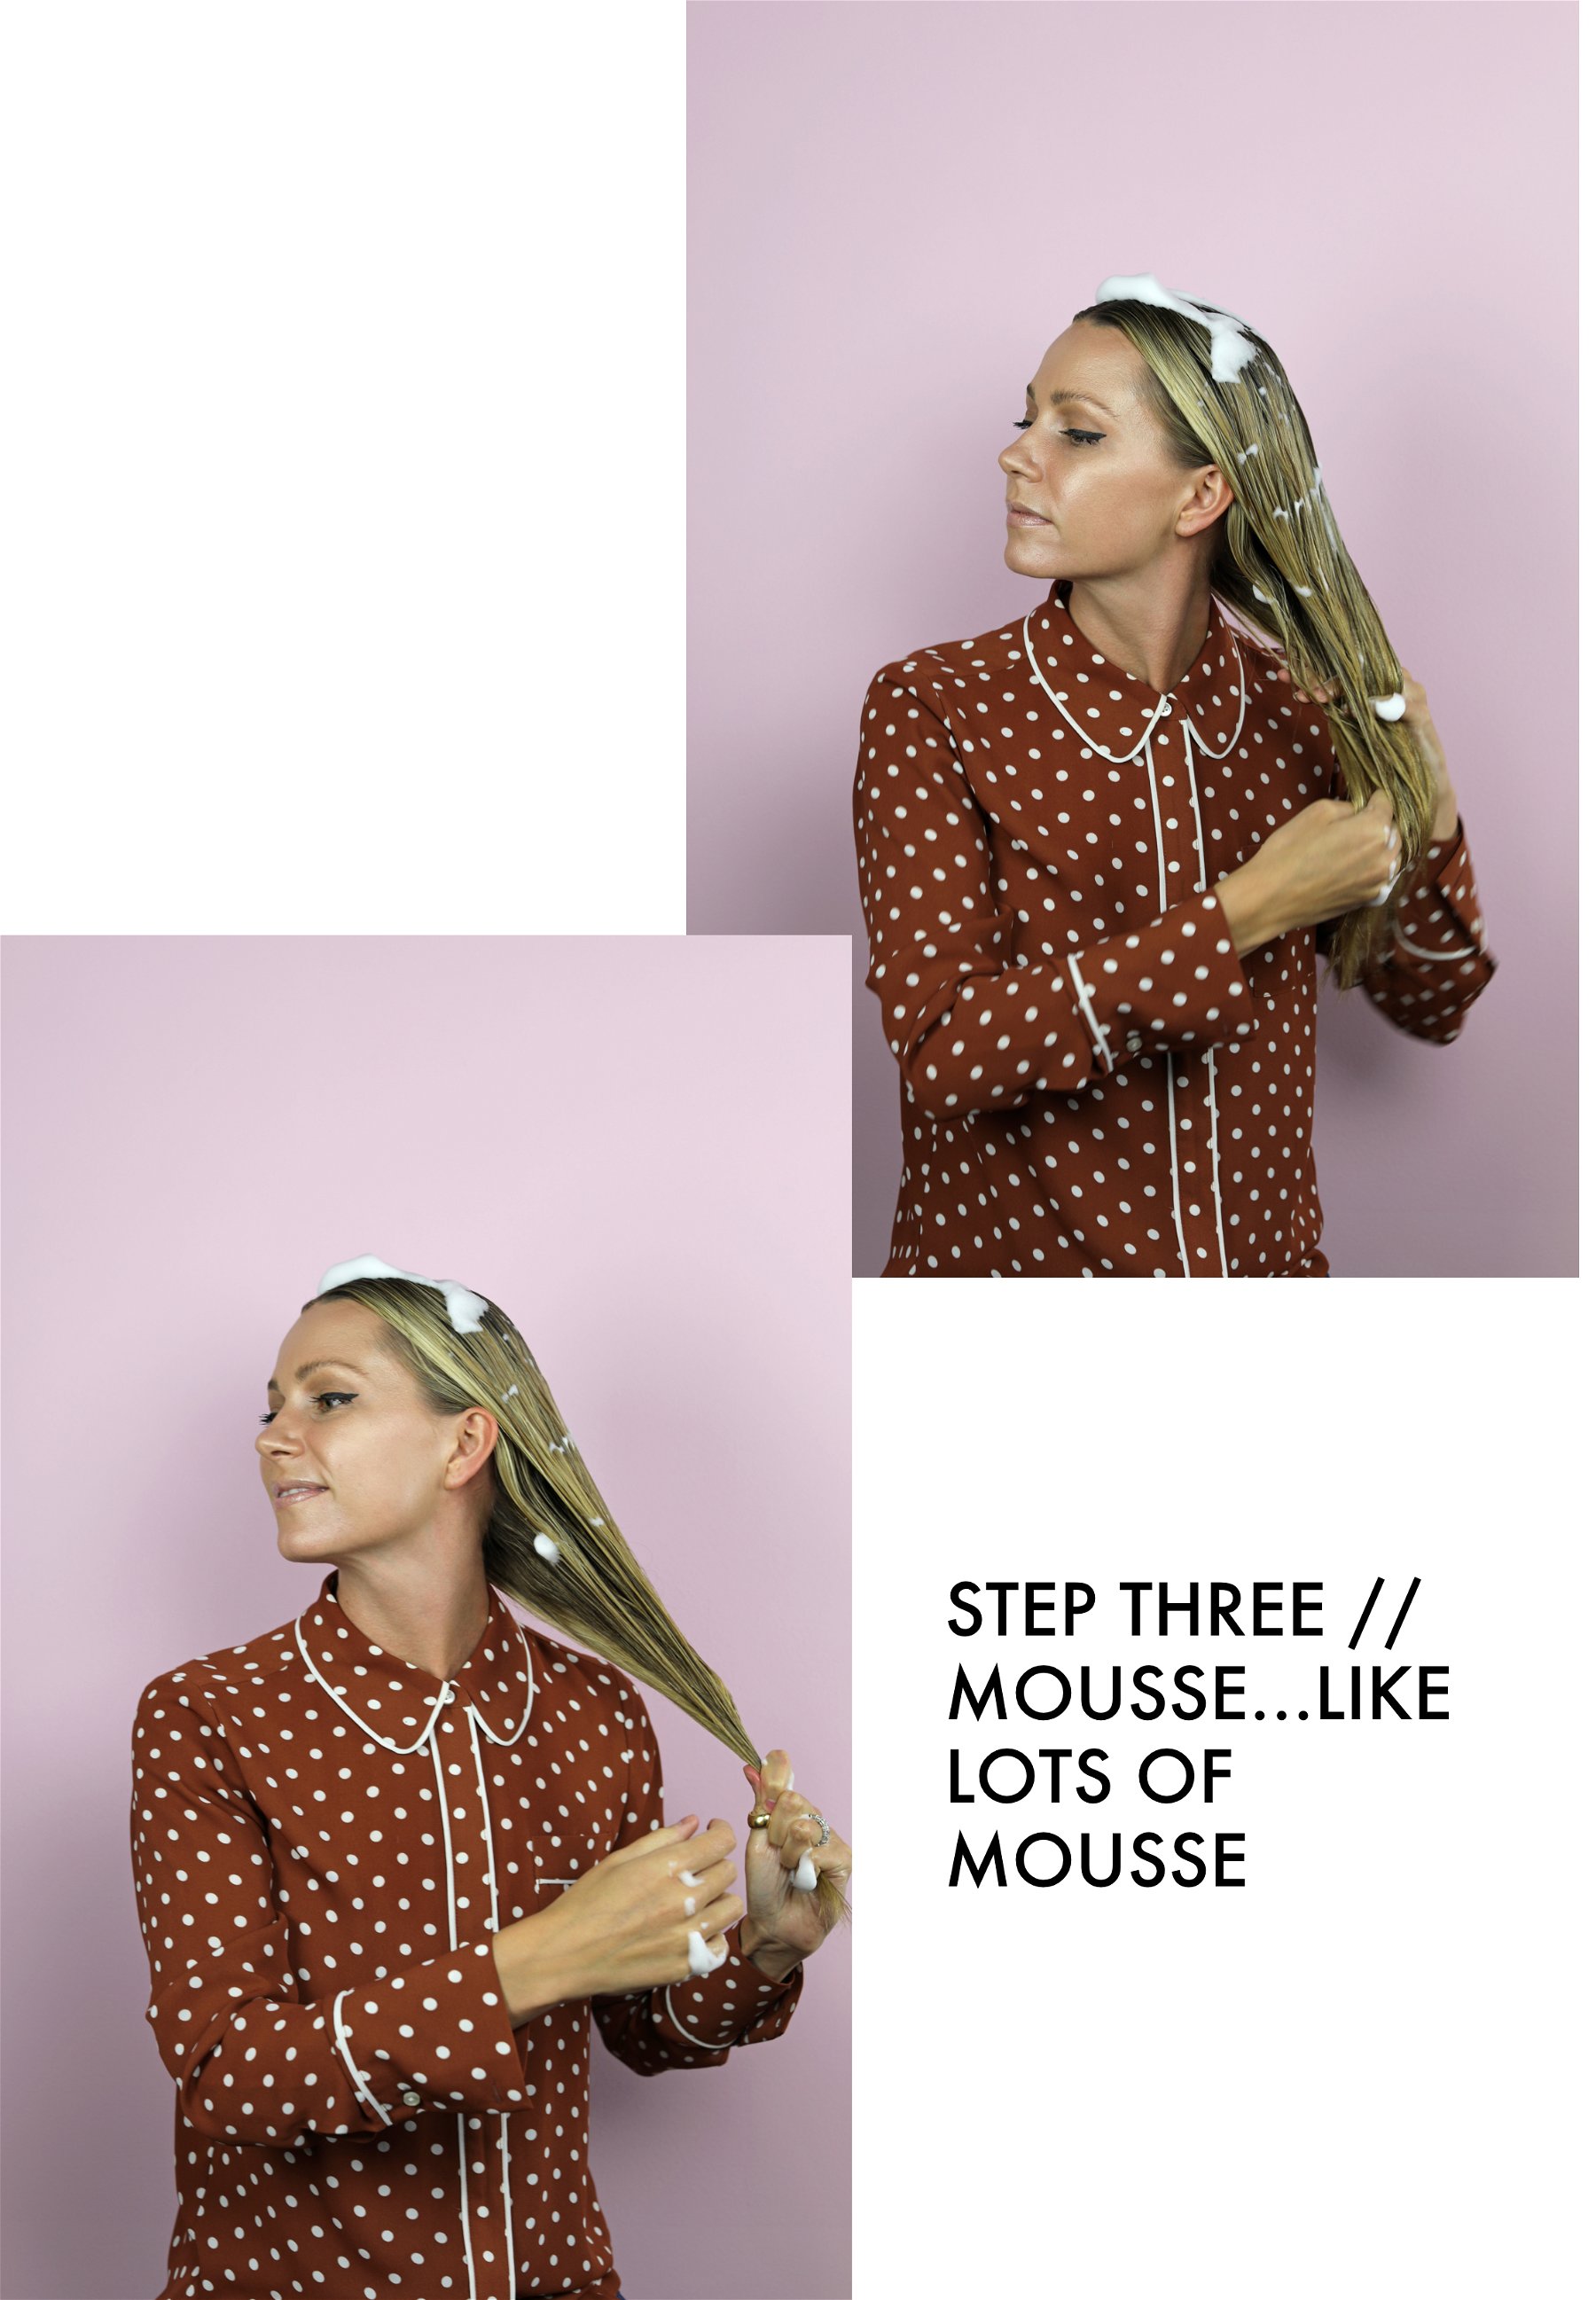
Step Three: Apply Mousse
Applying lots of mousse will help you get the hold you need. I use this mousse, which is technically for curly hair, but I’ve found it’s what works best for me. Plus, it is an affordable drugstore find, which is a big bonus! Again, since my hair is fine, it needs a lot of product to hold it in place all day. I apply mousse from the top of my head all the way down to the ends. Next, I blow dry all over for two to three minutes. I typically leave my hair slightly damp while continuing to style. I have found my hair tends to stay better this way and will continue to slowly dry on its own. Plus, less heat equals less damage. If I am not in a hurry, to avoid using any heat on my hair, I will allow my hair to air dry for about 30 minutes versus blow drying.
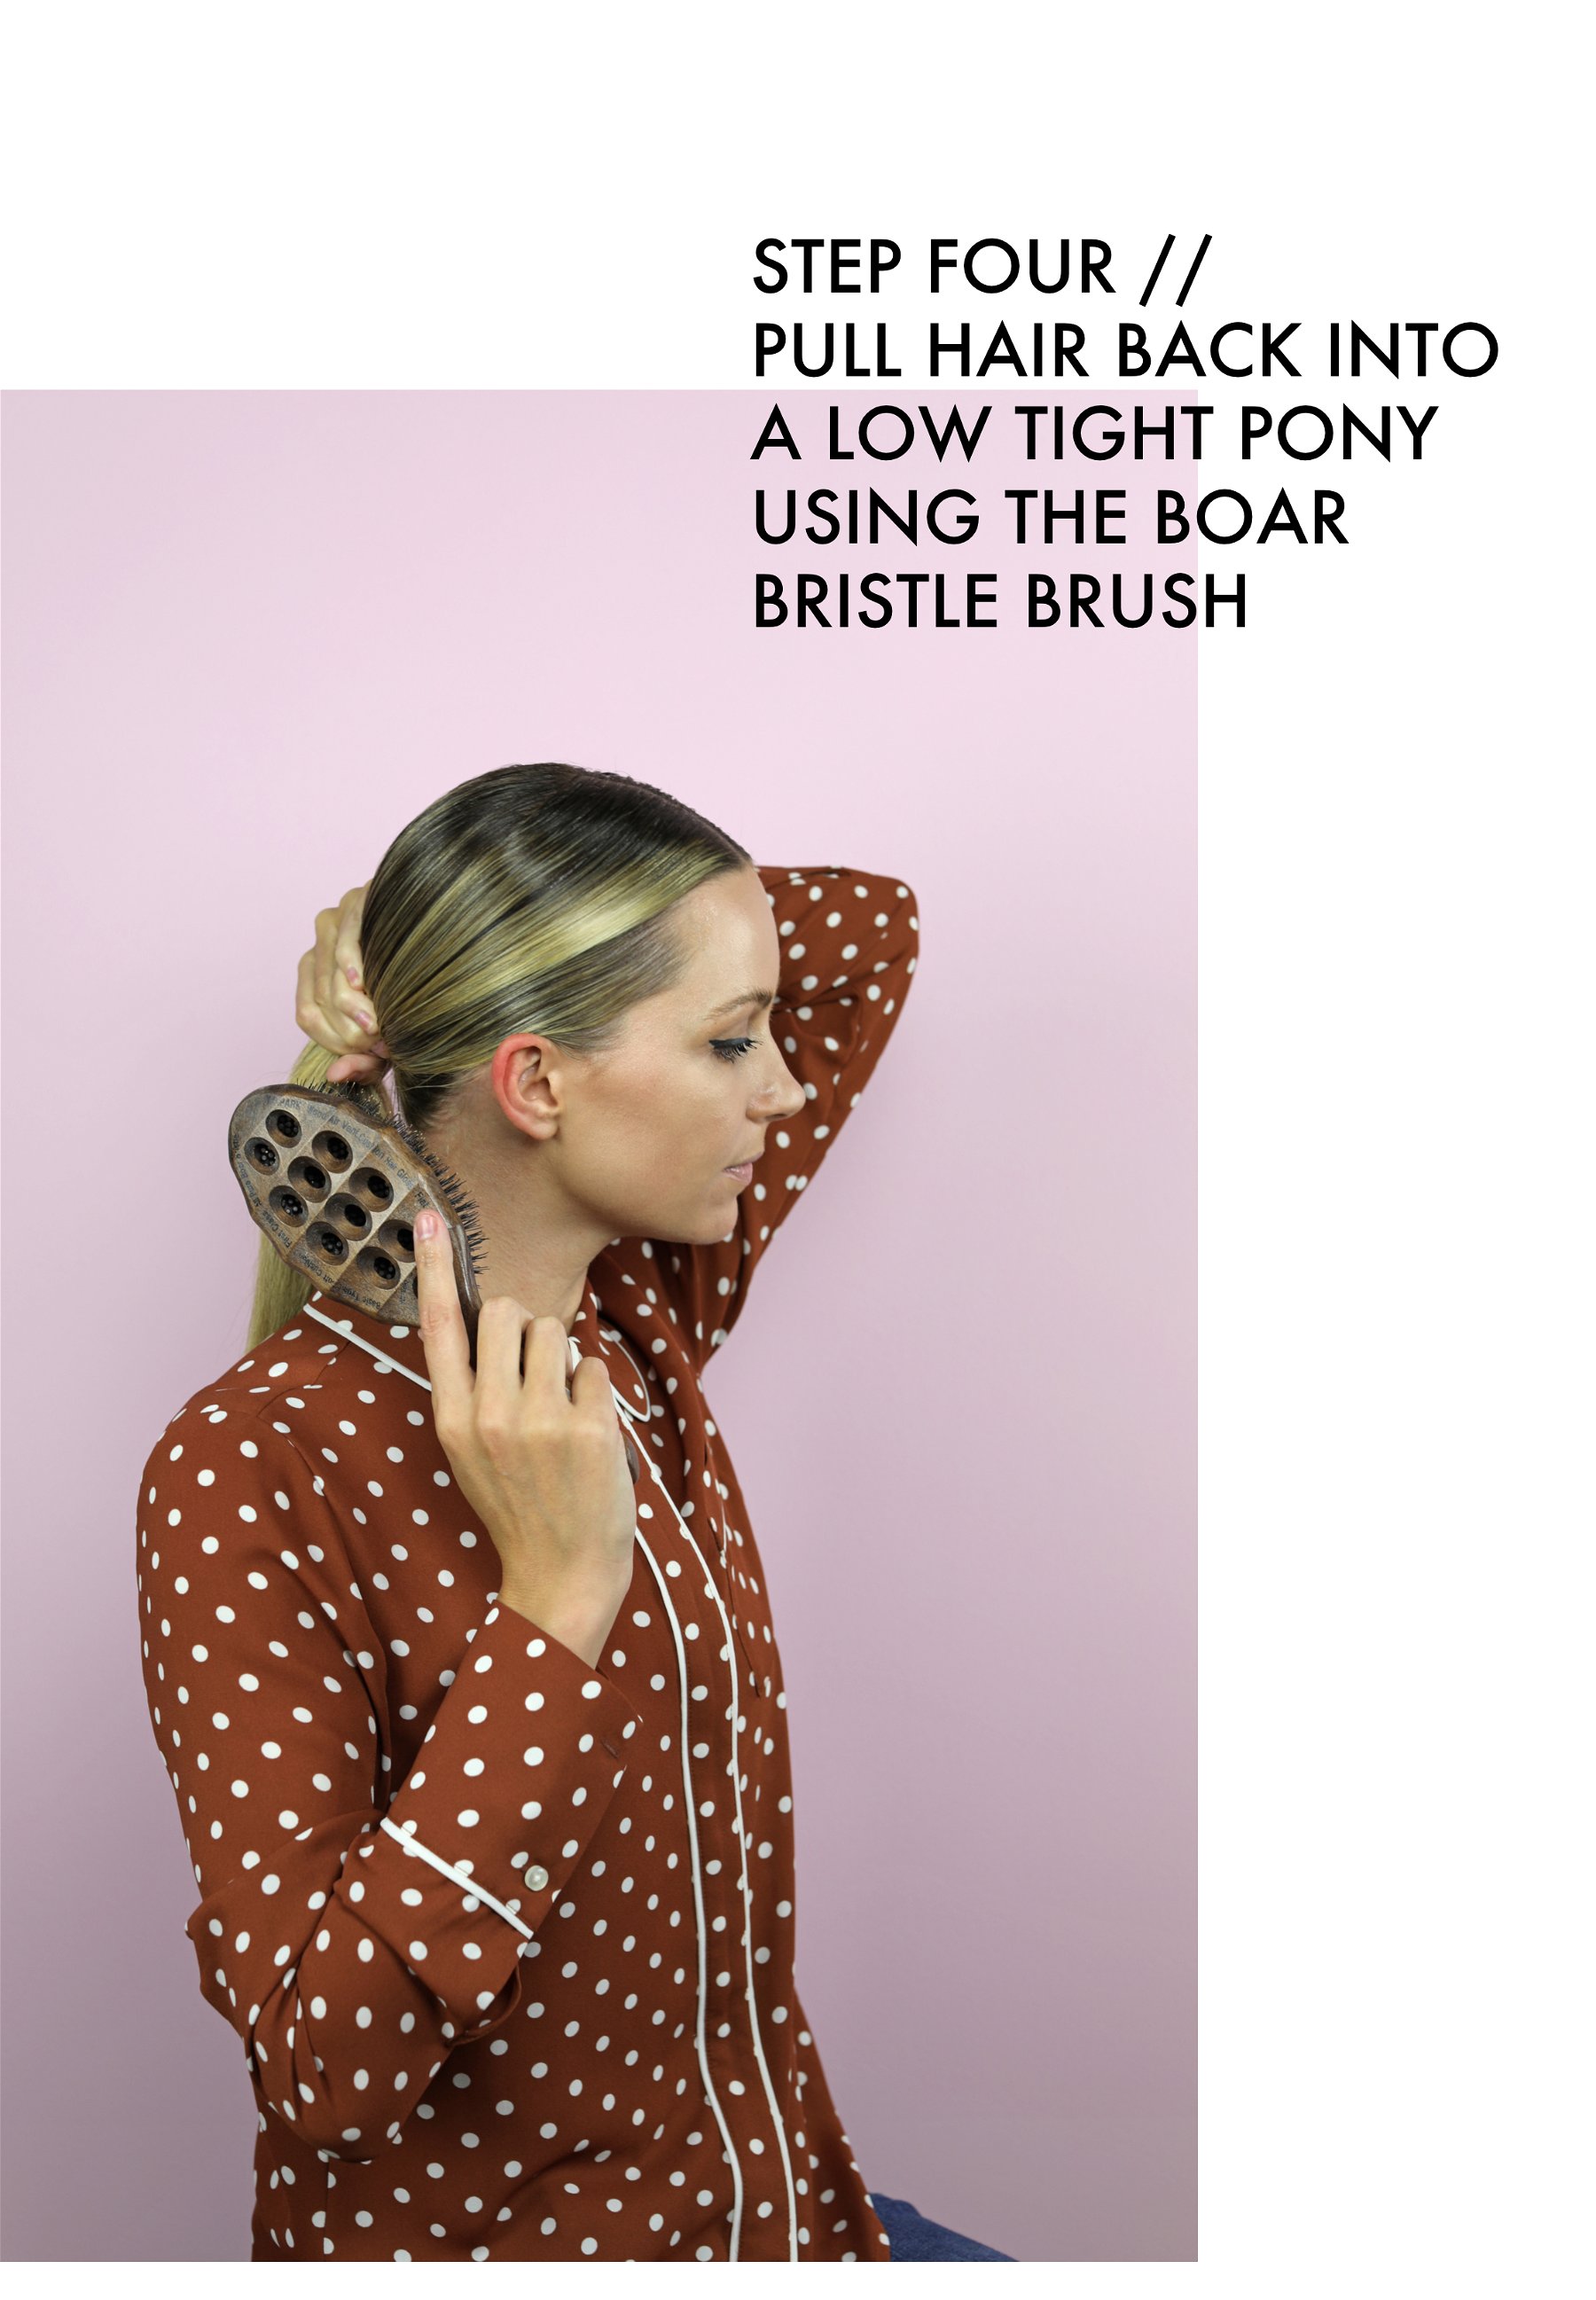
Step Four: Pull Hair Back Into a Tight Low Ponytail
Using the boar bristle brush, I pull my hair back into a tight low ponytail. The goal is for it to be smooth, straight, and tight.
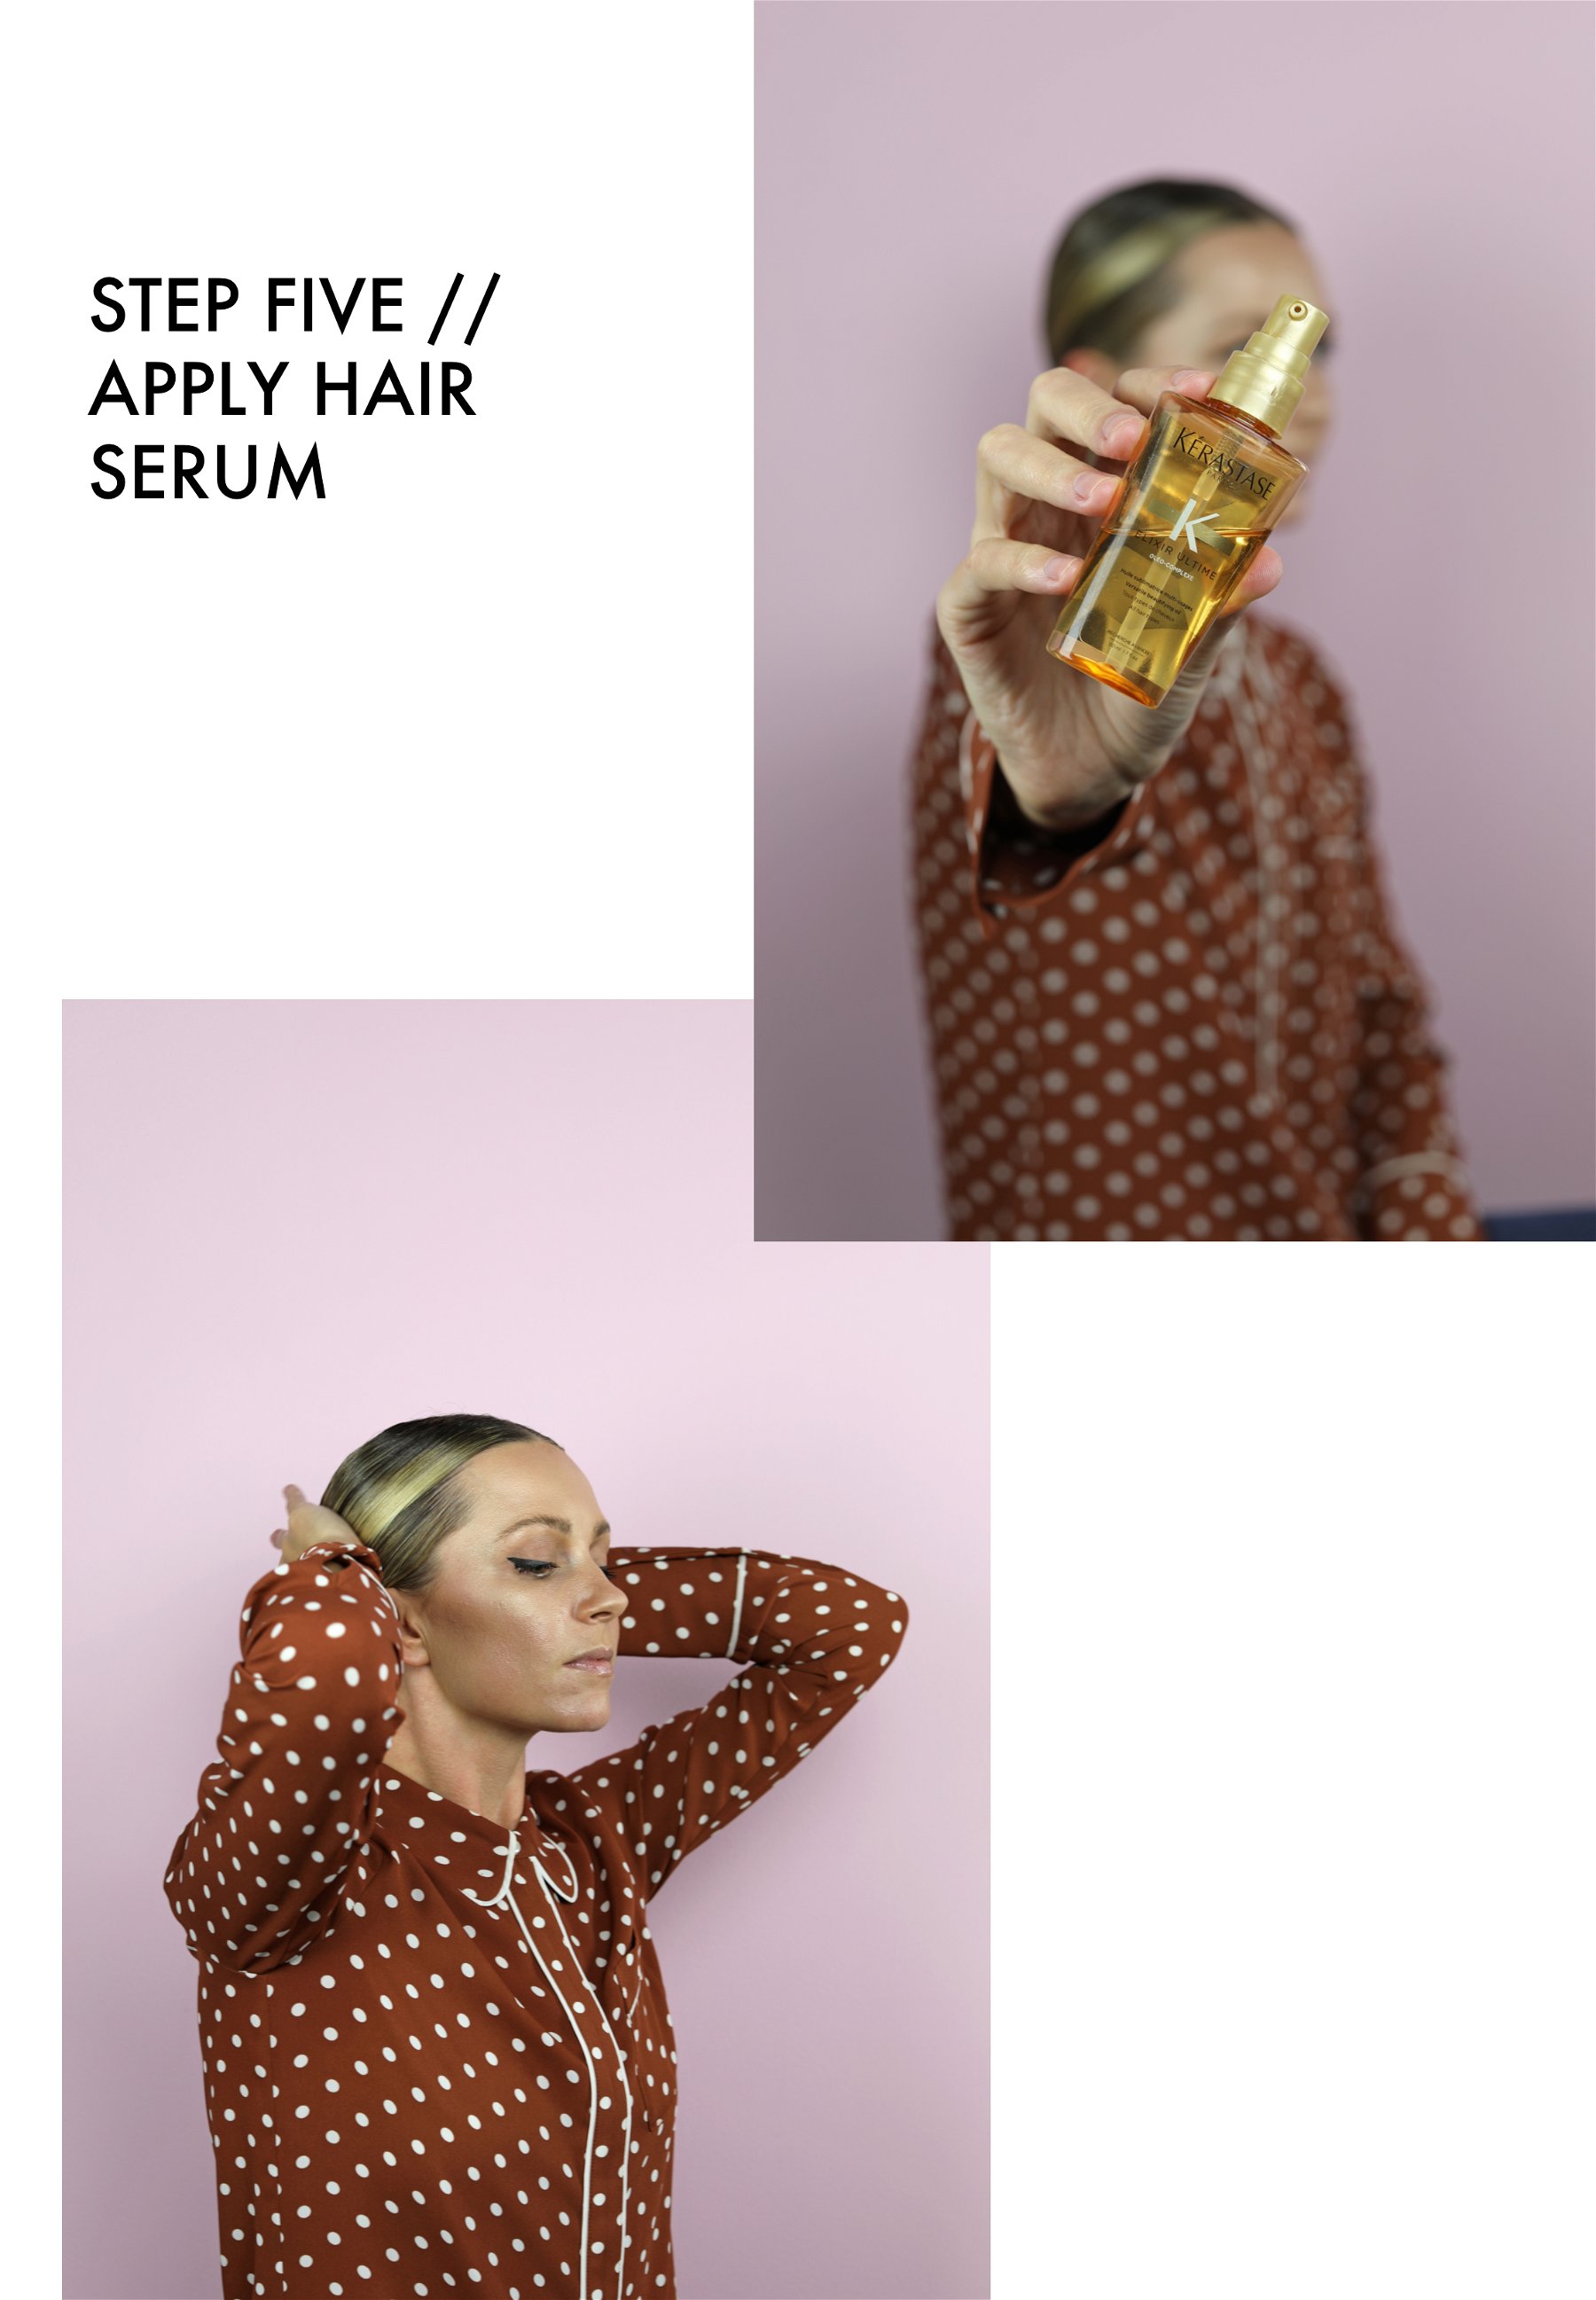
Step Five: Apply Hair Serum
Now that my hair is pulled back, I smooth it out further and capture the small flyaways by applying a top coat of serum. My favorites are this Kerastase hair serum (which also comes in a handy travel size) and this Moroccanoil Original Treatment. I tend to trade these products off from time to time!
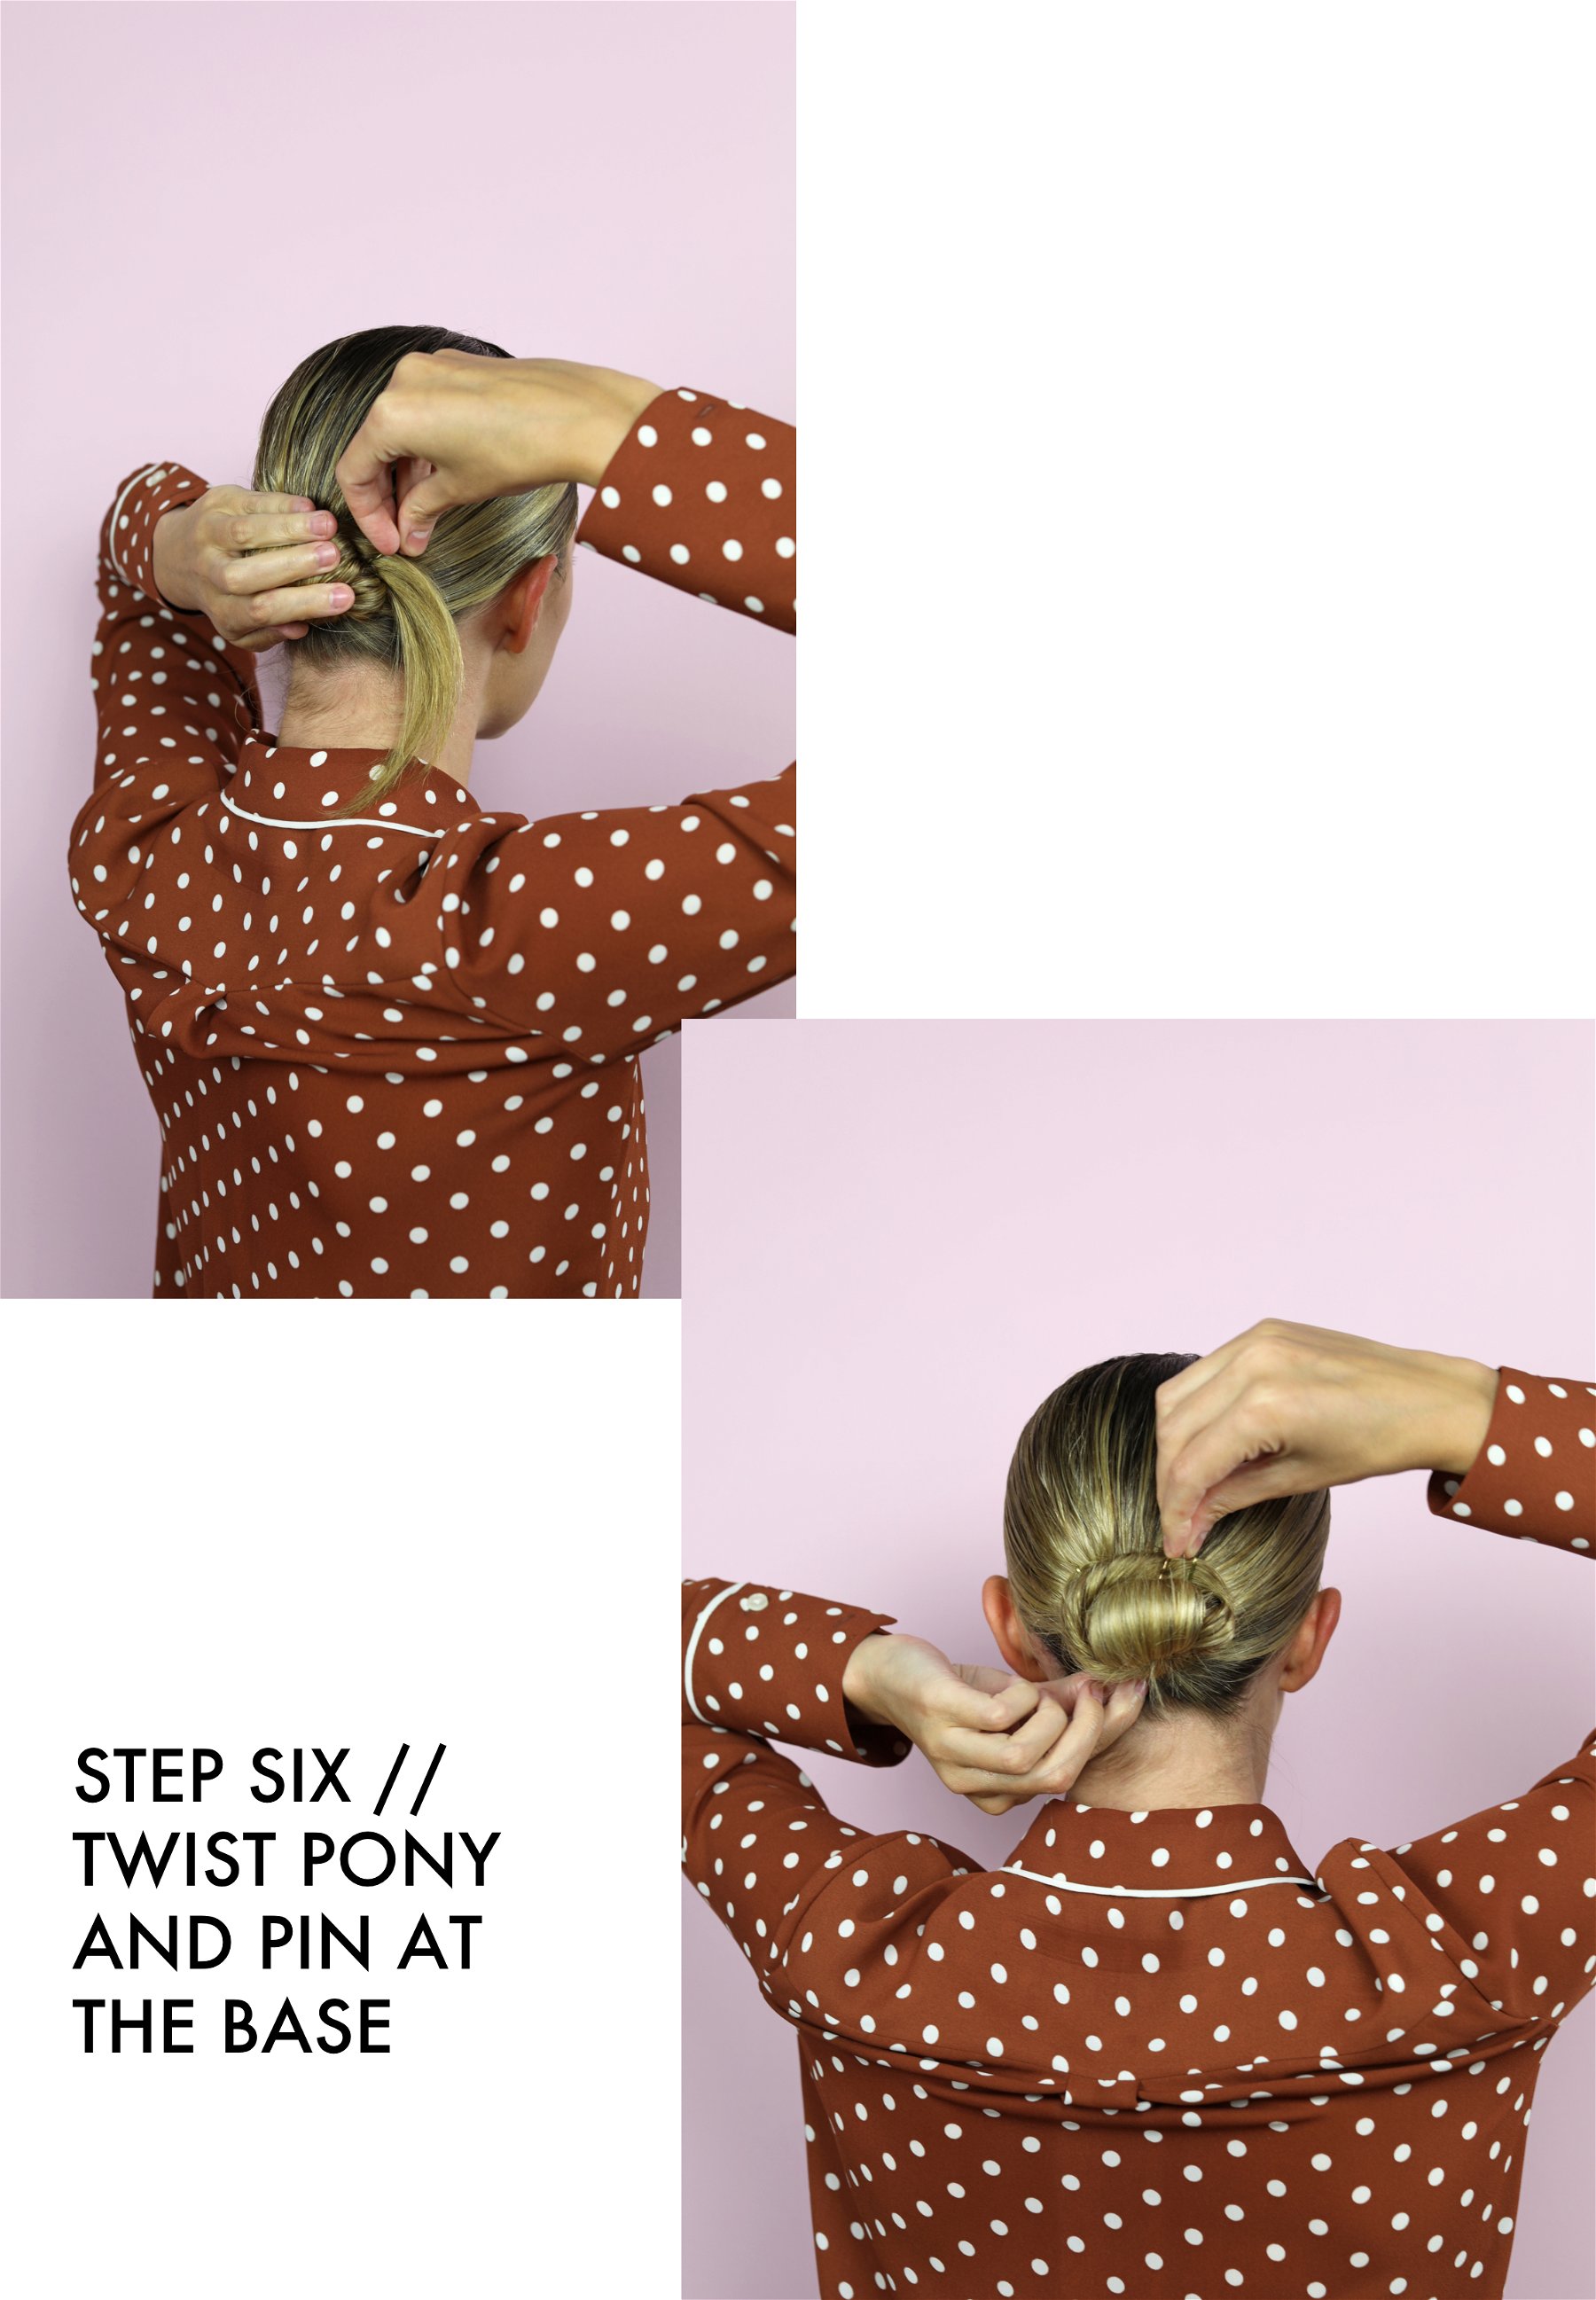
Step Six: Twist Ponytail and Pin at the Base
Next, I twist the ponytail into a tight bun using a mixture of hair pins. These u-shaped hair pins and these slideproof bobby pins work well together. I apply five to six pins to the base of the bun to hold it in place. Sometimes this takes a few different tries to get the positioning just right!
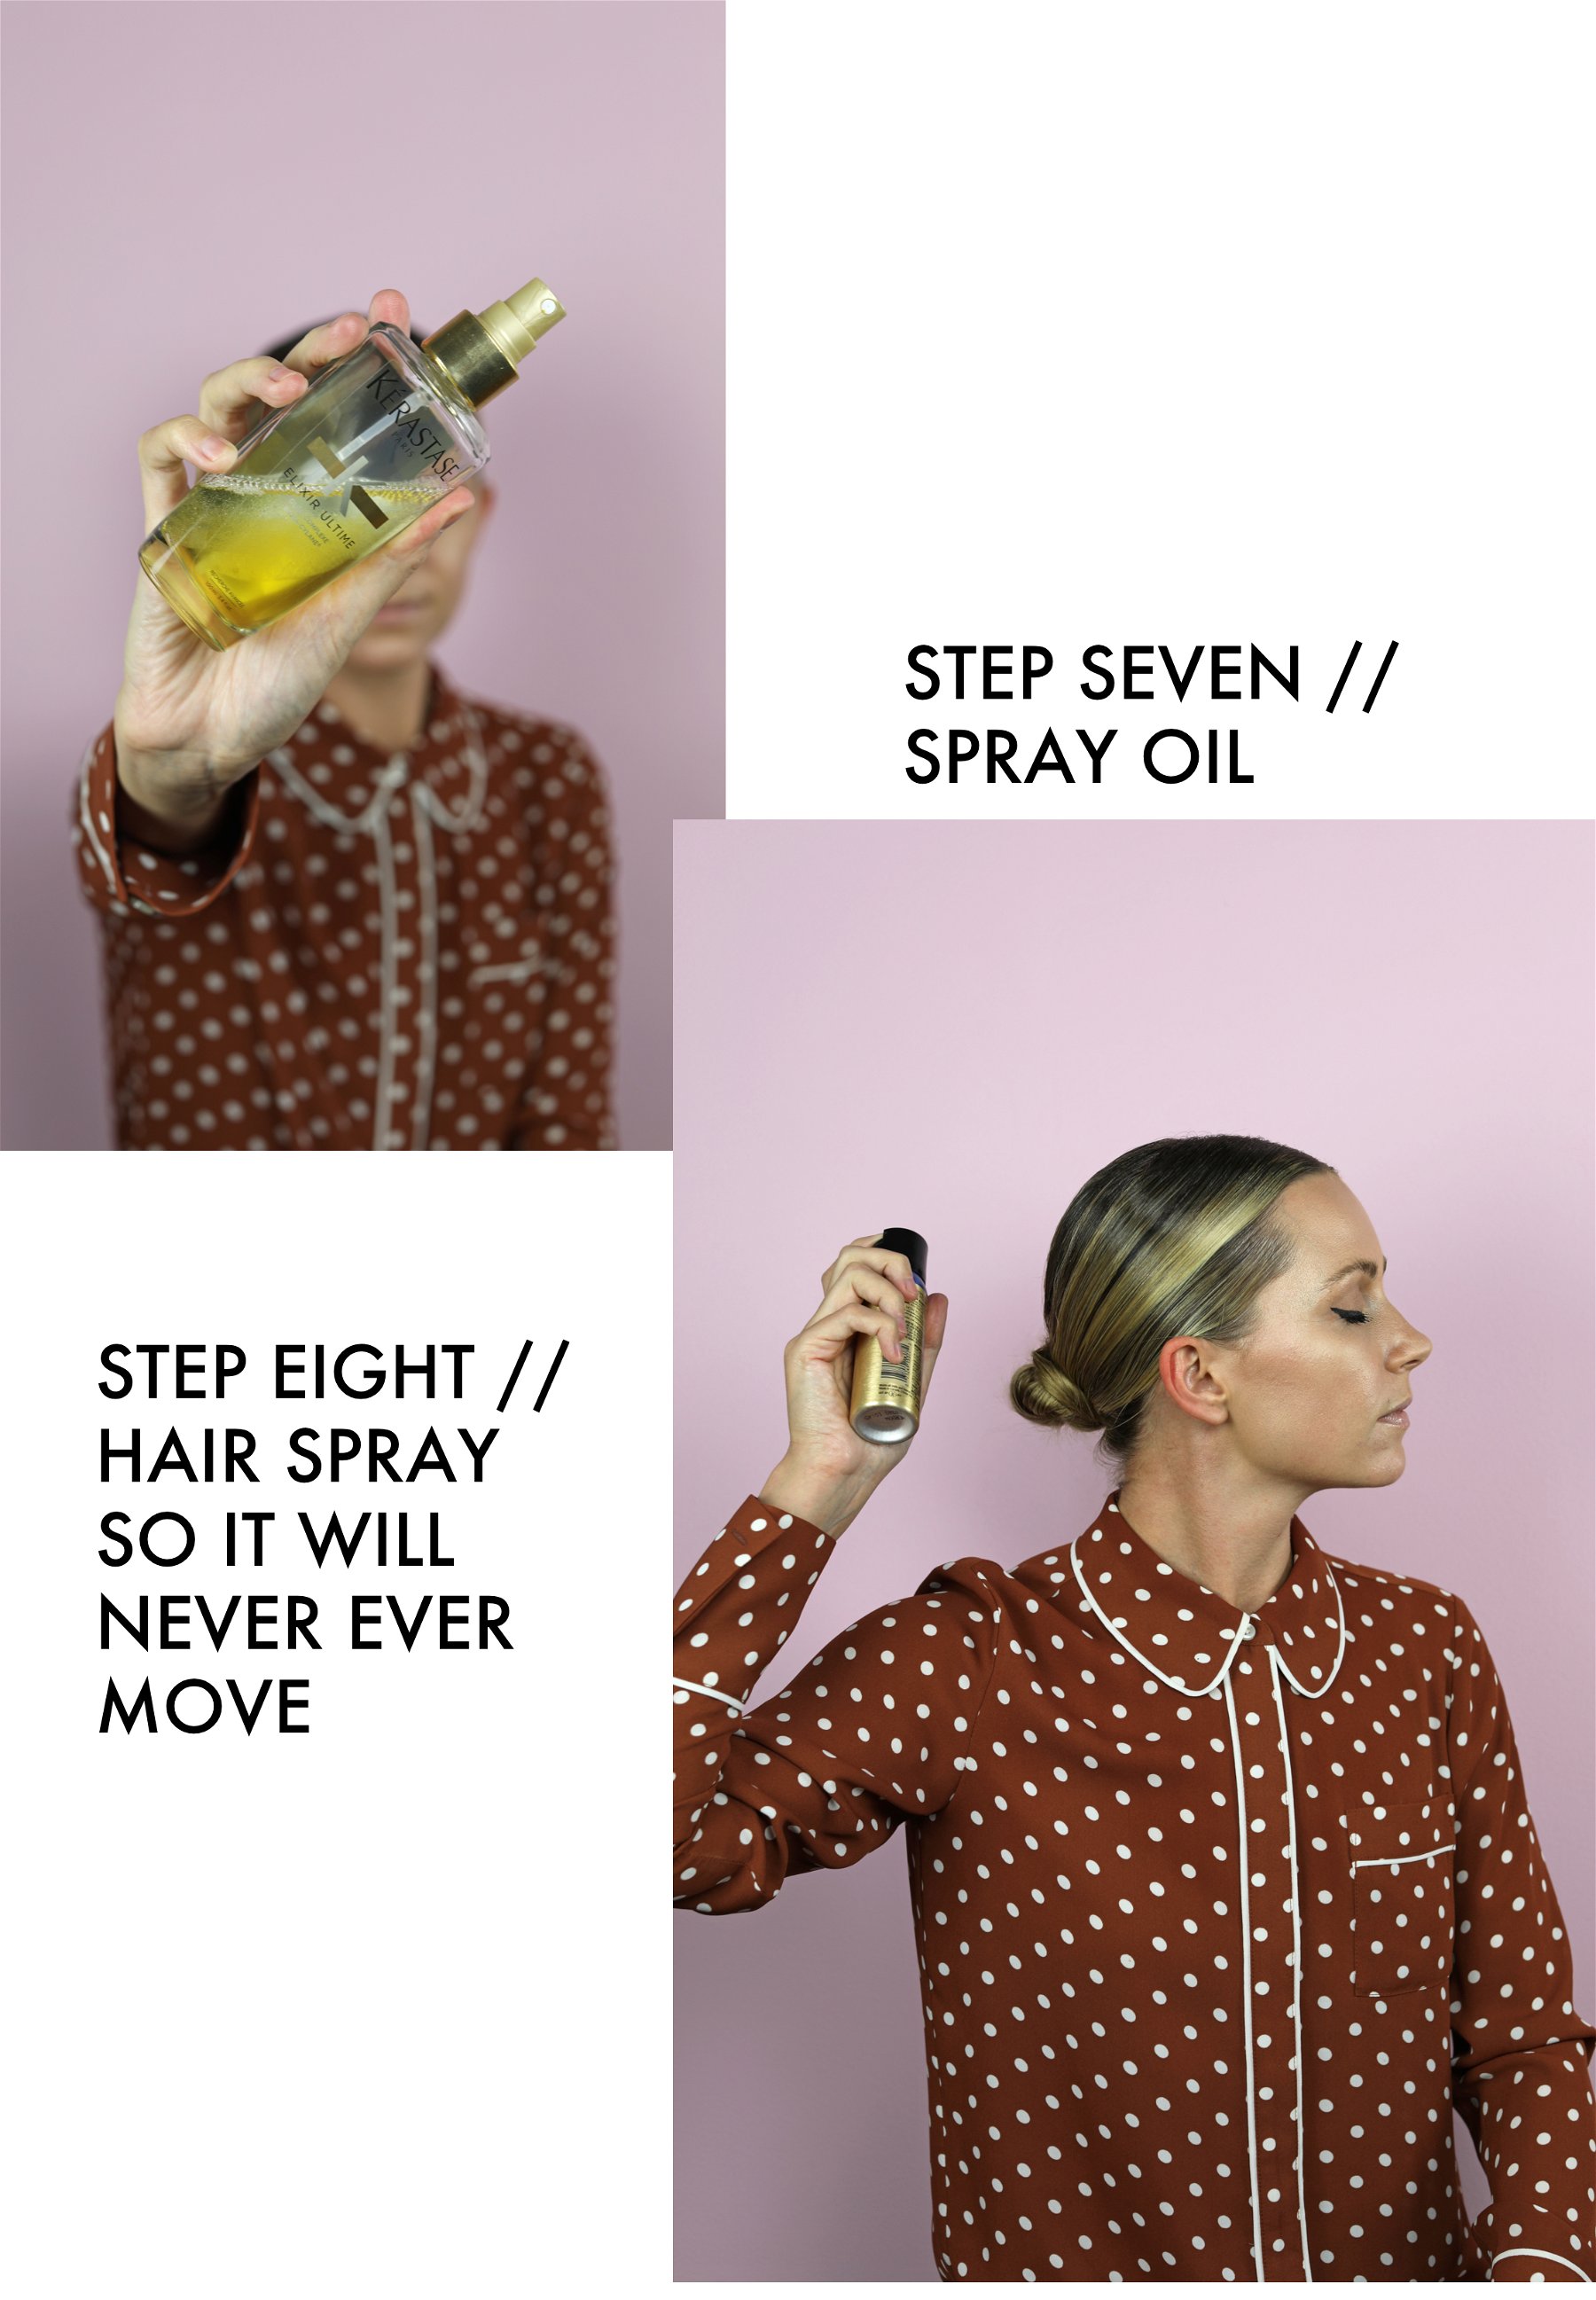
Step Seven: Spray Hair Oil
I then apply a fine mist of this Keratin hair oil for a high shine effect. After applying, I use a toothbrush (which I obviously only use on my hair!) to lightly brush down any remaining flyaways.
Step Eight: Apply Hairspray
Don’t be shy with the hairspray! My absolute favorite is L’Oreal’s Elnett Satin Hairspray. It’s the perfect weight, comes out as an ultra-fine mist, and stays put all day. I also like to keep a good stock of this travel-size hair spray.
Tips for Creating a Sleek Bun
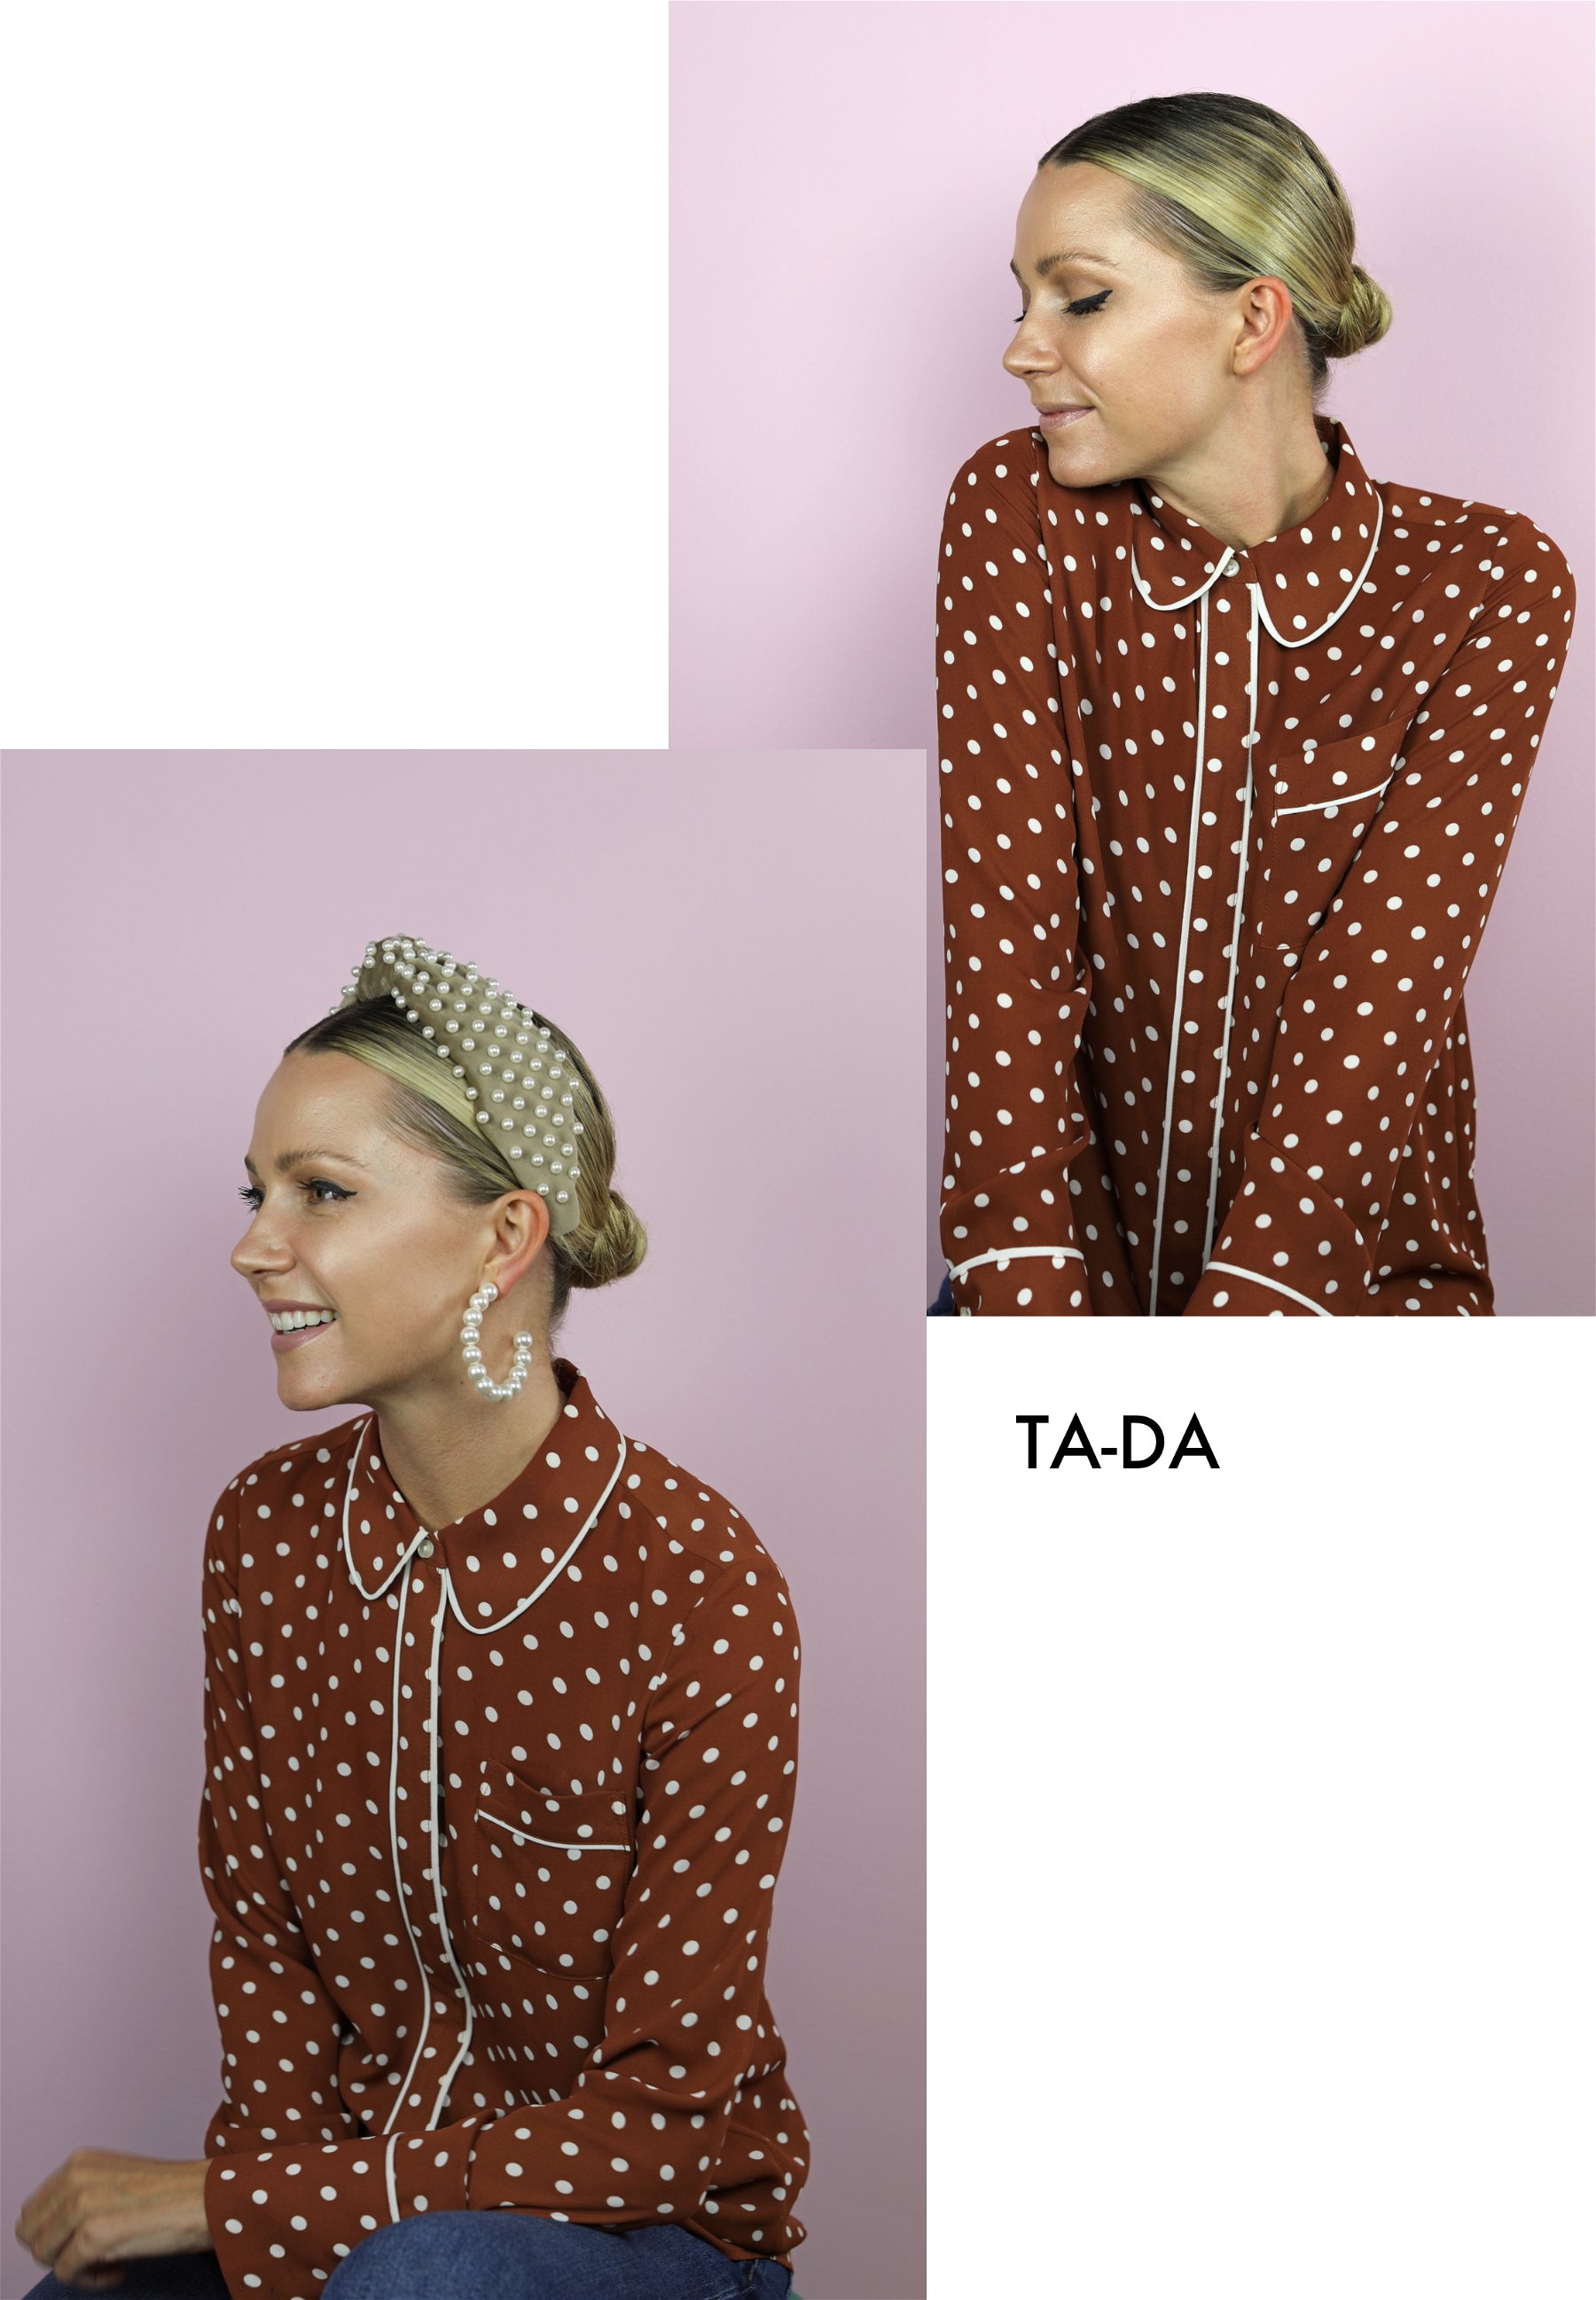
Ta-da! There you have it, my tutorial on how to create a sleek bun! In addition to these steps, I’ve come up with some tips for this hairstyle over the years. Following these tips will help take your sleek bun to the next level and ensure it lasts all day.
-Don’t be afraid to use a lot of product! With my fine hair, I need mousse and hairspray to keep all my flyaways in place as well as oil to give it shine and a flawless finish.
-Be sure to clean your boar bristle brush! I clean mine once every two weeks, but this could vary depending on how much hair you have. Fill a Tupperware container with warm water and shampoo and let the brush soak face down for 15 minutes. Once the hair has become loose, using a fine tooth comb, begin to brush the hair out from the base of the bristles outward.
-Test out different products to see what works for you. The hair products I mentioned today are ones I’ve come to love over the past few years. But, if you find they aren’t working well for you (everyone’s hair is different after all), give some others a try. My favorite beauty products of all time might be helpful as well!
-Create a sleek bun on damp hair to minimize damage. The less heat you use on your hair, the healthier it will become.
How to Style a Sleek Bun
A sleek bun is a classic and timeless look, which makes it simple to style. It is also very versatile, making it easy to wear from day-to-night! Over the years I’ve styled a sleek hair bun almost any way you can imagine. Of course, this hairstyle looks great with a fancy dress, but I’ve also worn it with jeans (a rare moment for me) and even casual activewear! A sleek bun is simple and elegant, allowing you to play with fun accessories without being overwhelming. I’ve styled it with headbands, sun hats, sunglasses, statement earrings and so much more!
Sleek Hair Bun
There you have it, everything there is to know about my favorite hairstyle, a sleek hair bun! I hope you’ve found this tutorial and these hair tips to be helpful. As always, if you have any questions my DMs are always open or you can e-mail me here.
Source link
#SLEEK #BUN #TUTORIAL #CREATE #FAVORITE #HAIRSTYLE