Whether you’ve been making soap for a while and you’re ready to step up your game or you’re someone who likes to jump straight into the deep end, glycerin soap is the one for you. It’s free of all those iffy ingredients that can cause irritation, so it’s gentle on sensitive skin. It’s also incredibly hydrating, which helps lock in moisture and get rid of flakes.
Last but not least, once it’s cooled you can melt it down and customize it with whatever ingredients you like, much like traditional melt-and-pour soap base (think essential oils, flower petals, and colorants). So if you’re ready, read on to learn how to make glycerin soap at home.
What is Glycerin?
Glycerin is an ingredient that’s created during the soap making process.
Typically, cold process soap contains 1/3 glycerin and 2/3 actual soap. In commercial soap making, the glycerin is removed and sold for other purposes (that’s partly what makes commercial soap so drying!) But when making soap at home, the glycerin is left in, since it provides an extra boost of moisture.
By processing the soap a bit further, we can actually remove the oils and fats in the soap, and end up with a clear glycerin soap base.
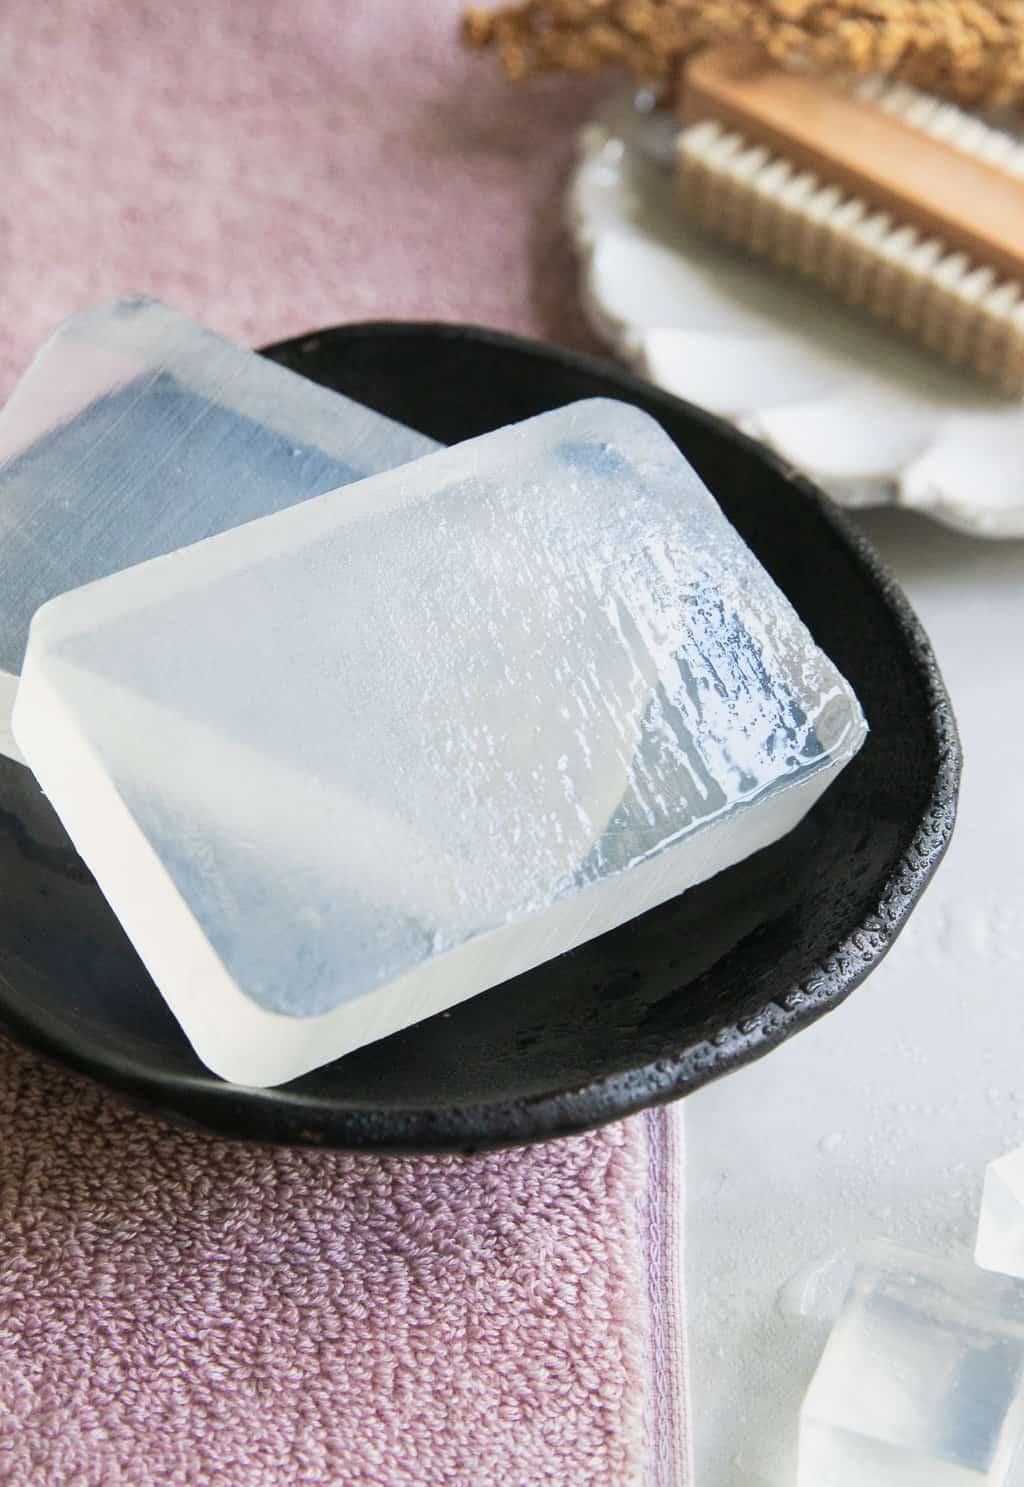
Benefits of Glycerin Soap
Unlike some soaps that dry out skin out and make it feel tight and itchy, glycerin soap is a humectant, which means it helps lock in moisture and keeps skin hydrated.
And that extra moisture does all sorts of good things for your skin!
It helps improve skin barrier function, protects skin from irritants , improves healing, and soothes dry, irritated skin.
Homemade glycerin soap is 100% natural, without any of the chemical ingredients that often irritate skin. So, feel free to use it on sensitive, irritated or inflamed skin—obviously, you don’t want to use it on burns, but things like acne, dermatitis, or rosacea are fine!
How to Make Glycerin Soap
This is a labor intensive process, and once you get started you can’t really take a break. So, make sure to get started early in the day and set aside at least 10 hours to make your soap.
Ingredients
– 14 ounces lard (I used duck fat, but lard is easier to find)
– 8 oz castor oil
– 5.25 ounces coconut oil
– .75 ounce almond oil
– 4 ounces sodium hydroxide lye
– 10 ounces filtered water, divided
– 13 ounces vodka or grain alcohol (must be 70 proof or higher – DO NOT use rubbing alcohol)
– 3 ounces vegetable glycerin
– 8 ounces white sugar
Tools
– Safety goggles, gloves, long sleeve shirt
– Old slow cooker
– 1-quart glass jar
– Kitchen thermometer
– Silicon soap mold
– Immersion blender
– Kitchen scale
– Long wooden spoon
– Potato Masher
– Measuring cup
– White vinegar (for neutralizing spills and cleaning up your tools)
Before starting, put on your safety gear and have a bottle of vinegar on hand in case lye spills or splashes occur.
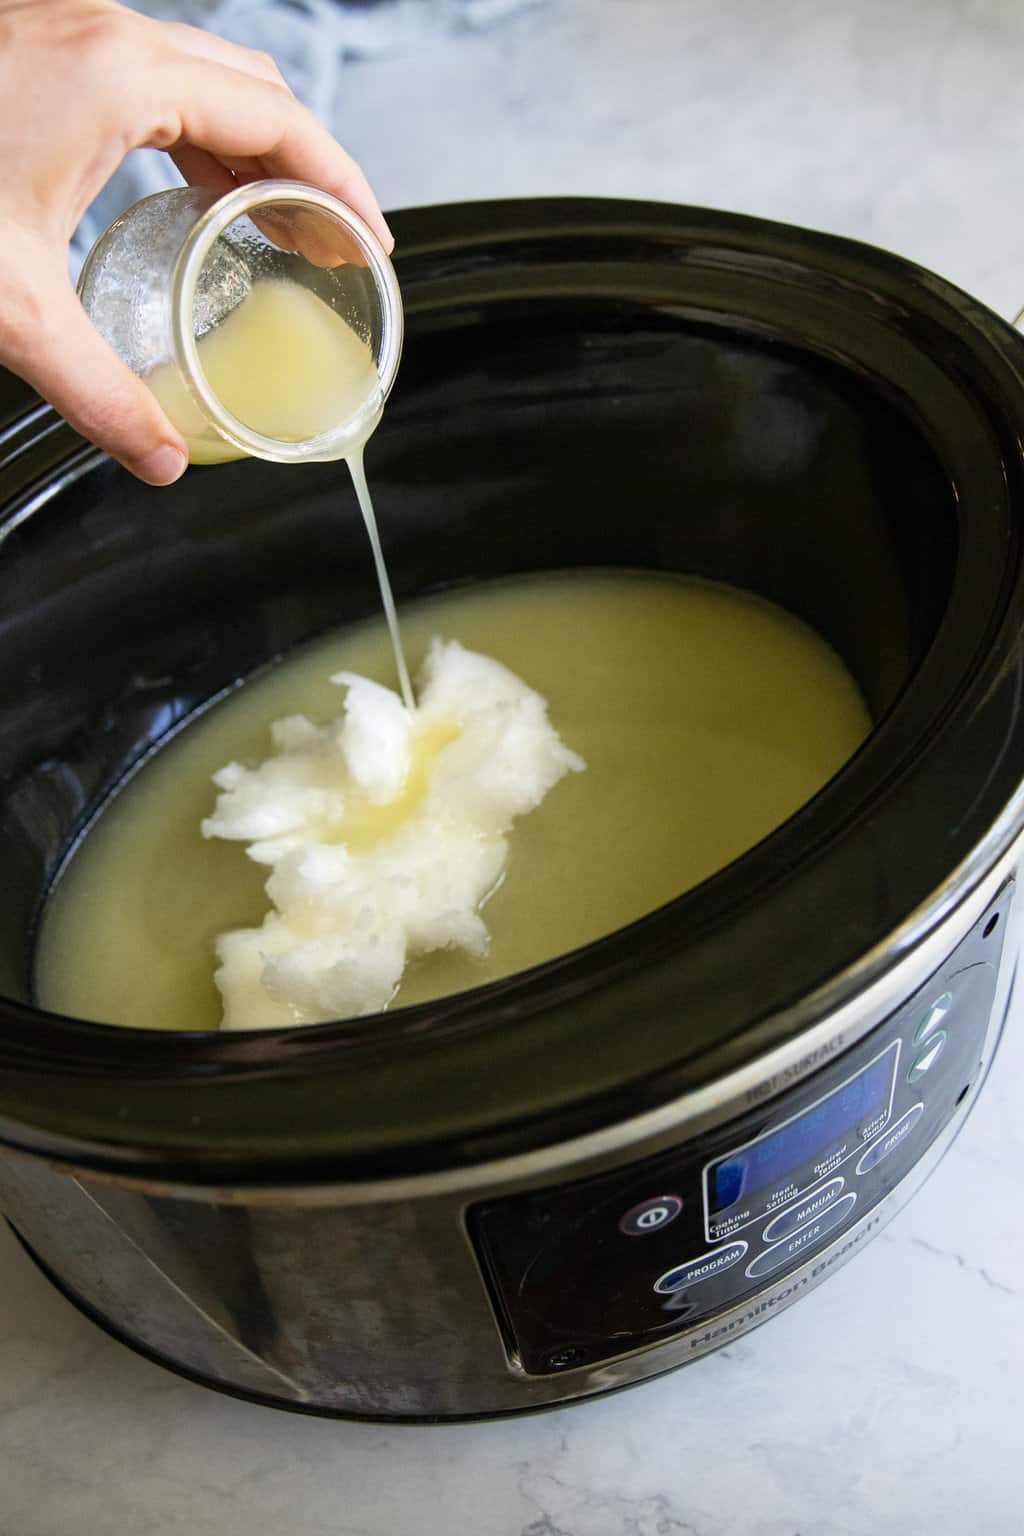
Step 1 | Combine oils in slow cooker
In the base of a slow cooker, mix all the oils together. Turn on low and heat to approximately 135°F.
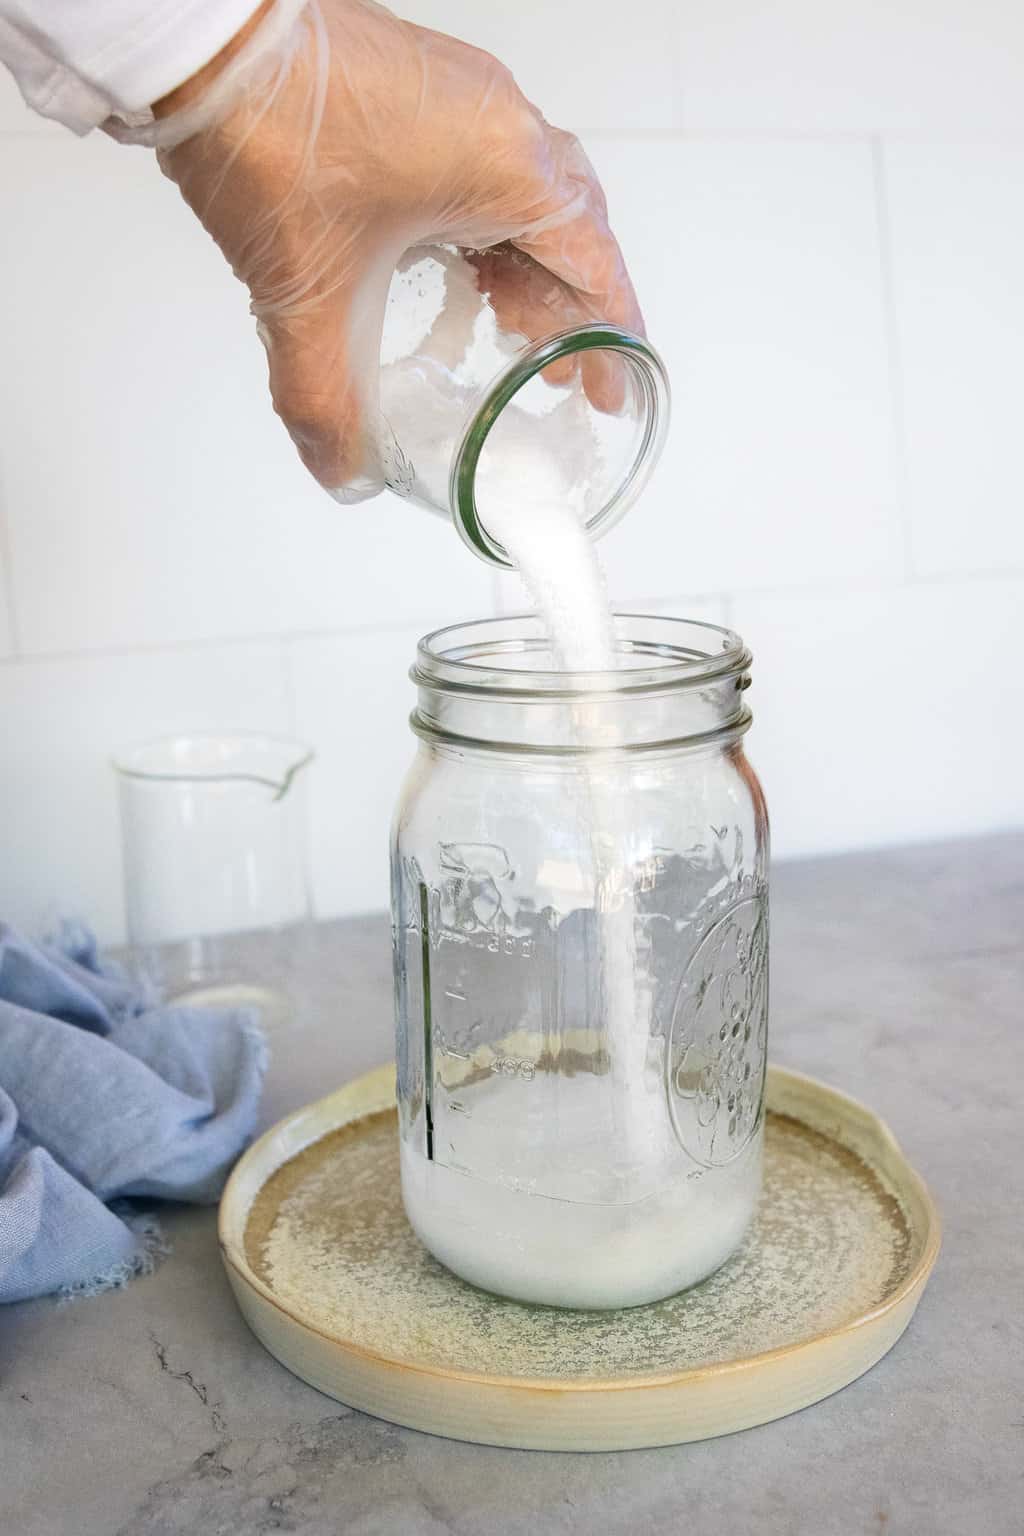
Step 2 | Make lye water
While the oils heat up, make your lye water. You’ll want to go outside for this part, since mixing lye and water creates toxic fumes that can burn your eyes and lungs. I do this on a screened porch with the doors open and fan running.
Pour 5 ounces of water into a large, heatproof glass jar or measuring cup. Slowly add the lye to the water and stir with a wooden spoon until the lye is dissolved and the water turns from cloudy to clear (be careful as it will be very hot).
Set aside and allow the lye water to cool to approximately 150°F.
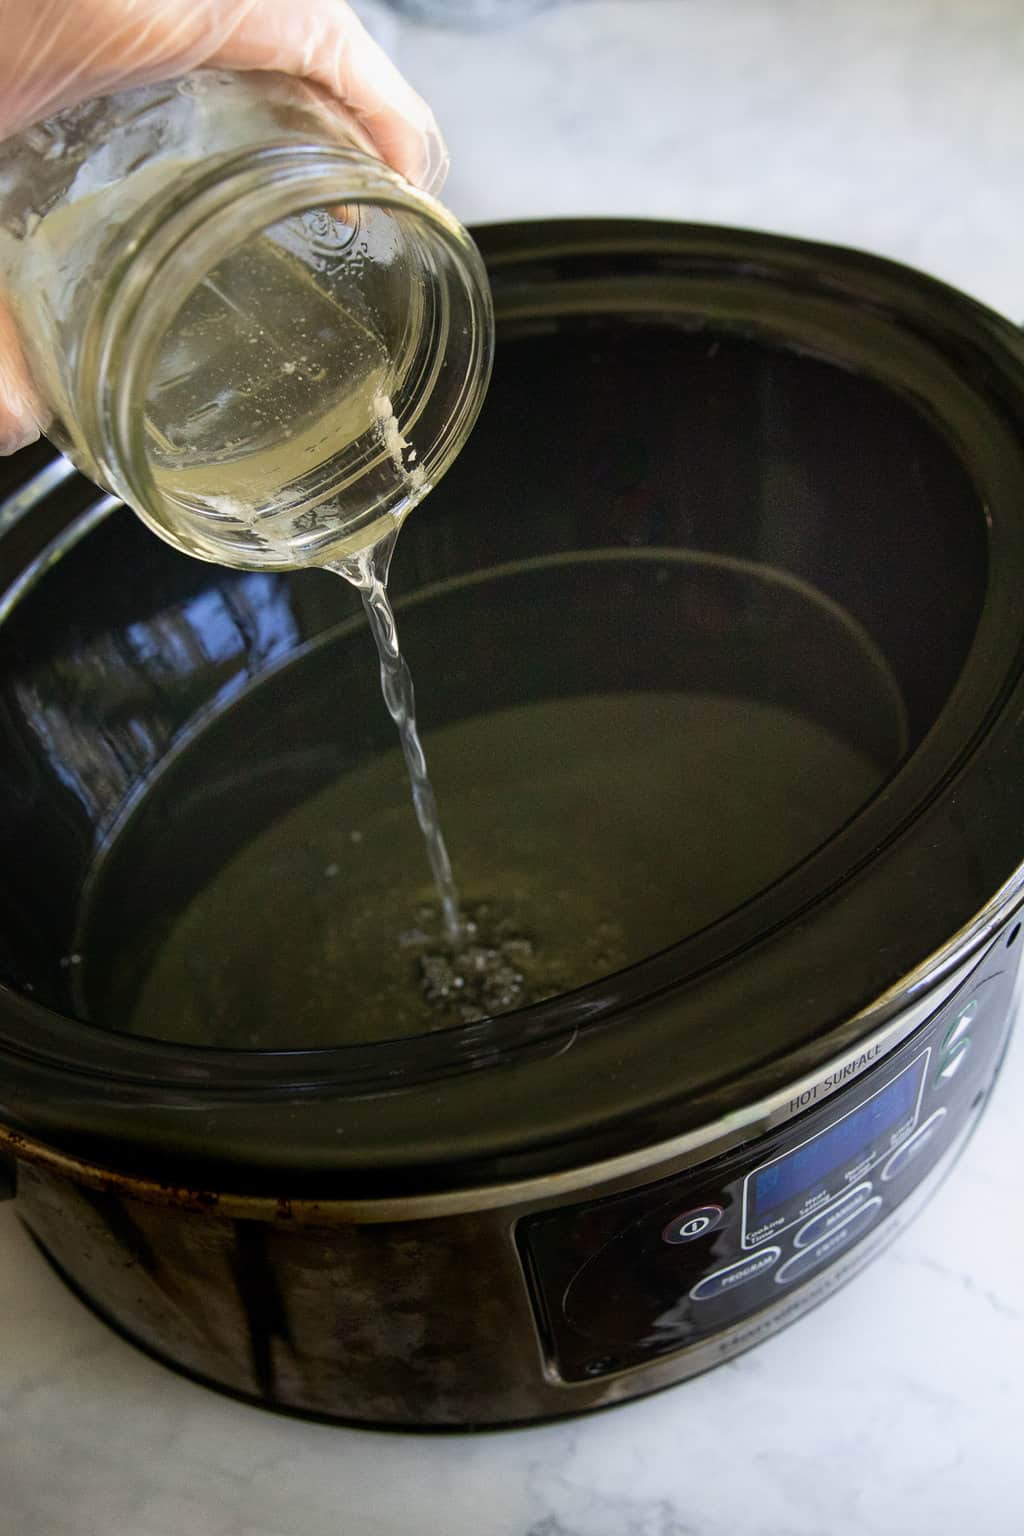
Step 3 | Combine lye with oils
Once the oils and lye water reach the right temperature, carefully pour the lye water into the slow cooker with the oil.
From here on out, you can do the remaining steps indoors. But make sure to keep your safety gear on to prevent burns from the lye.
Step 4 | Blend together
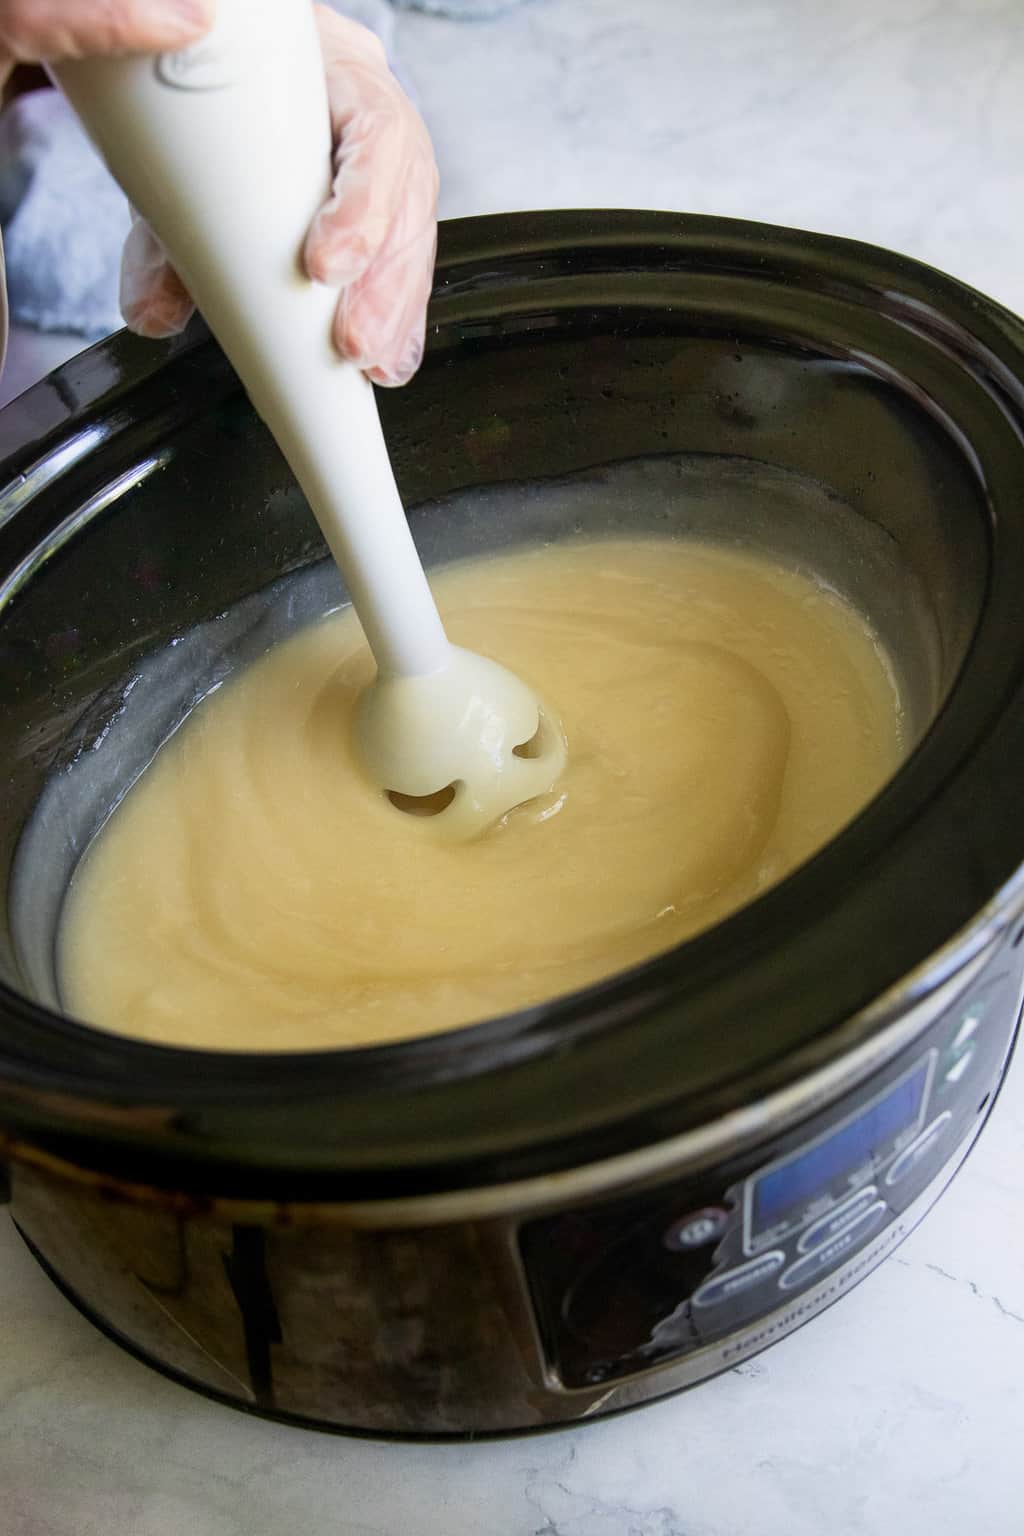
Using an immersion blender, bring the mixture to a trace (it should look like vanilla pudding.)
Cover and let the soap mixture continue cooking on low-medium heat for 3-4 hours, stirring once in a while. The soap will puff up and change color as it cooks, becoming more translucent over time.
Step 5 | Test to dissolve
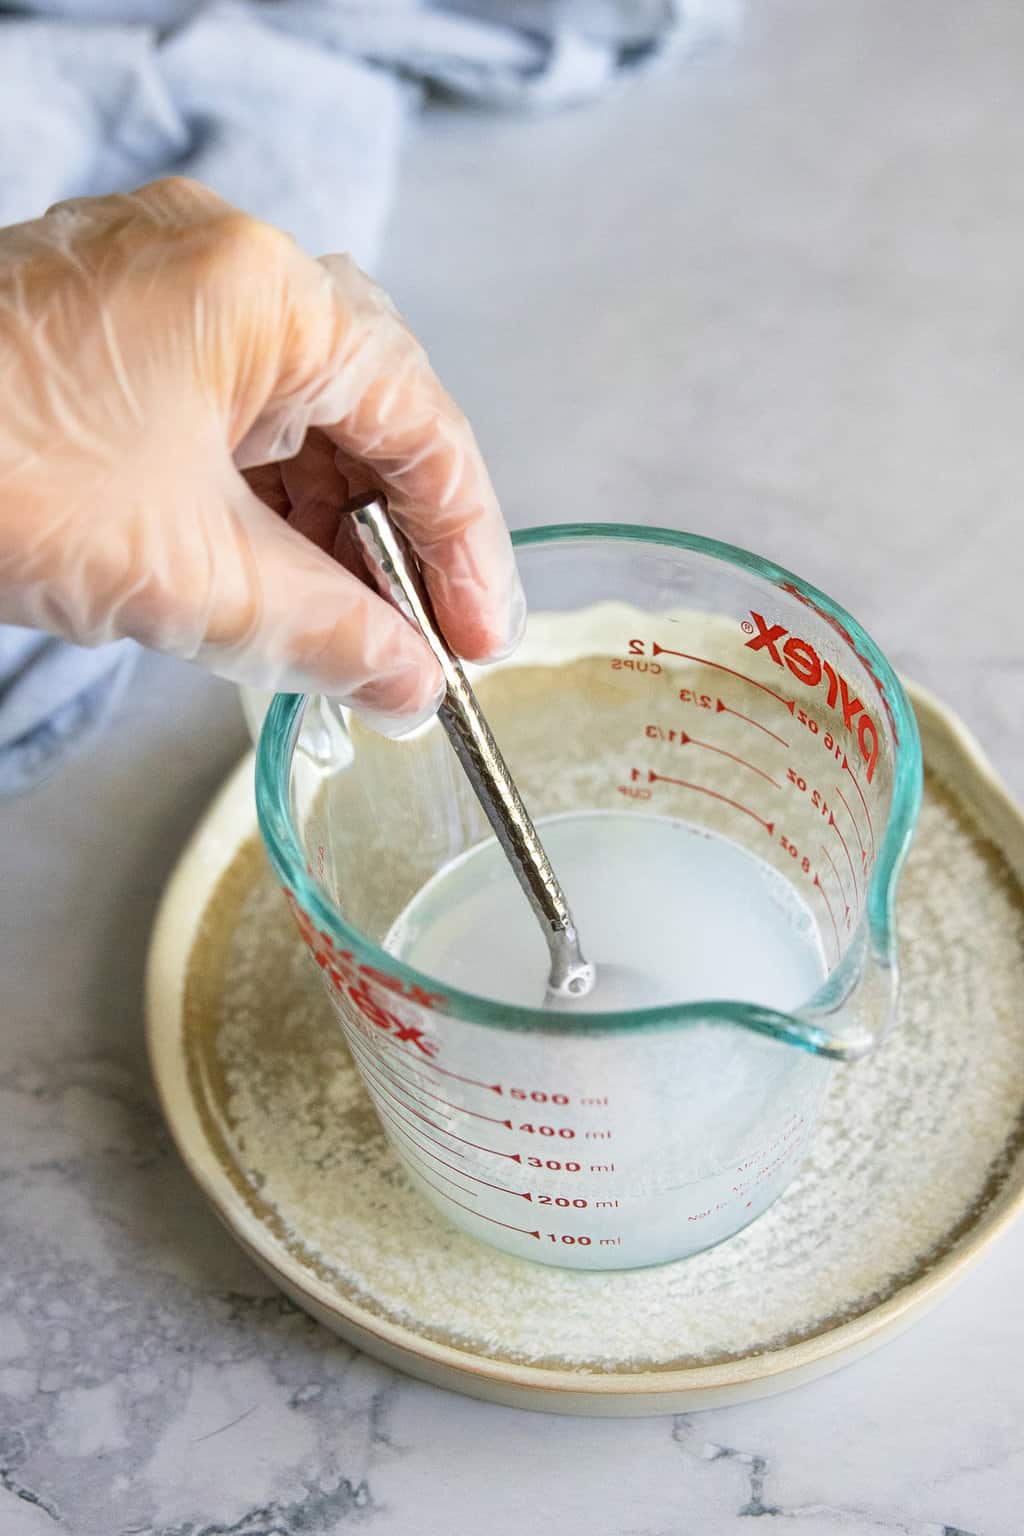
Once the glycerin soap starts to look somewhat translucent (this is called the “gel phase”), you’ll want to test it to see if it dissolves.
Take a small spoonful of soap and place it in a cup of hot water. If it doesn’t dissolve or if it dissolves but leaves oil floating on the top of the water, continue cooking for another 30 minutes and try again.
Step 6 | Add vodka and glycerin
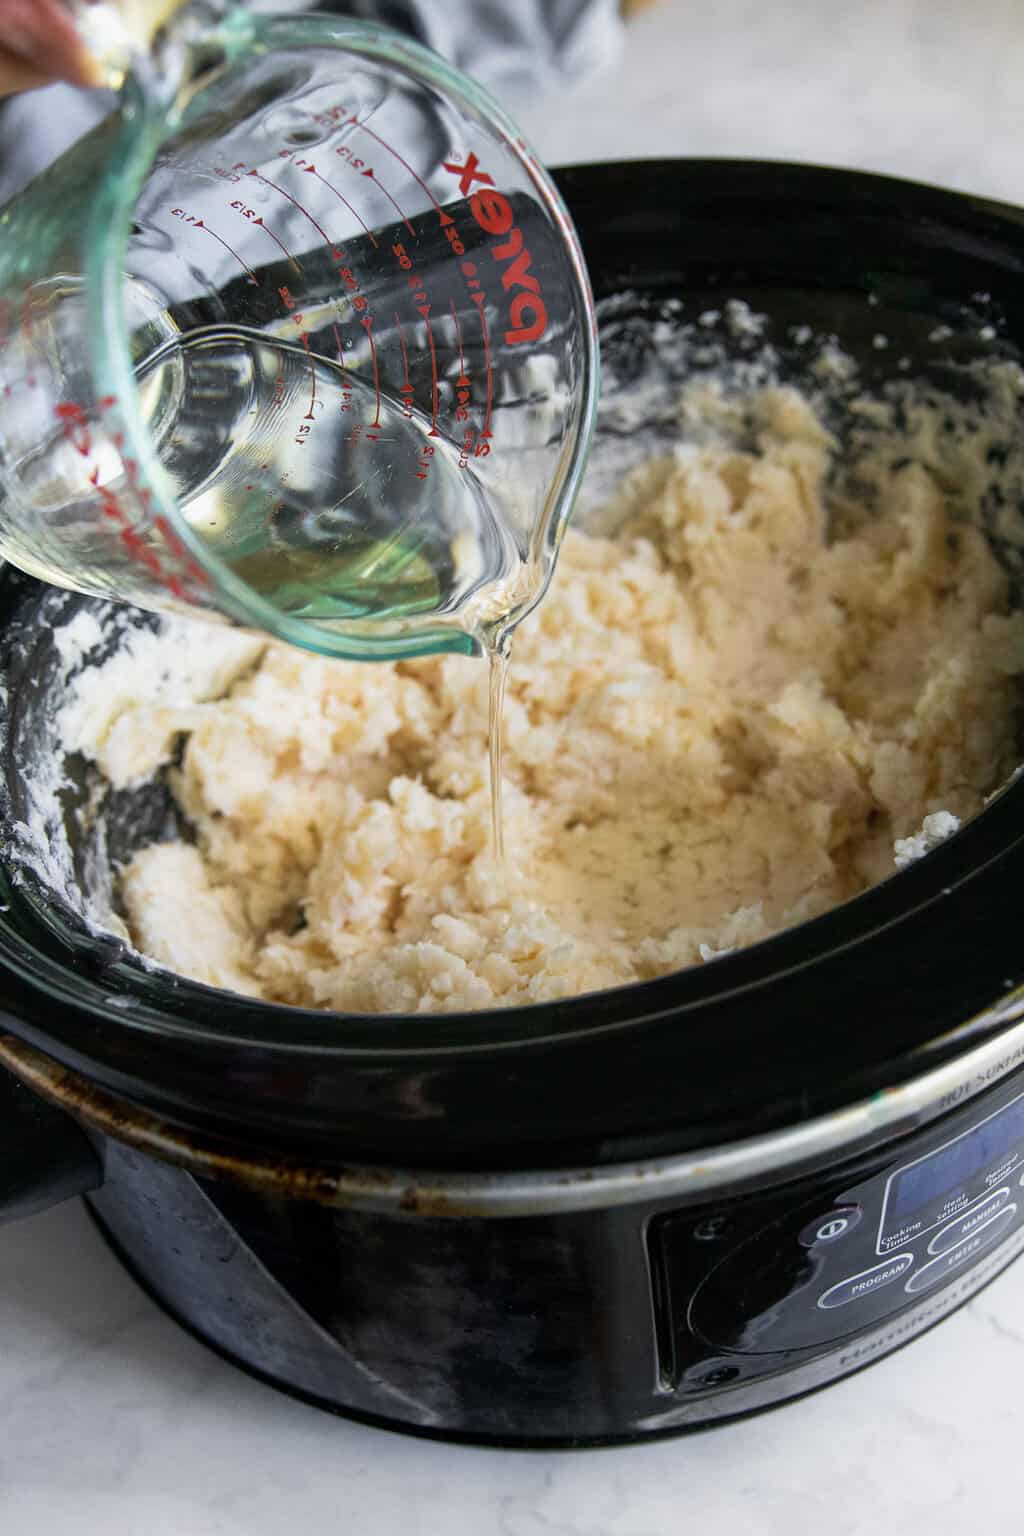
Once it dissolves properly, add the 13 ounces of vodka and 3 ounces liquid vegetable glycerin. (Note: alcohol can catch on fire pretty easily, which is why you want to use a slow cooker for this!)
Using the back of a spoon or a potato masher, slowly mash the soap mixture until the alcohol is fully incorporated. This may take several hours, so take your time!
Once the soap is dissolved, skim off any oils or impurities floating on top and throw them away.
Step 7 | Add sugar water
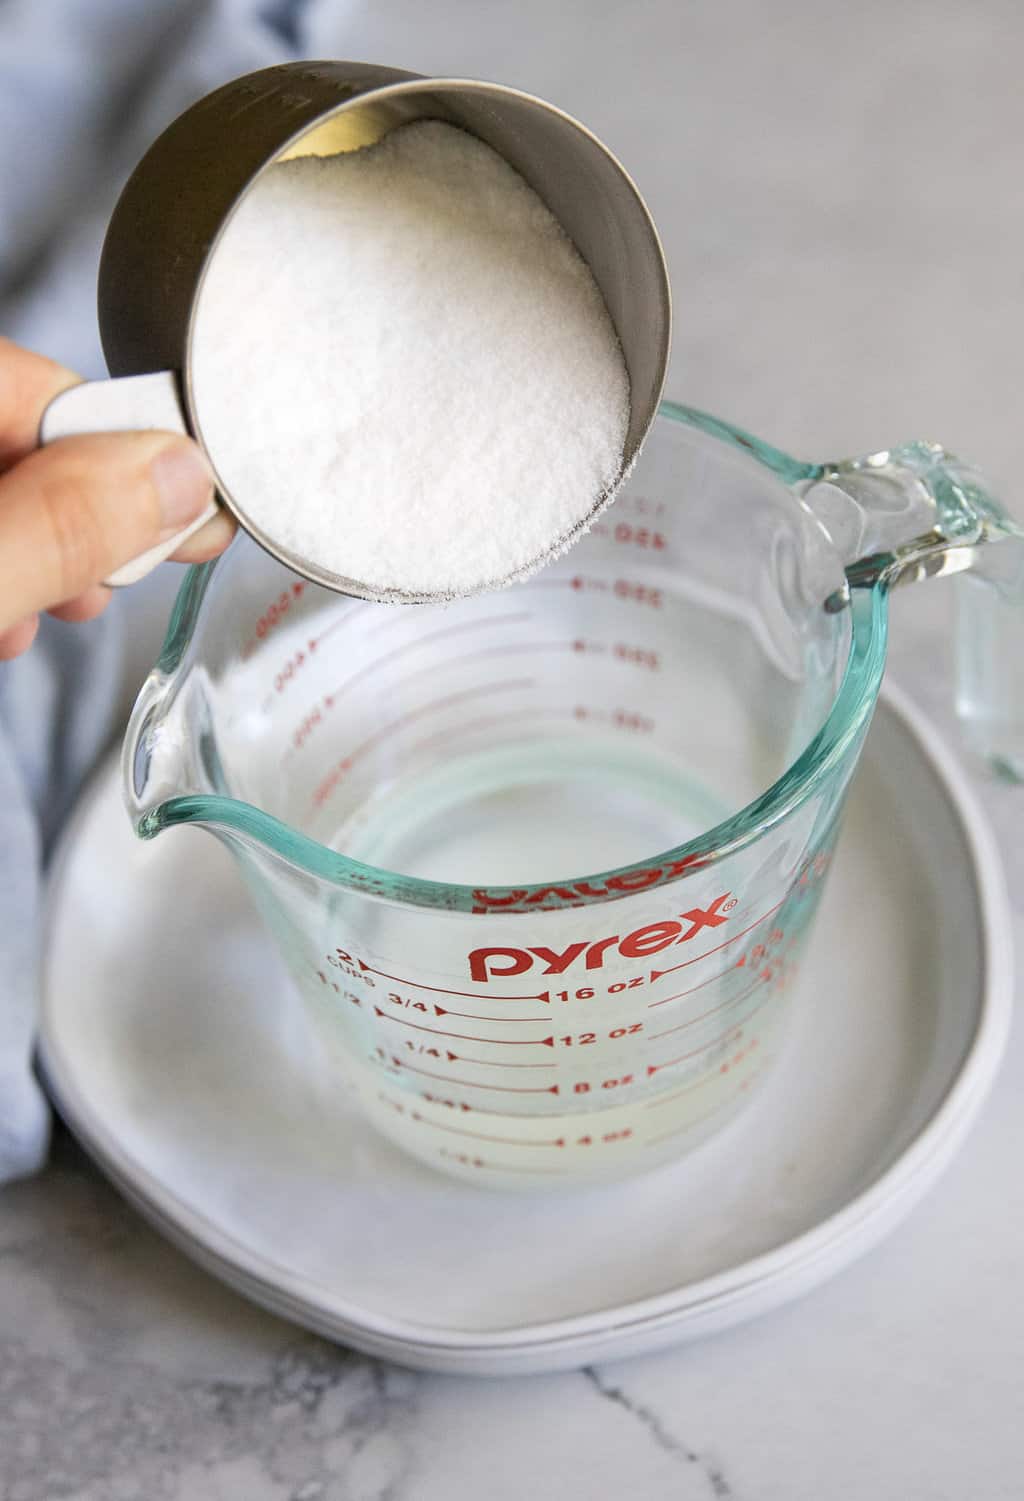
Next, combine 1 cup white sugar and 5 ounces freshly boiled water. Stir until completely dissolved without any lingering sugar crystals.
Pour into the soap base. Stir, cover, and let cool to 145°F.
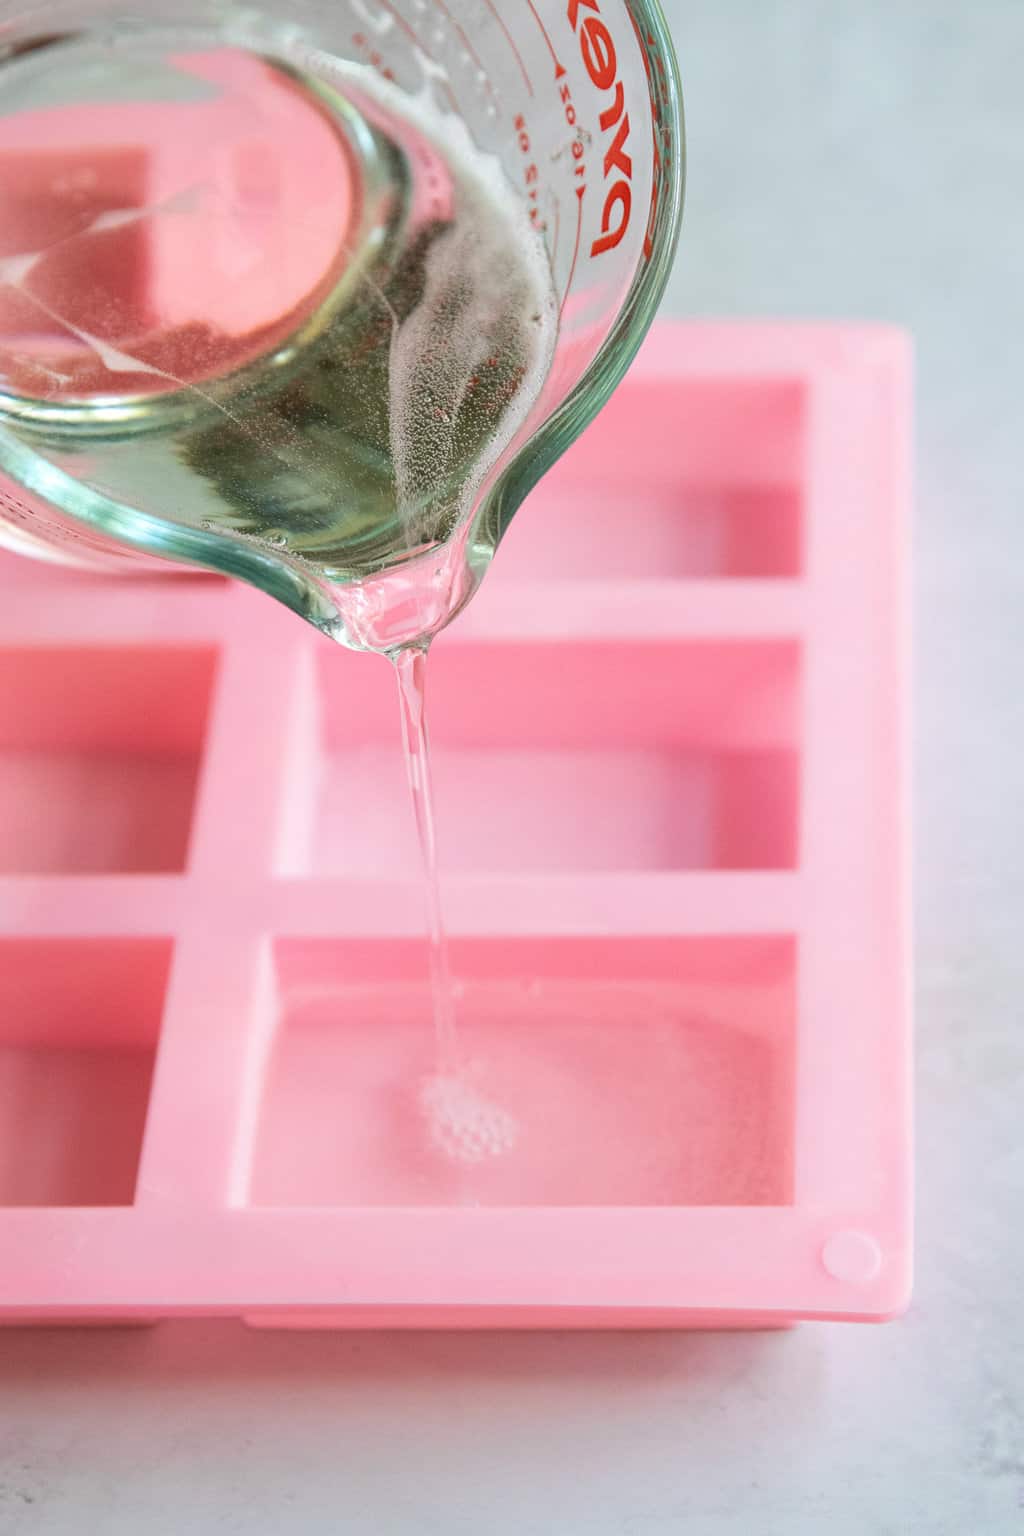
Step 8 | Pour into soap mold
At this point, you should have nothing but glycerin soap left in the slow cooker.
Pour the glycerin soap base into a mold. Cover with plastic wrap and let sit for a week or so. When it is clear (it may take a week or two), remove from the mold and store it in a glass jar or airtight plastic bag.
