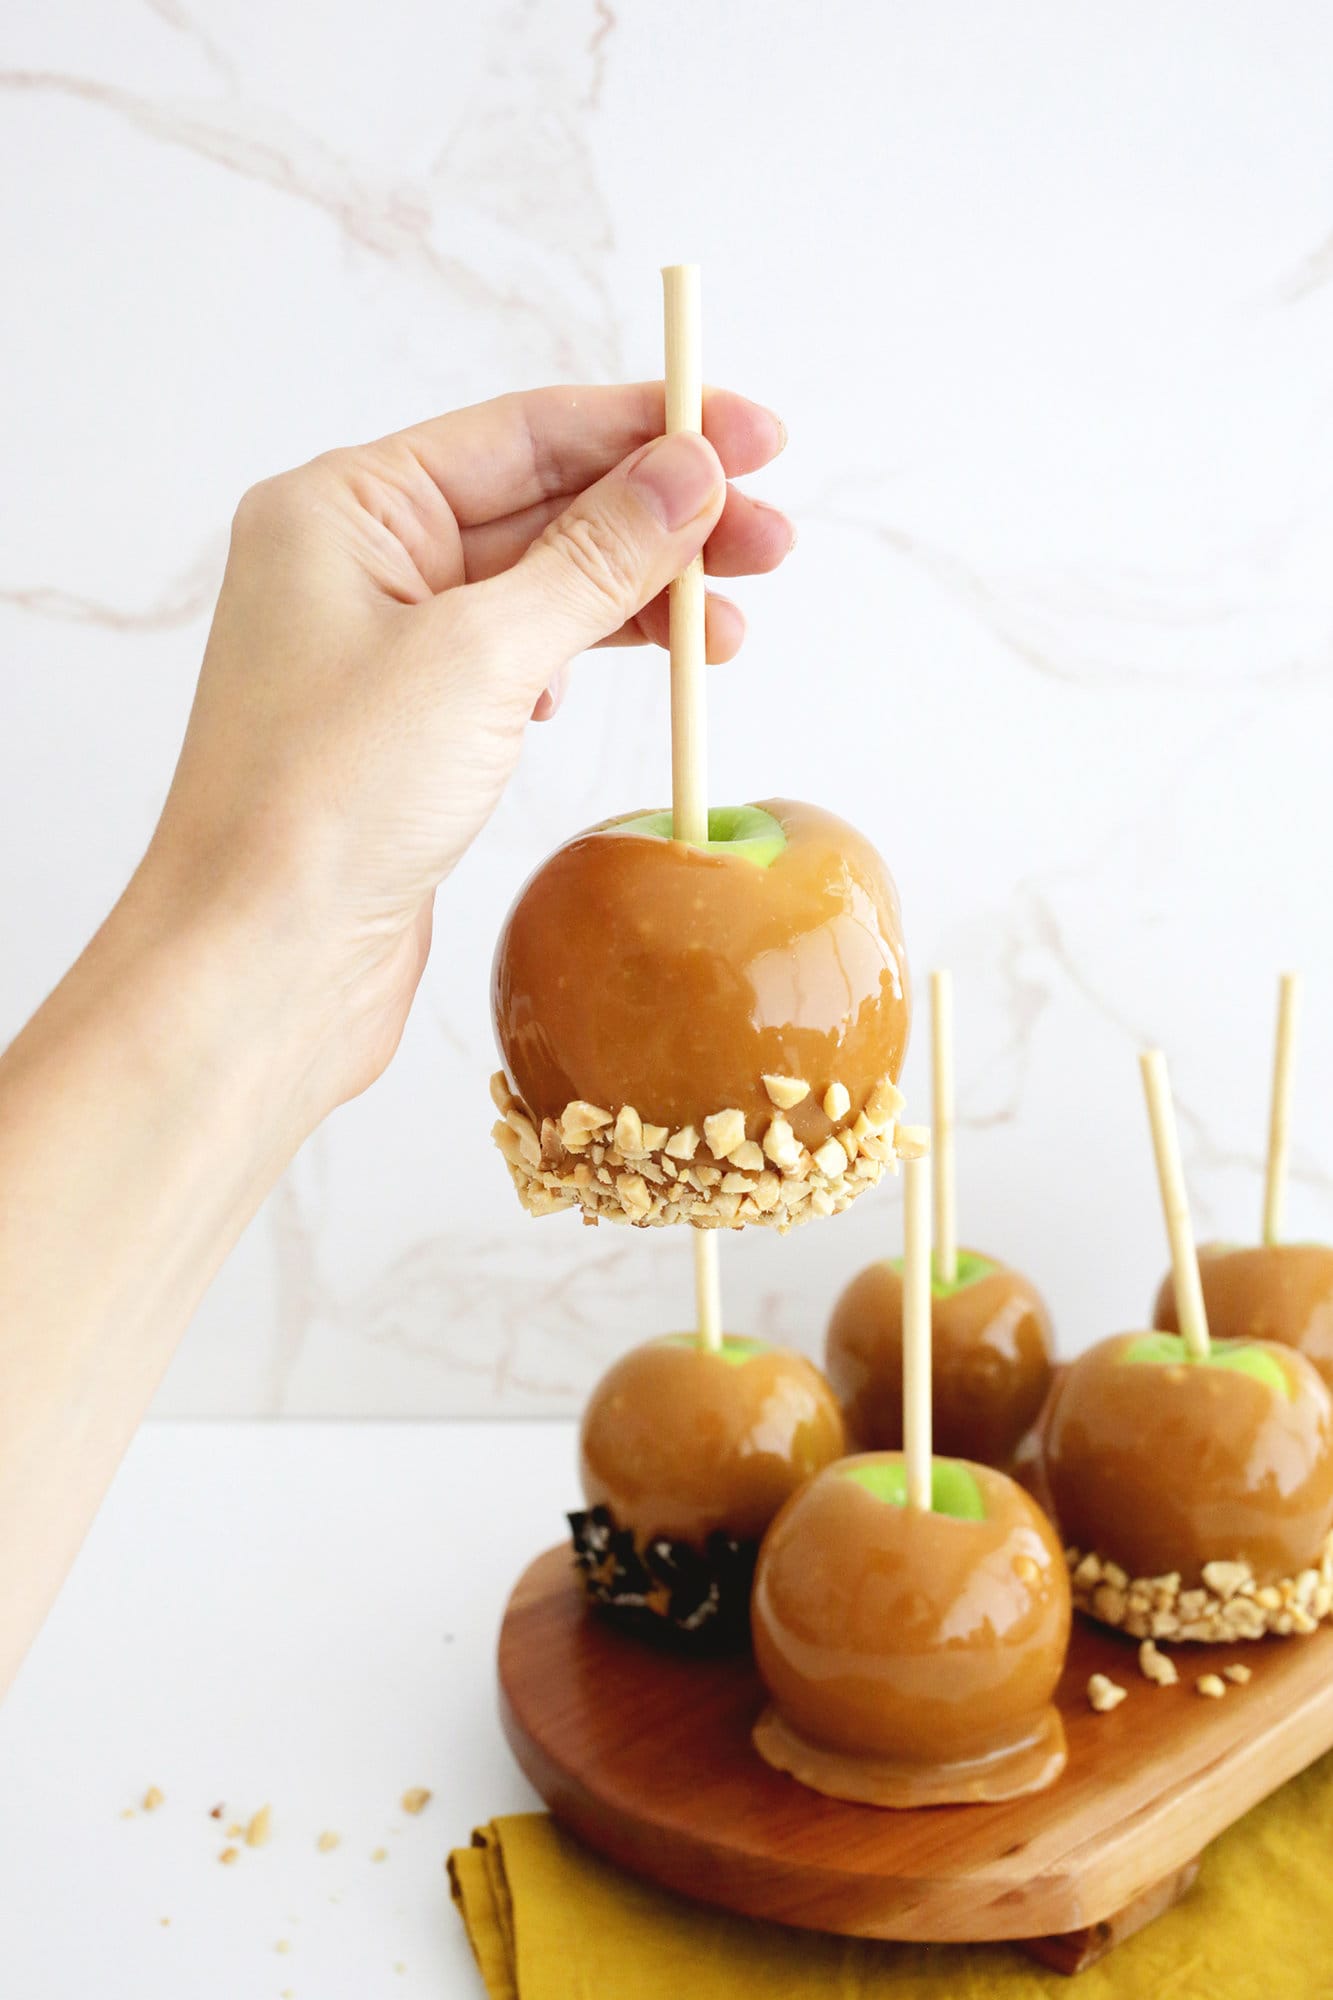
Nothing says fall weather like a caramel apple and we’ve got the easiest way to make one at home! While you can do a homemade version of a caramel apple and make your own caramel from scratch, this recipe uses store-bought caramels so you can get to the dipping (and eating!) part of your treat sooner.
Caramel apples also make great gifts so you can make a batch to hand out at Halloween parties, as a thank-you present, or just make a few for your family on a crisp fall day. Add fun toppings to make it a gourmet treat!
Looking for more fall recipes? Check out:
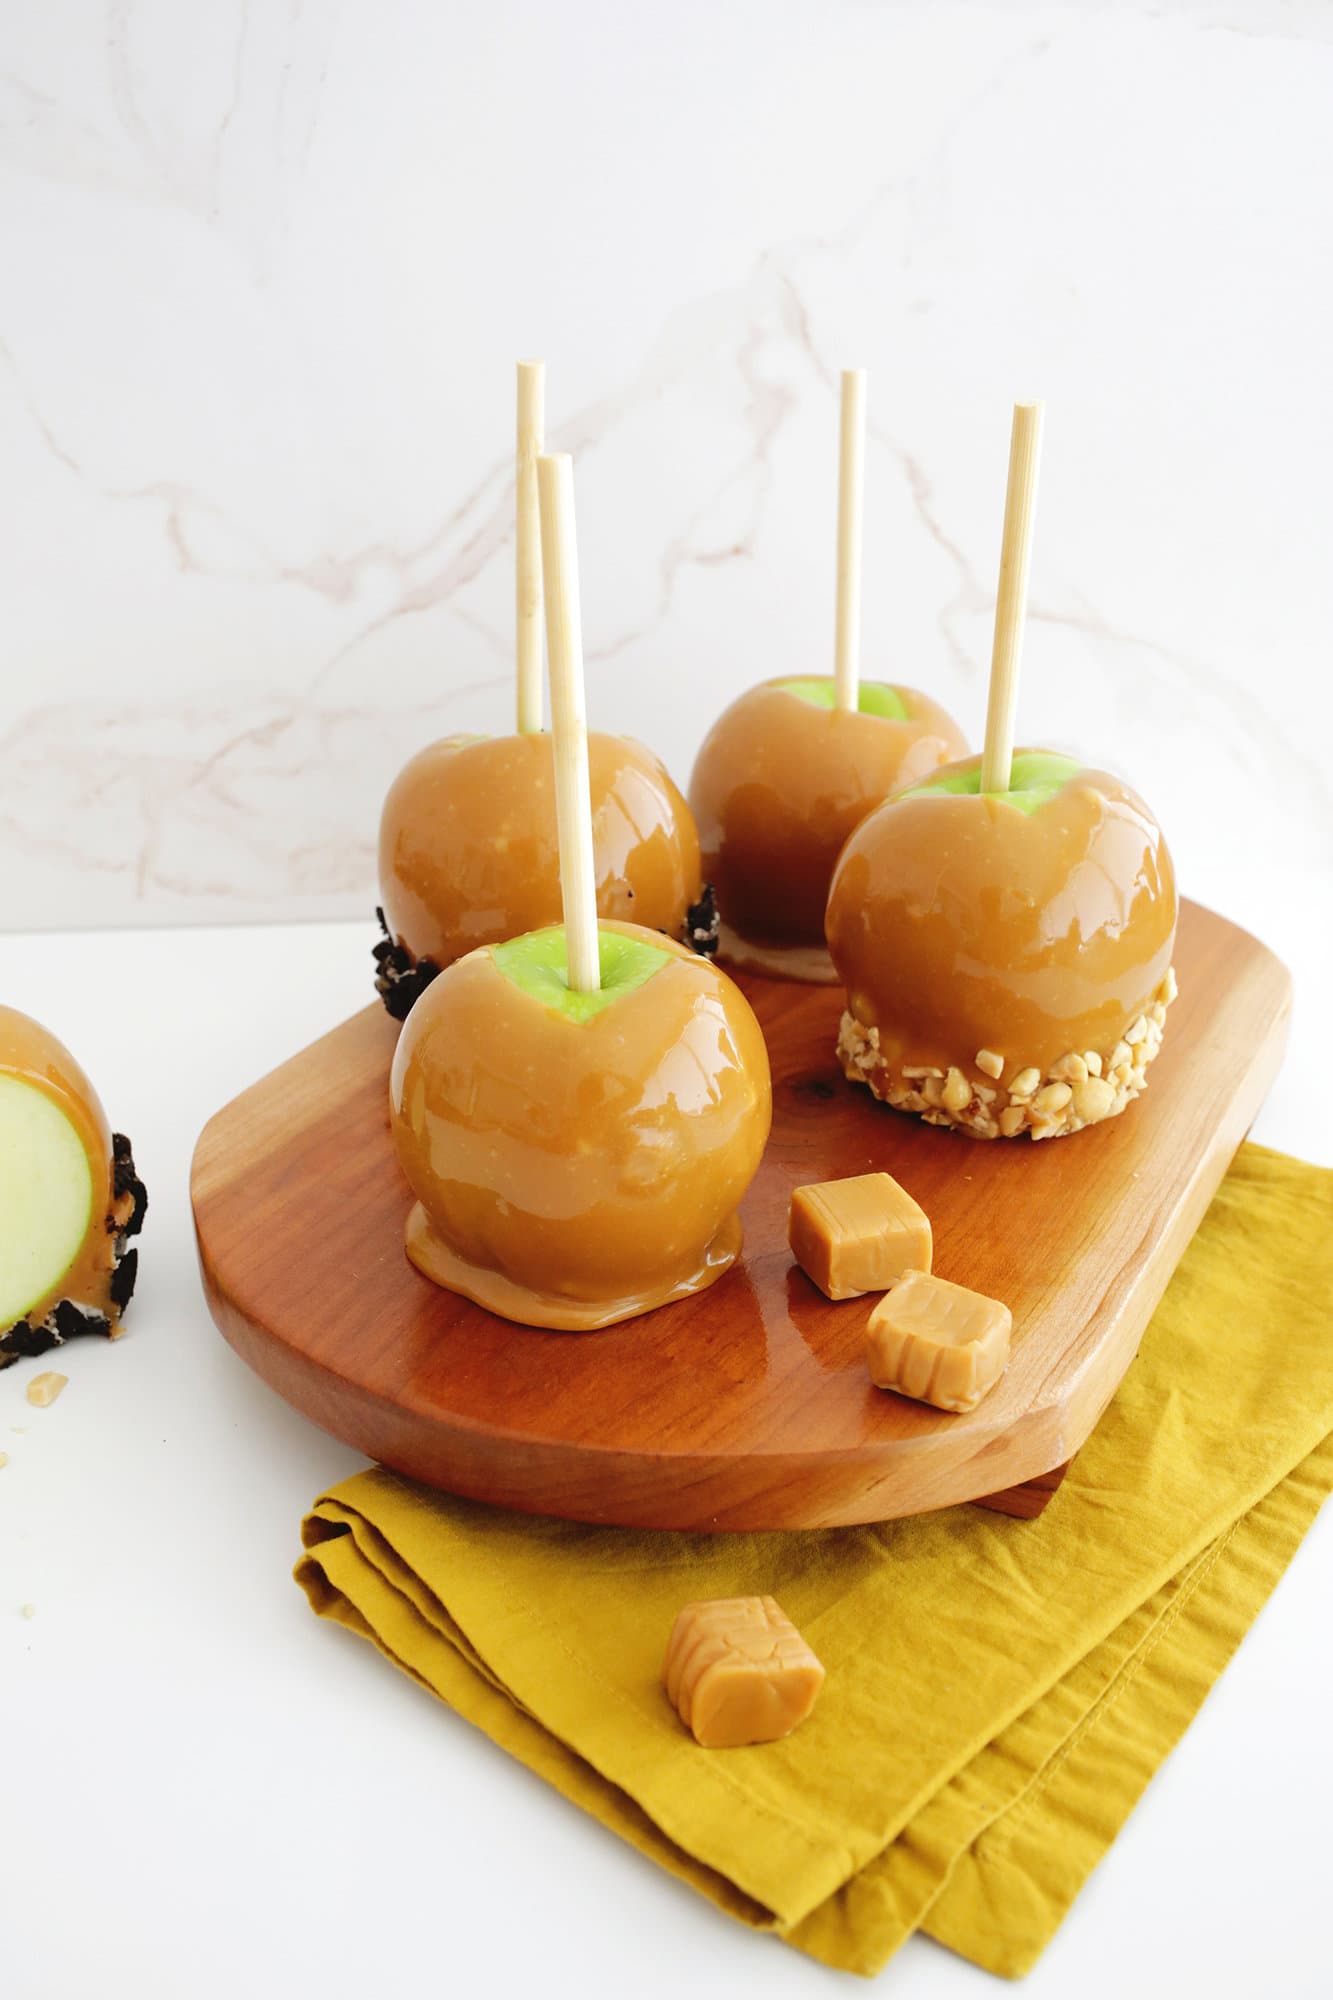
What kind of apples are best for caramel apples?
The variety of apple that you choose for your caramel apple depends entirely on your taste! If you have a sweet tooth, you would probably enjoy a sweeter variety like a Fuji, Honeycrisp, or a Pink Lady as your apple base. For a more tart contrast to your sweet caramel topping, Granny Smiths are the most popular choice. These are all firmer choices than say a softer Macintosh variety and give you a better crunch factor when eating your treat.
Caramel Apple Tip! Look for apples that are small to medium in size and round in shape for that perfect caramel apple look!
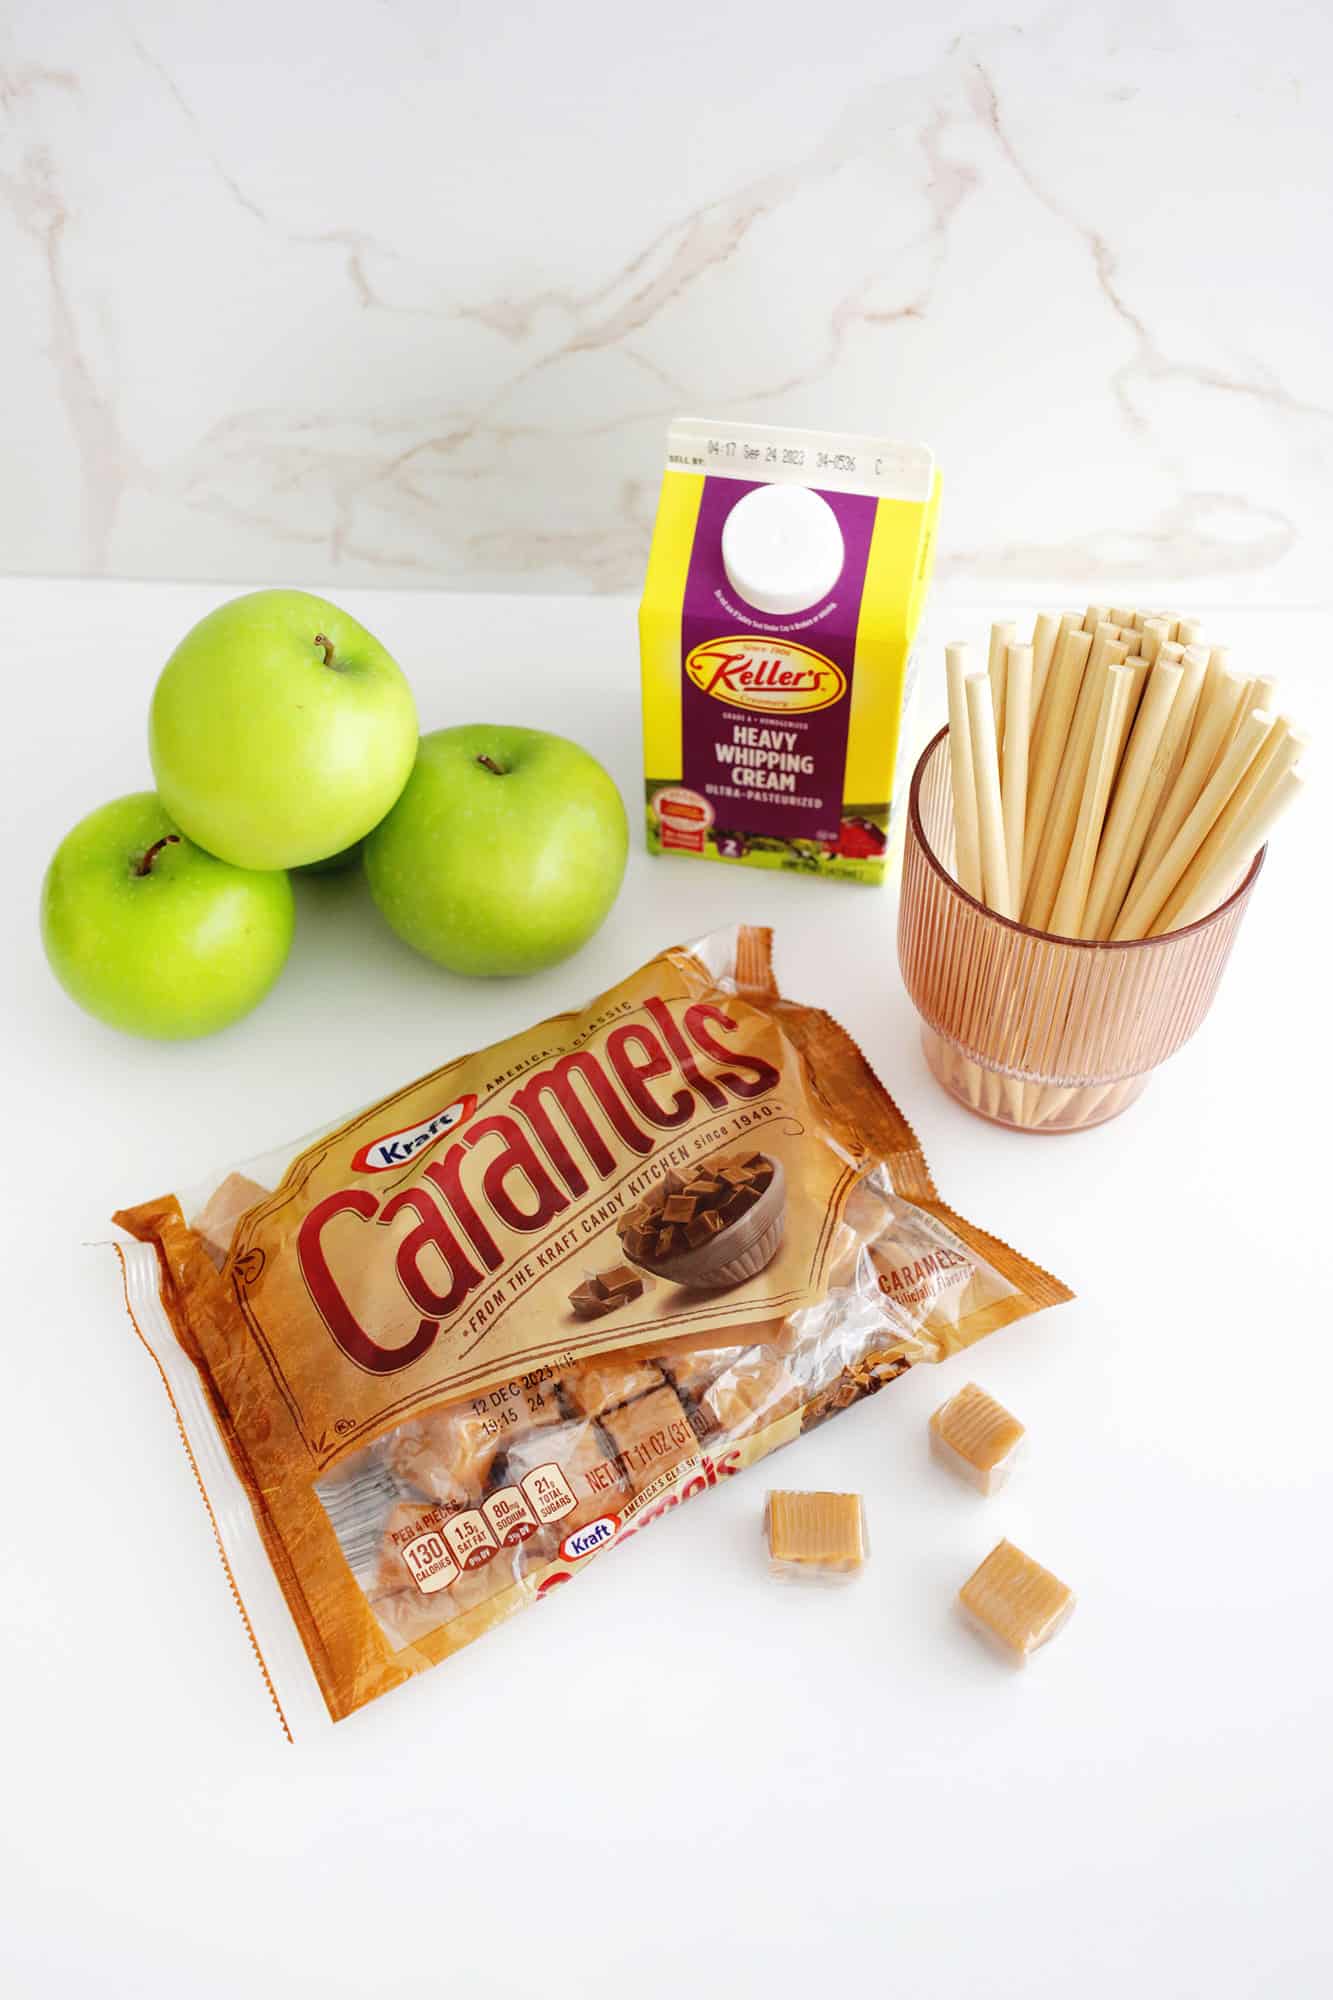
Caramel Apple Ingredients:
- Wrapped Caramels: Using pre-made caramels is the fastest and easiest way to go about making your caramel apples. Most grocery stores sell these in the baking area or right next to the apples in fall, but you can also get them online if your local store doesn’t carry them.
- Fresh Apples: Choose a firm apple that is either more sweet or more tart depending on how much sweetness you want to add to the caramel layer. Make sure to wash off the wax before dipping your apple so that the caramel has a better chance of sticking and won’t slide off.
- Heavy Cream or Milk: Just adding a little heavy cream or milk to the caramel will help thin it out a bit to make it more “dippable.”
- Toppings (optional): You can do a second dip after the caramel into fun gourmet toppings like crushed nuts or M&Ms, pretzel bits, sprinkles, flaked sea salt, crushed Oreos, or coconut!
Looking for a delicious caramel dip to eat with apples? Try our Cream Cheese Fruit Dip (4 Ways!)
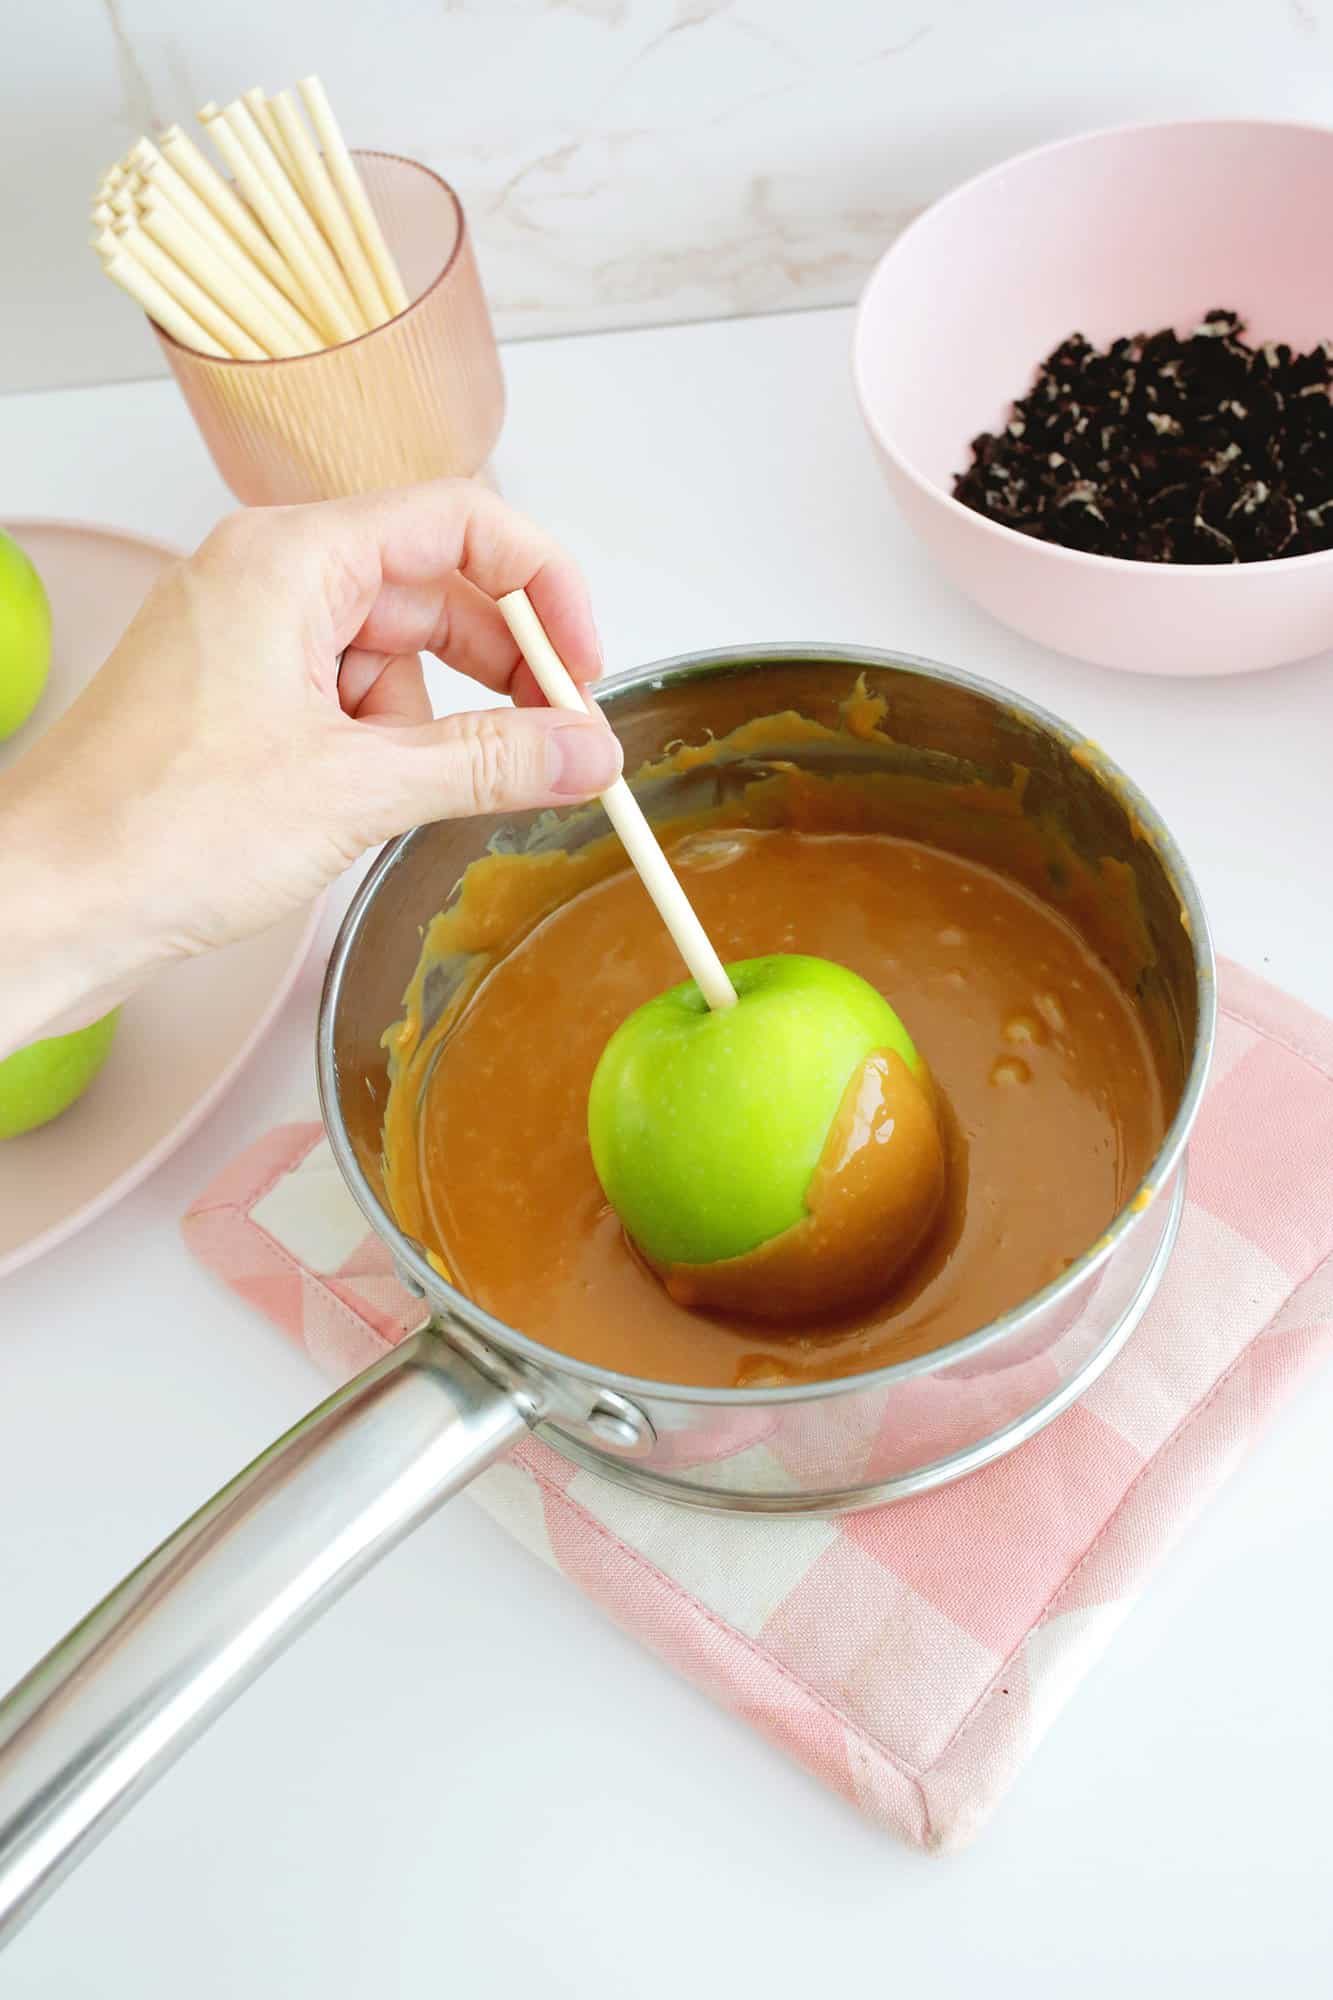
- Nonstick Cooking Spray: You’ll want to make sure your apples don’t stick to the plate or pan you are placing them on, so use some nonstick cooking spray on the surface first to make sure you can remove them easily.
- Dipping container (optional but helpful): While you can just roll your apple around in the bowl or pot you melted the caramel in, for smaller batches it’s also nice to have a Pyrex glass measuring cup to melt the caramel in so you have a nice little container to dunk the apple right in to.
Tips for Making Caramel Apples:
- Remove the wax from your apples. You’ll want to wash your apples and try to remove the wax from the apples before dipping them so the caramel will stick better. Run the apples under some hot water and use a fruit wash or dish soap and a clean scrubby pad or textured towel to rub vigorously over the apples to help remove some of the wax. Dry apples very well so no moisture remains.
- Chill apples before and after dipping. After you add your skewer, you can chill your apples in the fridge so that the caramel sets up faster and less will run off the surface when dipping (and then put them back in the fridge so the caramel will set up faster).
- Have toppings already prepped. If you are dipping your apple into toppings, make sure you already have your bowls of toppings ready so the caramel doesn’t set before you can get your toppings together.
- Drizzle chocolate after cooling: You can also drizzle melted chocolate over your apple for a yummy addition, but wait until the apples are cool so the warm caramel doesn’t melt the chocolate.
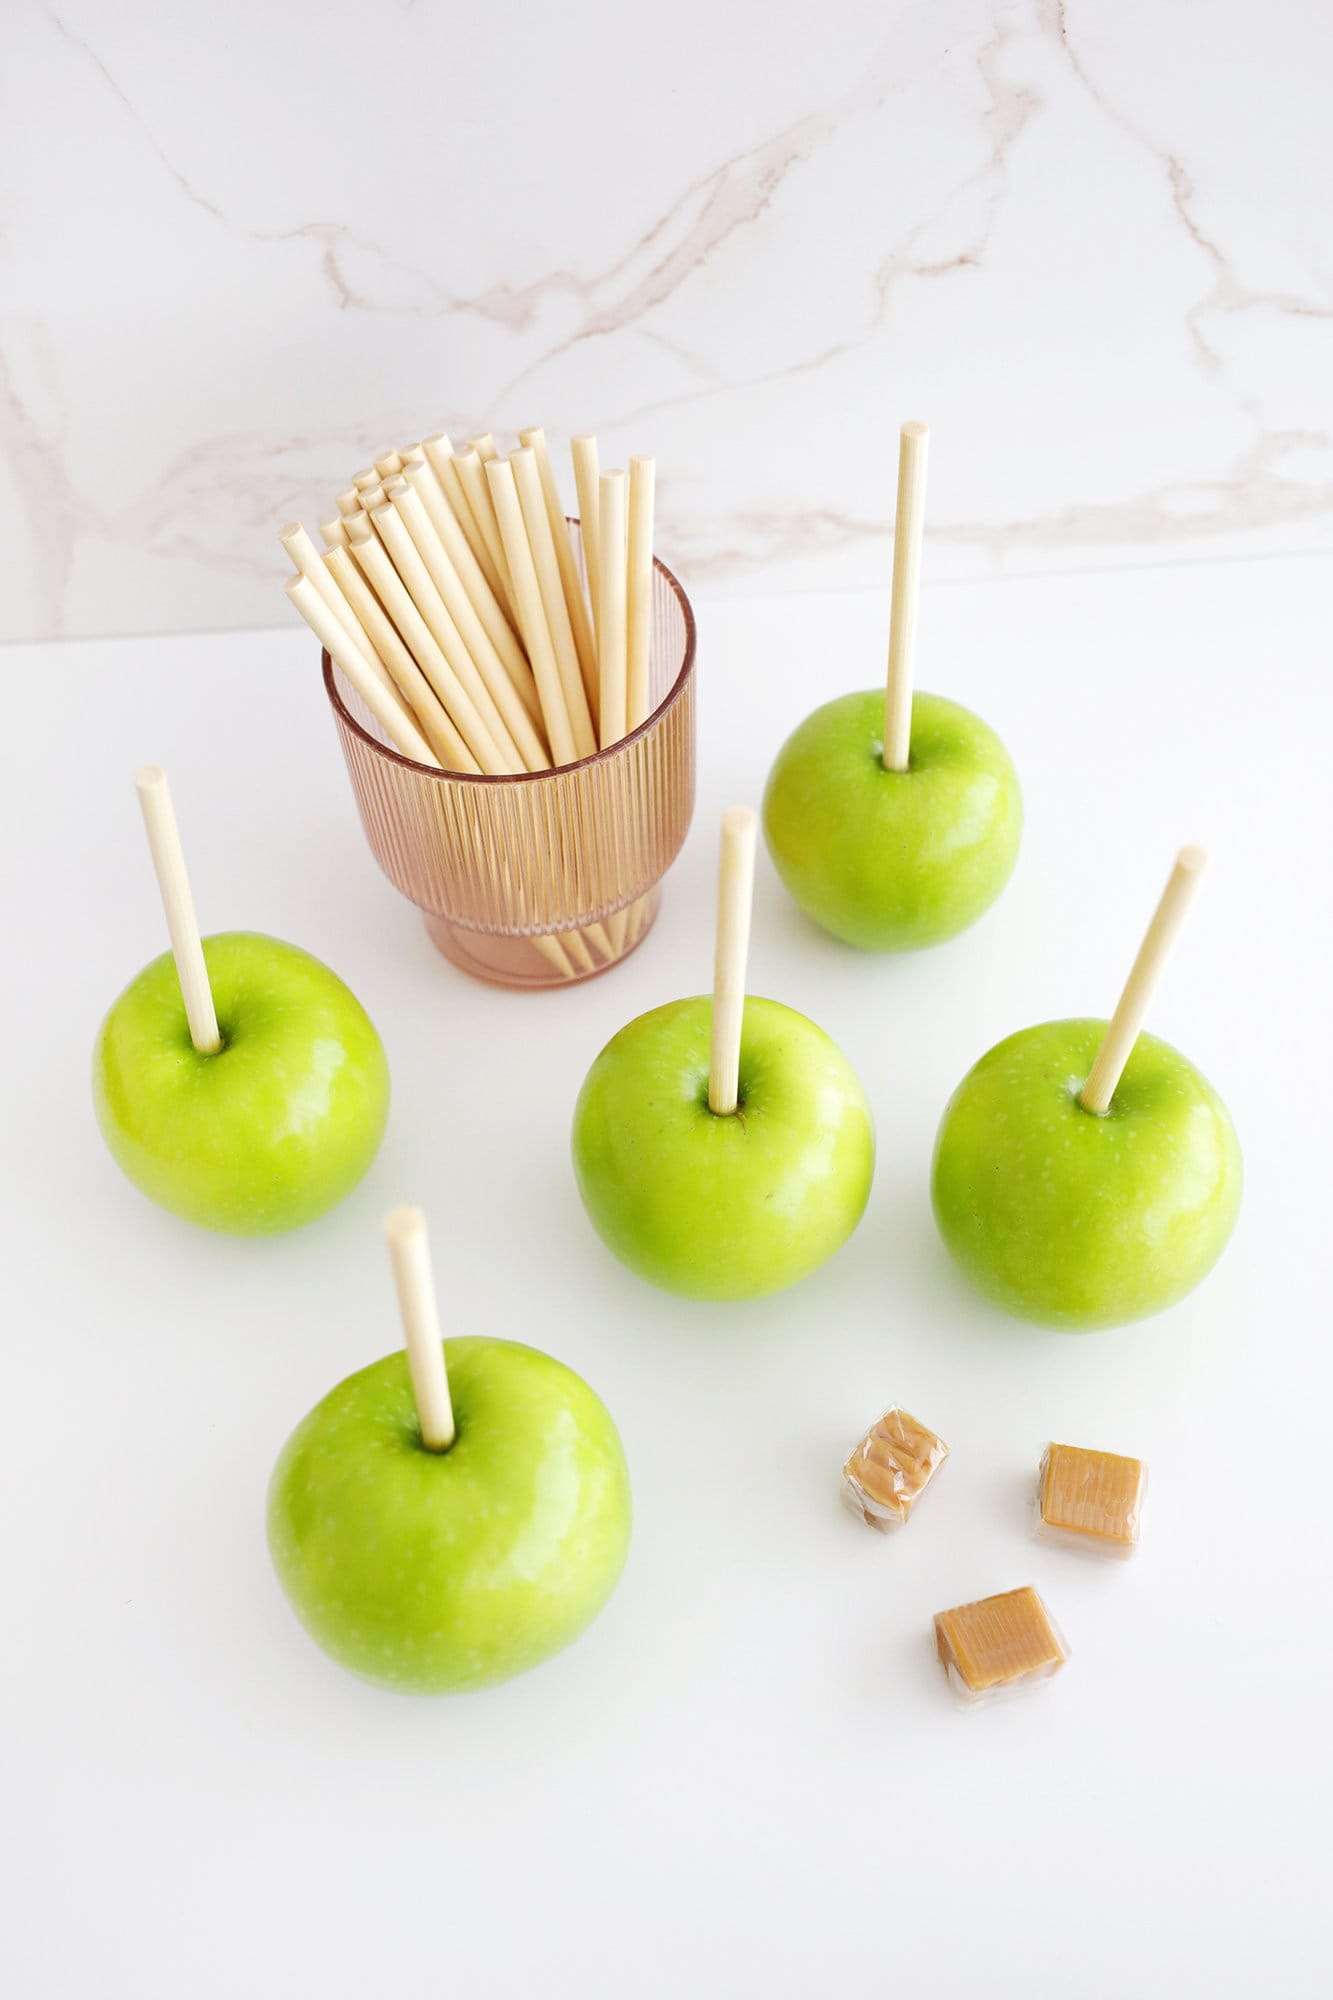
How to Make Caramel Apples:
Prepare the apples: Once clean, make sure the apples are thoroughly dry before dipping! Skewer your apple with your stick or fork and set aside.
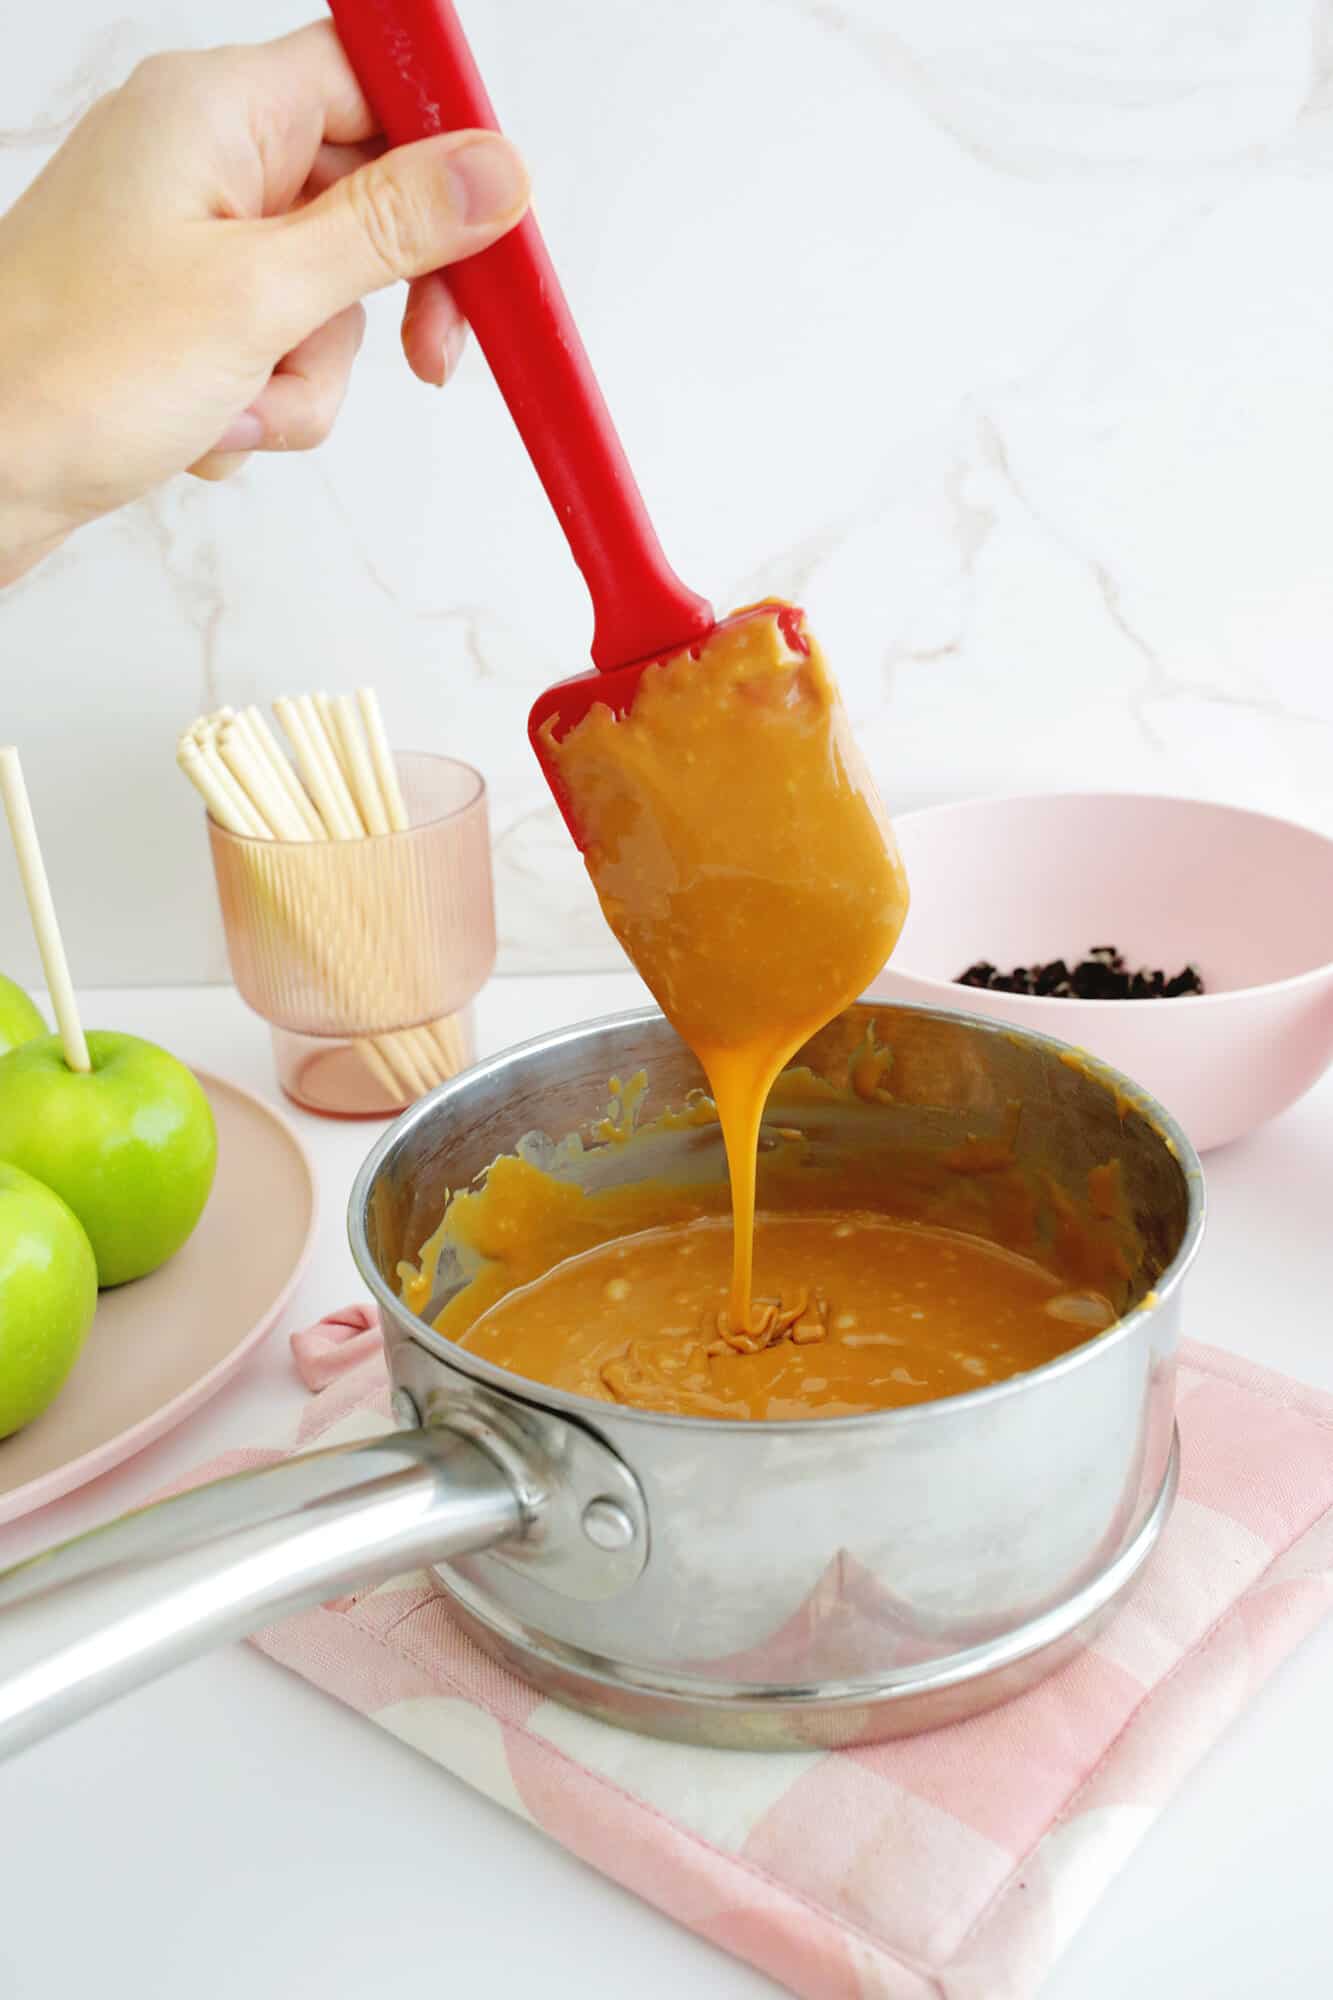
Melt the caramel: Put your caramels and heavy cream/milk in a microwave-safe bowl and heat for 30-second increments, stirring well between each heating session, until the caramel is smooth and melted. If the caramel seems thin, let it sit for a minute or two to thicken up a bit before dipping.
Can I make caramel apples on the stovetop without a microwave?
Yes! If you don’t have a microwave, you can still make caramel apples easily in a saucepan, a double-boiler pot, or a glass Pyrex-type bowl set on top of a saucepan of boiling water (it will take longer to melt this way, so be patient).
For a regular saucepan, add caramels and milk to pan and heat on medium-low heat, stirring until melted. If using the double-boiler or bowl on top method, just bring a few inches of water to a boil in a pot, set the top of the double boiler or glass bowl on top with your caramel and milk, reduce the heat to a low boil/simmer and stir occasionally until melted.
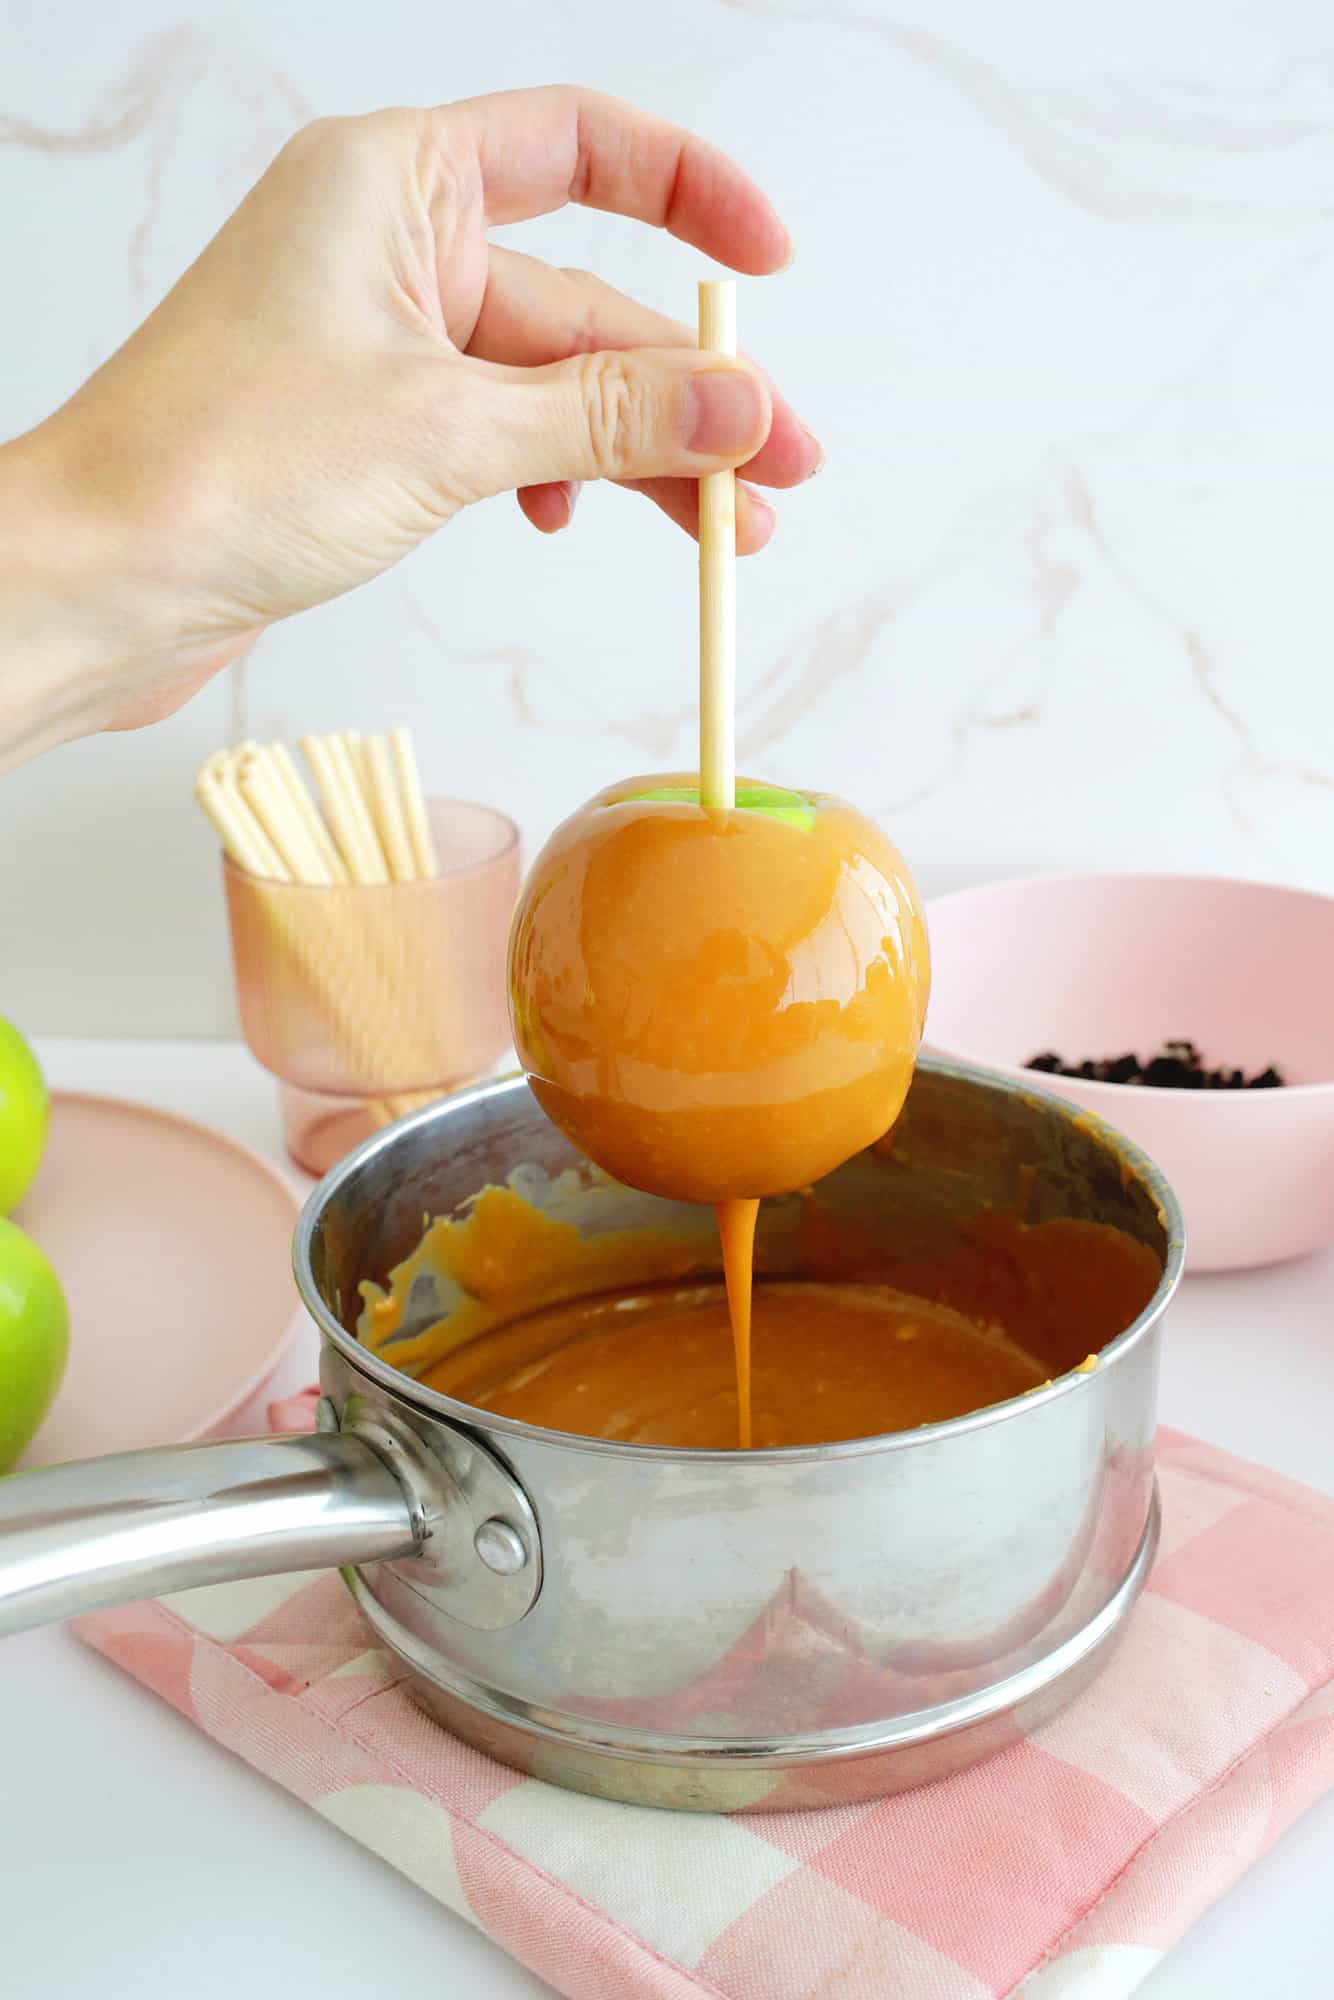
Dip the apples: Now that your caramel is melted, spray a tray or plate with nonstick cooking spray and dip your apple into the melted caramel at an angle, twisting it around until the apple is coated as well as you would like.
Lift the apple to let the excess caramel drip off and scrape the bottom over the side of the bowl to get extra excess. As the caramel gets lower in the bowl, you can also use a spoon to pour the caramel over the apple to cover the sides or tilt the bowl or pan so the caramel pools in one spot.
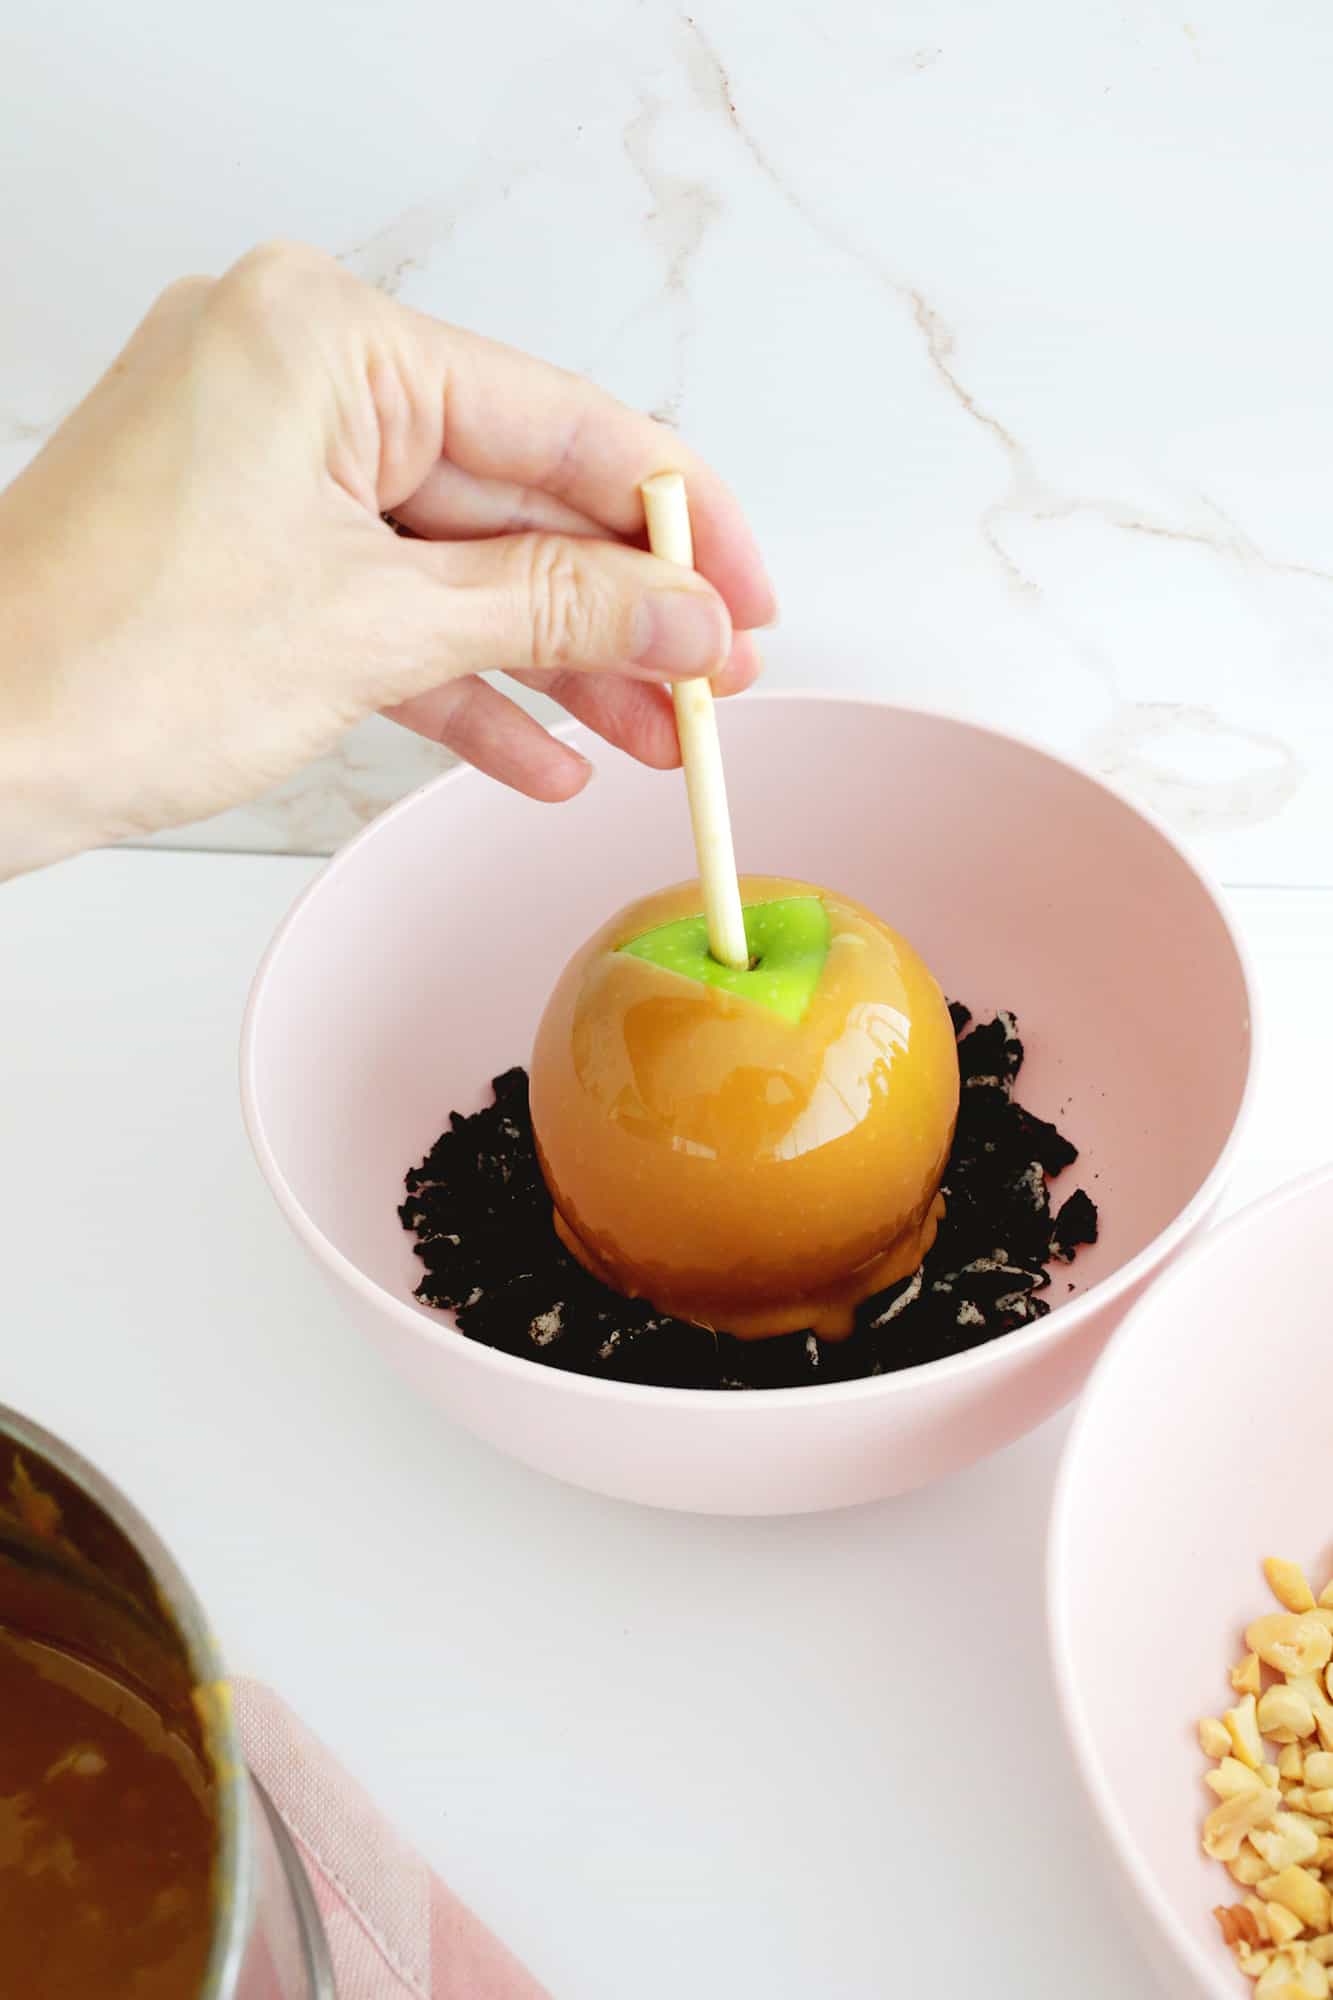
After dipping in your caramel, you can do a second dip into your topping of choice to give it some added flavor before setting it on your tray or plate. Try some black and orange sprinkles for a Halloween caramel apple treat!
If your caramel starts to set as you continue dipping your apples, reheat it for 15 seconds at a time in the microwave until the texture is dippable again.
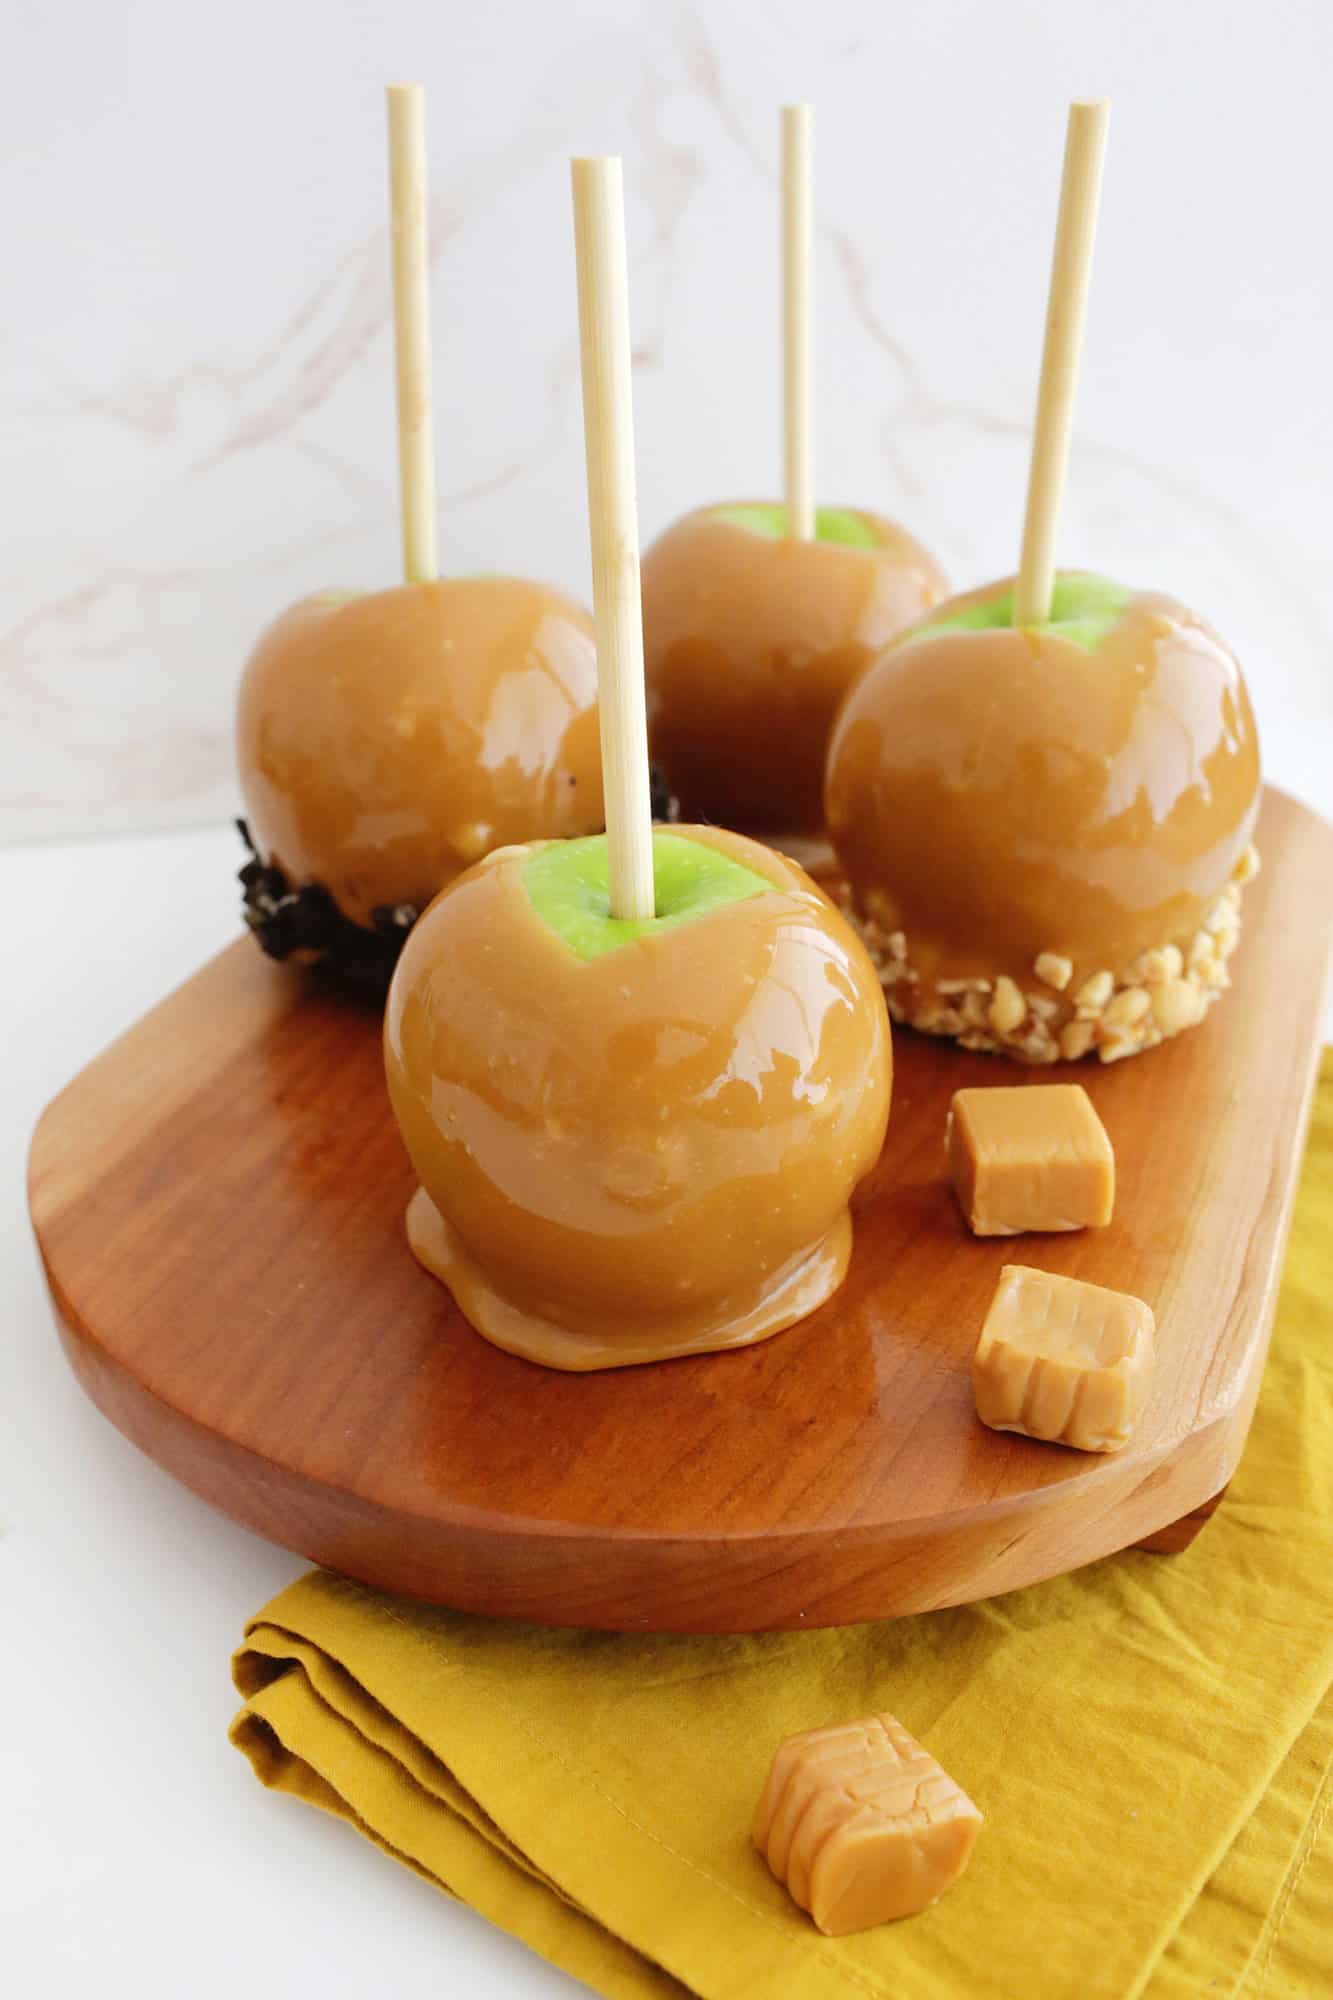
Let the caramel set: Let your apples cool in the fridge for about 15-30 minutes to allow the caramel to fully set. Now your apple is ready to eat!
How do I store caramel apples?
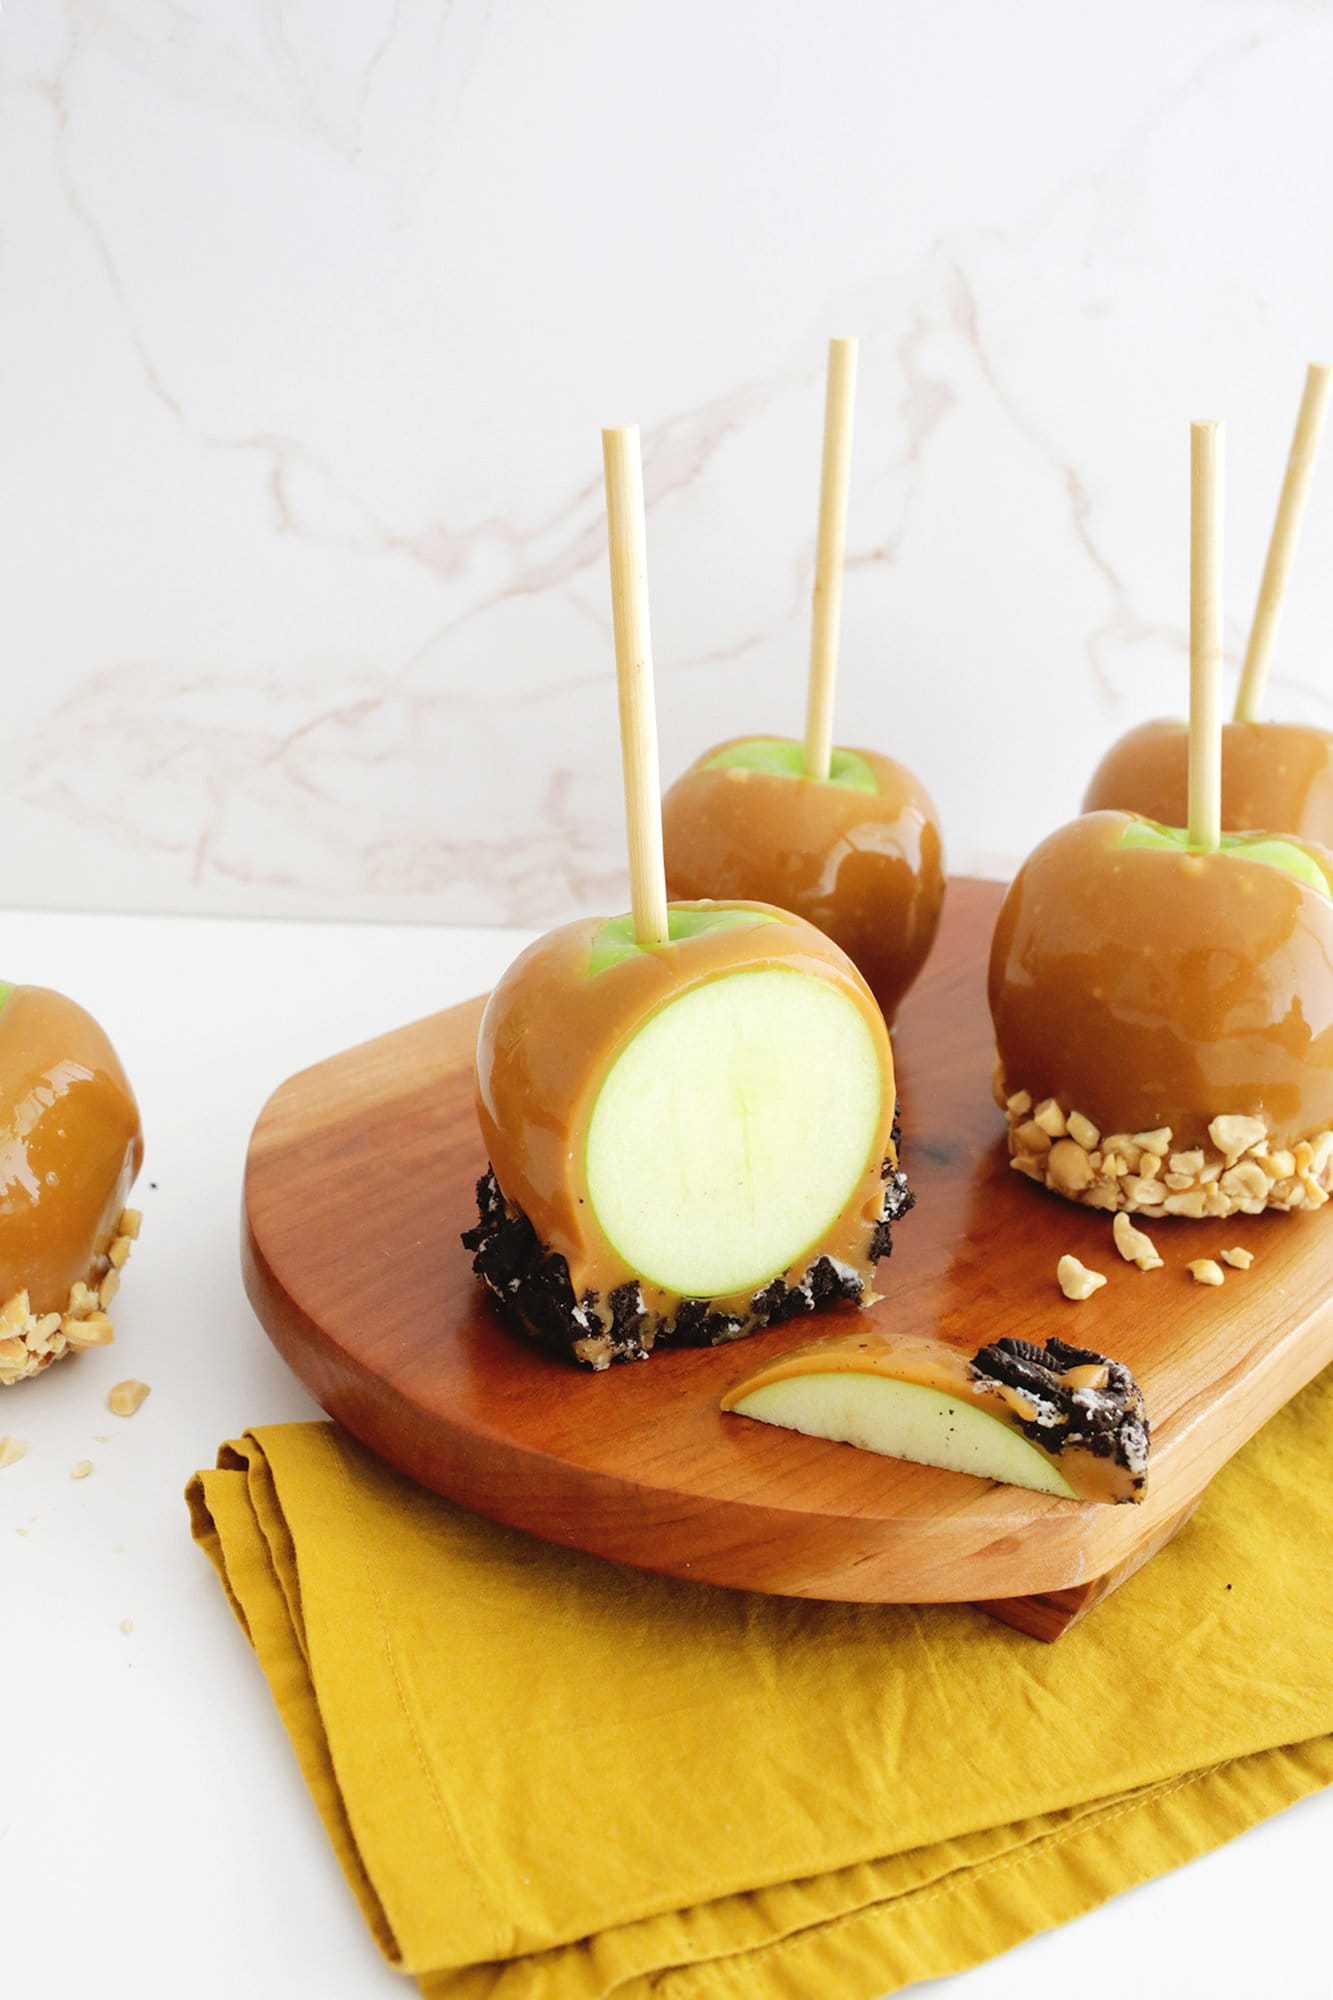
You can store caramel apples in the fridge for up to two weeks and you can also wrap them in clear treat bags individually to give as gifts!
Caramel Apple Tip: Don’t cut into your apples until you are ready to eat them, otherwise they will start to turn brown.
Looking for more apple recipes? Check out:
Get our FREE recipe guide with our most popular recipes of all time!

Free Popular Recipe Guide
Our top 25 recipes of all time!
Print
Get the Recipe
Make delicious caramel apples at home and add gourmet toppings
Instructions
Prepare the apples: Make sure the apples are thoroughly dry before dipping! Skewer your apple with your stick or fork and set aside.
Melt the caramel: Put your caramels and heavy cream/milk in a microwave-safe bowl and heat for 30-second increments, stirring well between each heating session, until the caramel is smooth and melted. If the caramel seems thin, let it sit for a minute or two to thicken up a bit before dipping.
- Dip the apples: Now that your caramel is melted, spray a tray or plate with nonstick cooking spray and dip your apple into the melted caramel at an angle, twisting it around until the apple is coated as well as you would like. Lift the apple to let the excess caramel drip off and scrape the bottom over the side of the bowl to get extra excess. As the caramel gets lower in the bowl, you can also use a spoon to pour the caramel over the apple to cover the sides or tilt the bowl or pan so the caramel pools in one spot.After dipping in your caramel, you can do a second dip into your topping of choice to give it some added flavor before setting it on your tray or plate. Try some black and orange sprinkles for a Halloween caramel apple treat!If your caramel starts to set as you continue dipping your apples, reheat it for 15 seconds at a time in the microwave until the texture is dippable again.
Let the caramel set: Let your apples cool in the fridge for about 15-30 minutes to allow the caramel to fully set. Now your apple is ready to eat!
Notes
Yes! If you don’t have a microwave, you can still make caramel apples easily in a saucepan, a double-boiler pot, or a glass pyrex-type bowl set on top of a saucepan of boiling water (it will take longer to melt this way, so be patient). For a regular saucepan, add caramels and milk to pan and heat on medium-low heat, stirring until melted. If using the double-boiler or bowl on top method, just bring a few inches of water to a boil in a pot, set the top of the double boiler or glass bowl on top with your caramel and milk, reduce the heat to a low boil/simmer and stir occasionally until melted.
You can store caramel apples in the fridge for up to two weeks and you can also wrap them in clear treat bags individually to give as gifts!
Nutrition
Nutrition Facts
Easiest Homemade Caramel Apple
Amount per Serving
% Daily Value*
* Percent Daily Values are based on a 2000 calorie diet.
Notice: Nutrition is auto-calculated, using Spoonacular, for your convenience. Where relevant, we recommend using your own nutrition calculations.
https://abeautifulmess.com/homemade-caramel-apples/”>
#Easy #Caramel #Apples


