Balloons are one of the easiest ways to decorate for a party. They bring a lot of cheer, and making your own balloon garland is an easy way to add a statement piece to your party.
It looks super professional even if you’re just a beginner balloon garland maker!
I’ll show you how to make an easy balloon garland (or balloon arch!) for your next party—and believe me, your guests will be impressed!
Looking for more balloon posts? Check out:
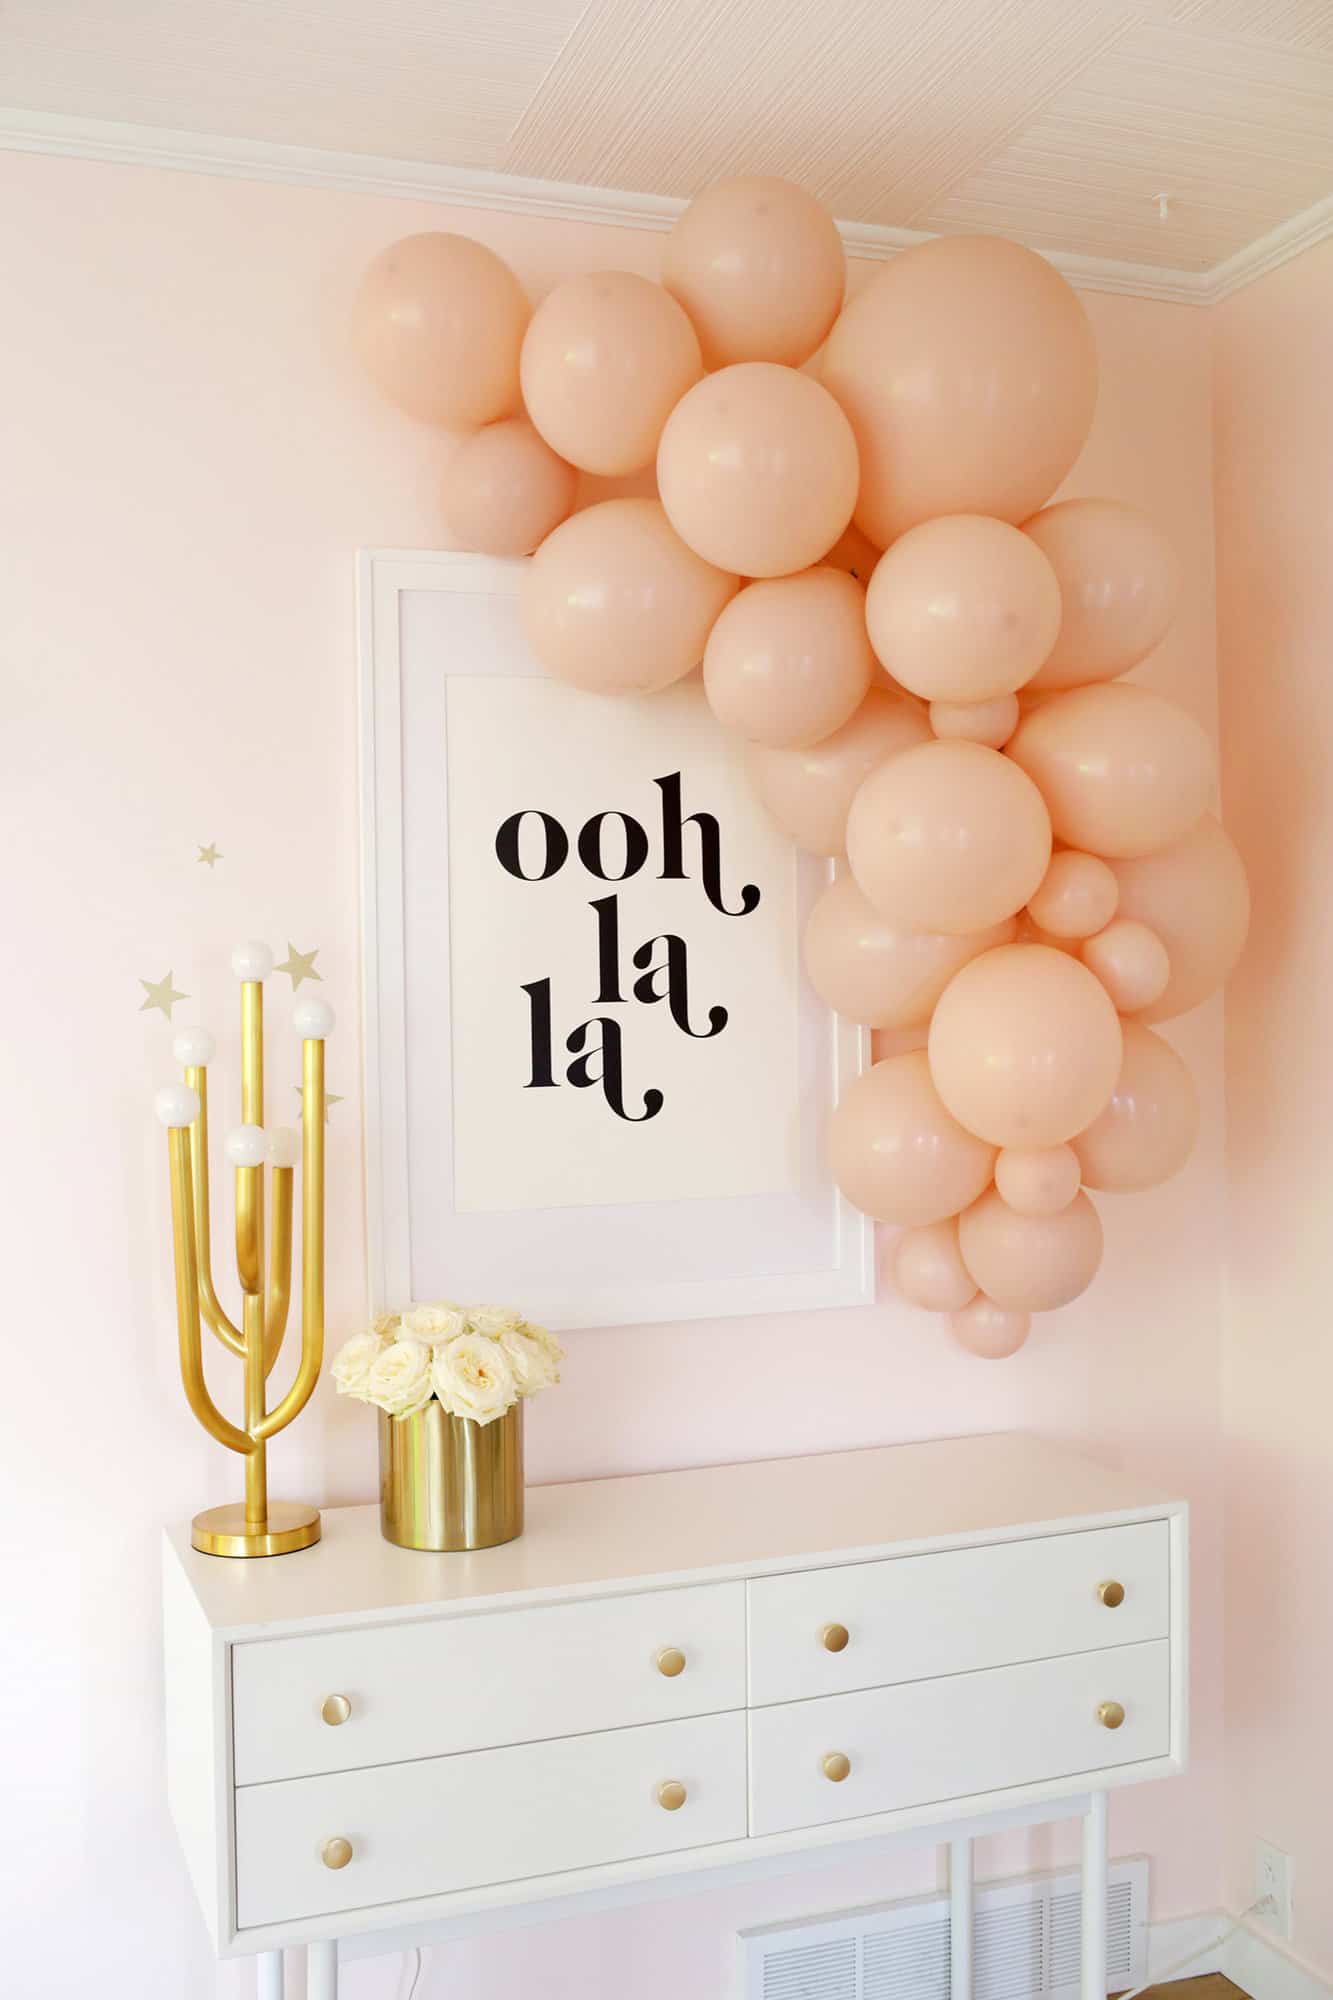
What’s the difference between a balloon arch and a balloon garland?
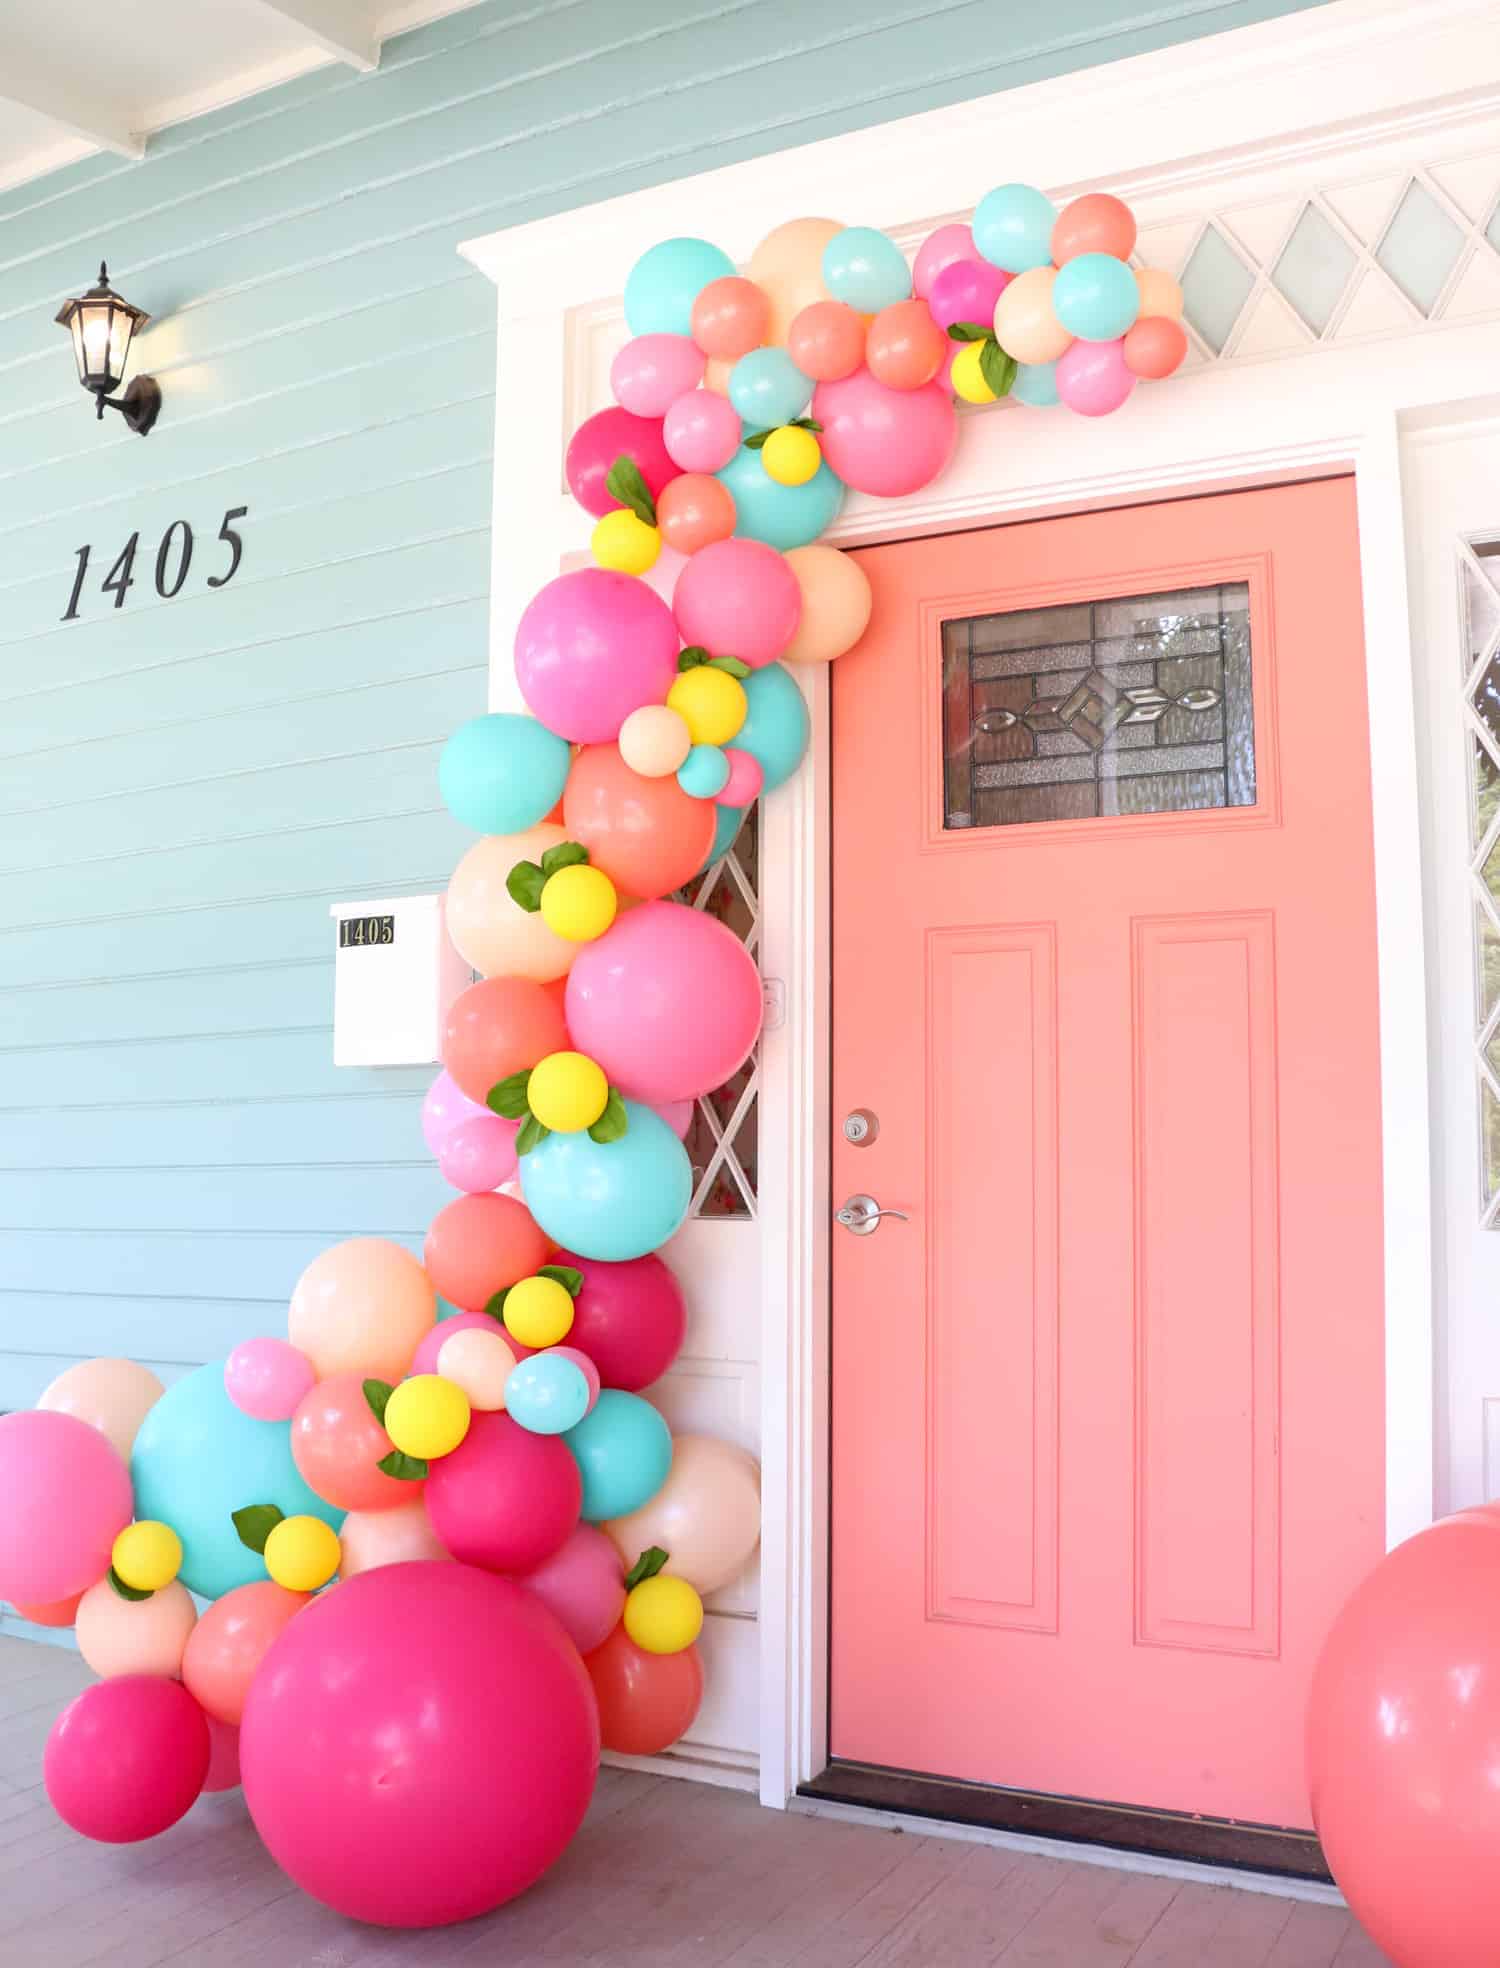
It’s mostly just how you hang it, really! Generally speaking, a balloon arch goes in an upside down “U” shape above a table, doorway, or walking path while a garland is usually hung more in an asymmetrical shape like an upside down “J” over the same items.
A garland can also be strung or hung horizontally in a straight line like down a banister or laid down a table.
What size balloons do you need for a balloon garland?
You can technically make a garland with one standard size of balloon and just blow them up different amounts to have some small, medium, and full-size options. But we like to mix in some 5″ size balloons with standard 11″ or 12″ balloons.
You can also throw in a few extra large sizes with a 17″ or 24″ option for a dramatic size variation on a larger scale garland.
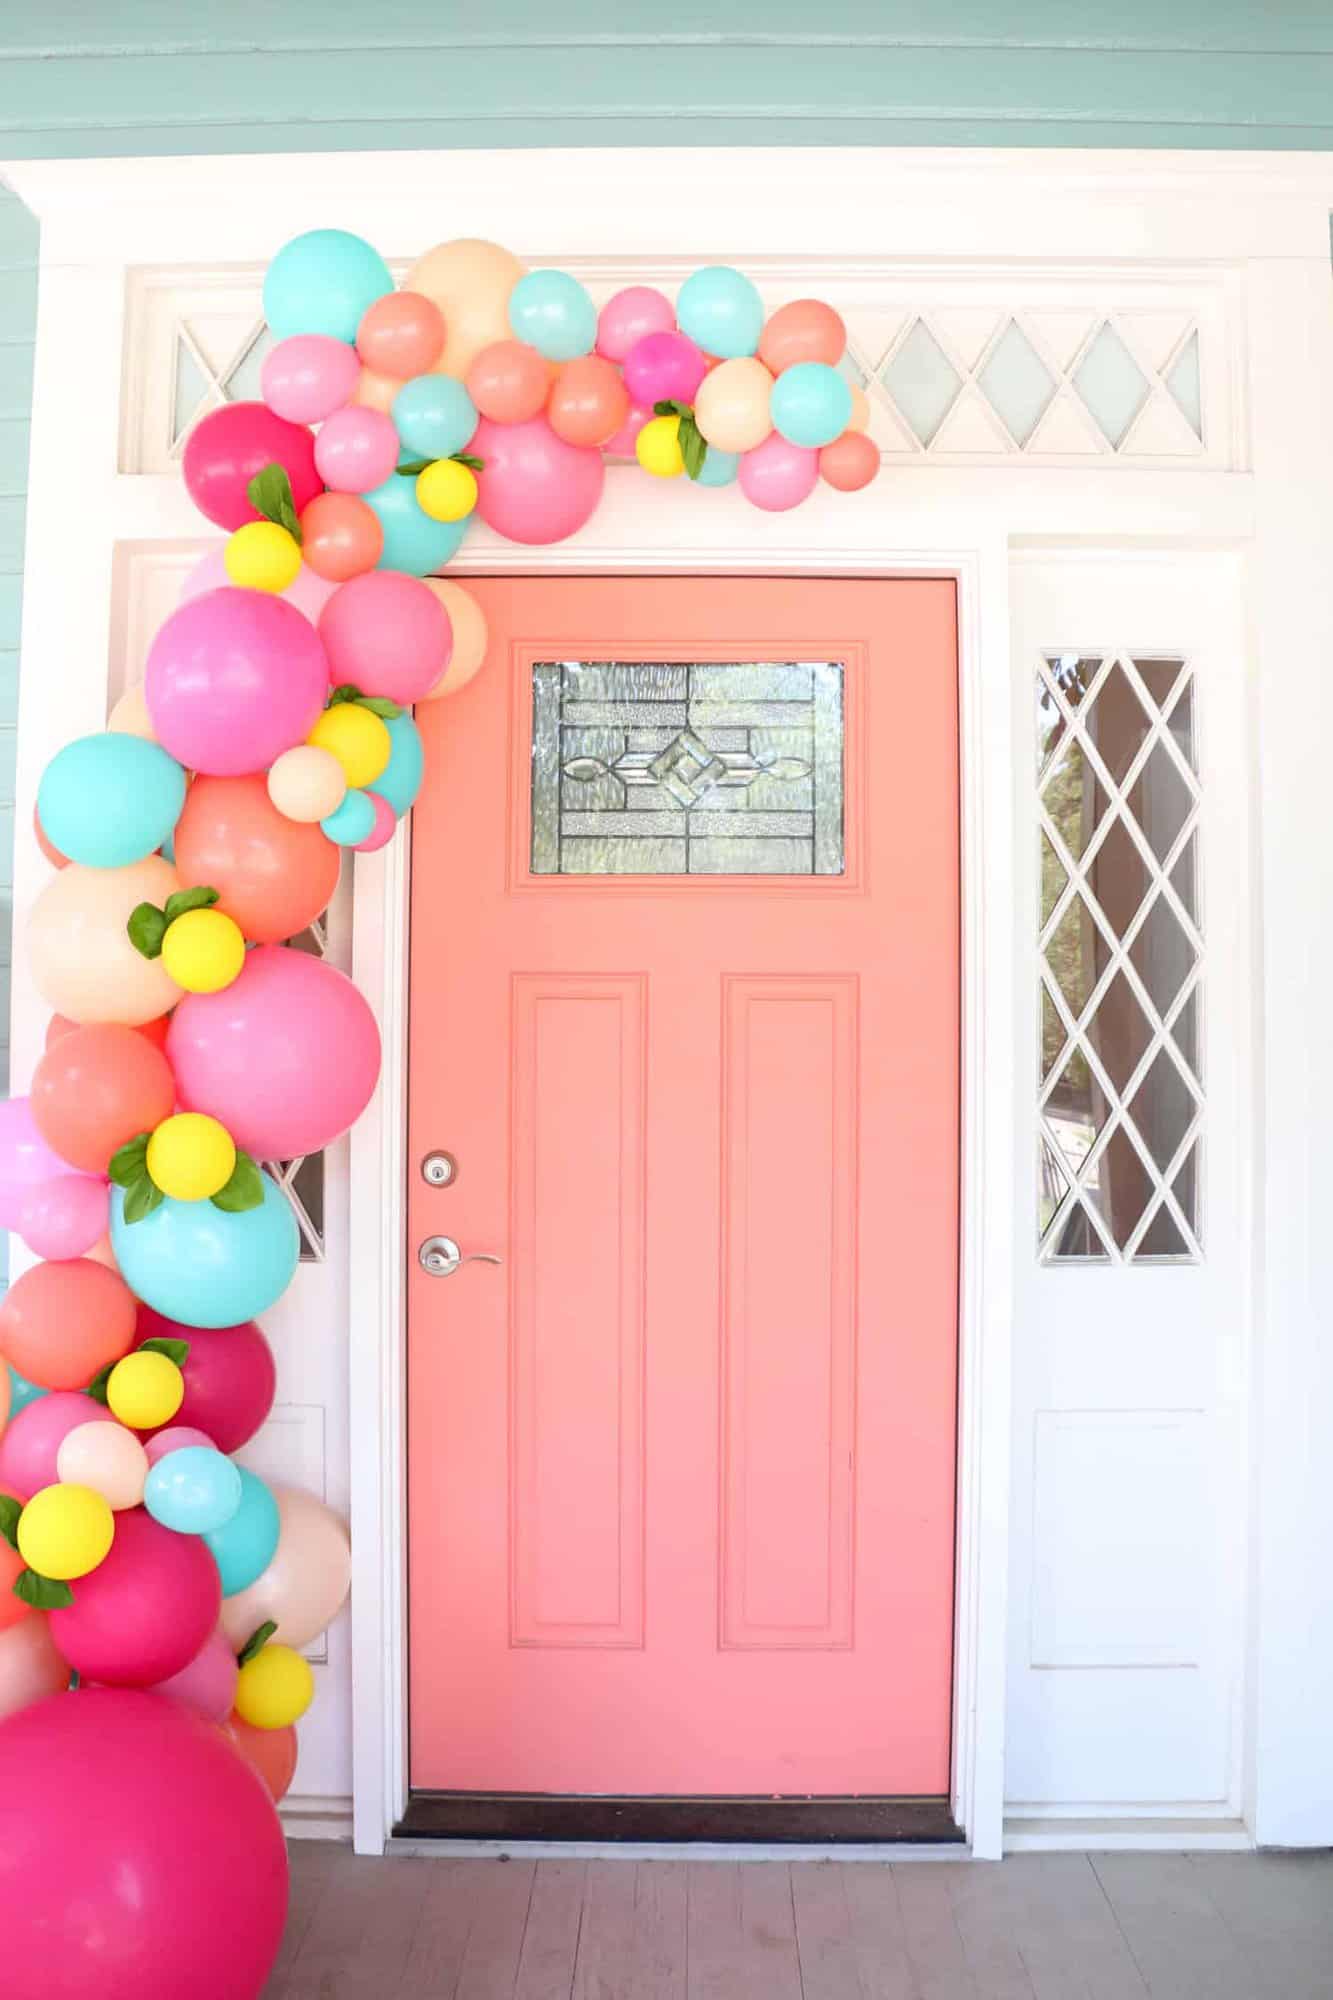
Do you need helium for a balloon garland?
You don’t need helium for a balloon garland that you are attaching to another structure like a doorway or wall.
If you are wanting to make a freestanding arch of balloons that are just connected at the ground level (like an arch you would walk under), you may want to consider helium for those balloons so it will float without having to be attached anywhere up high.
How long will a balloon garland last?
While it depends on the kind of balloons and the temperatures they are exposed to, a balloon garland or arch can actually last 1-2 weeks once the balloons are blown up with regular air (an electric balloon pump like this is a big time saver).
Balloon garlands that are displayed outside though will usually only last a day or so based on the temperature and outdoor heat.
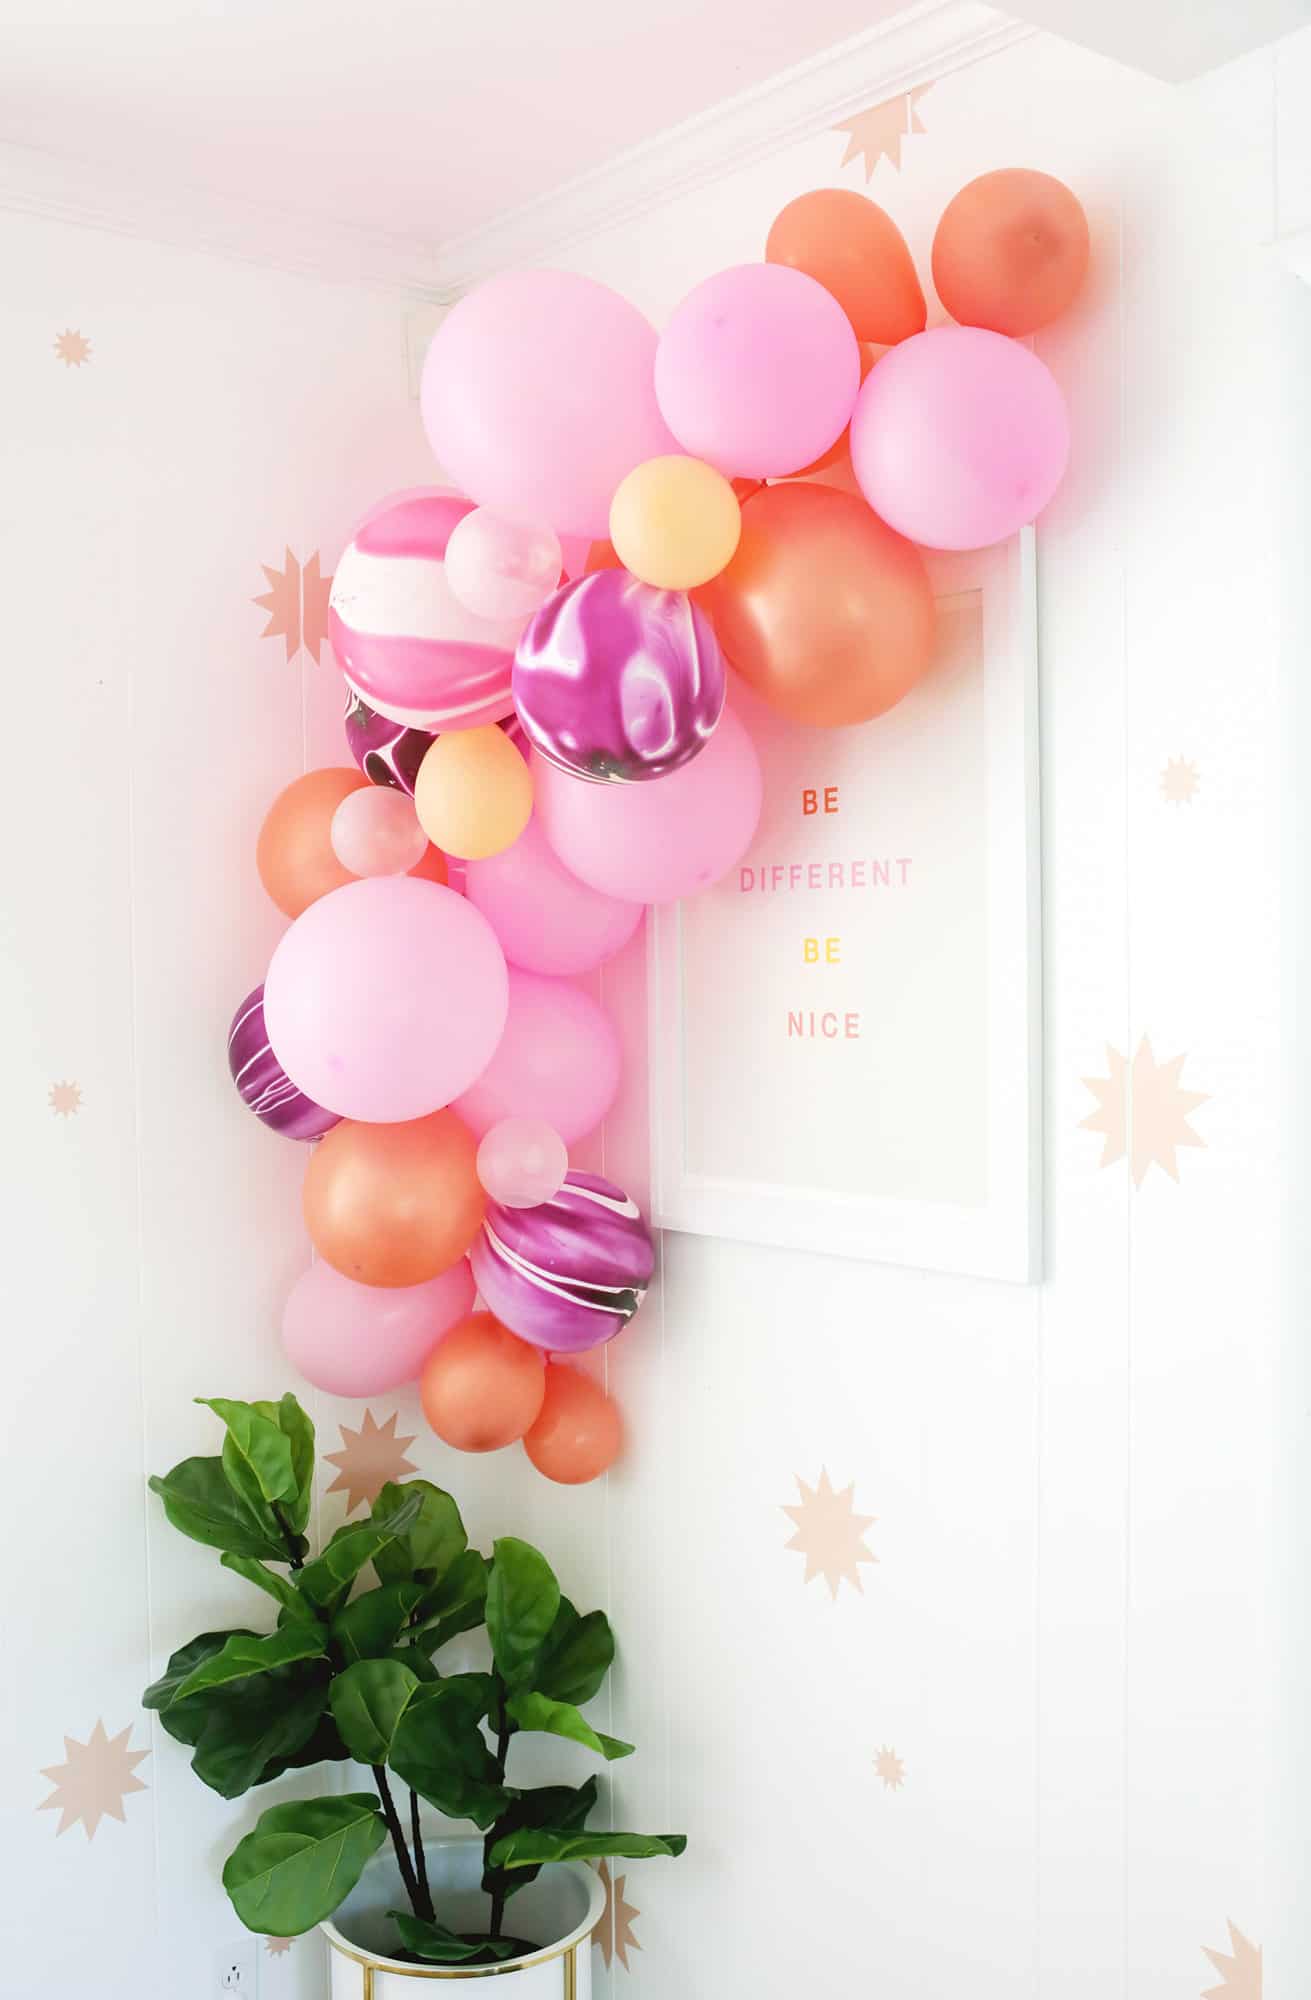
Can you make a balloon garland ahead of time?
Yes! Since the garland can last a week or two indoors, you can make it a few days ahead of your party (or at least blow up the balloons, store them in large garbage bags, and then assemble on party day).
If you are having an outside party, store the garland inside and then hang it the day of the event.
Is it easier to use a balloon garland kit?
It can be! If you want to get most (or all) of the items, you need for your garland in one convenient bundle, buying a kit like this or this can save time and money. And they will provide the right amount of balloon sizes and colors to get the look shown in the photo.
You can even find kits that are specific to a theme like a rainbow balloon garland (here’s a more simple one), a space balloon garland, a Frozen balloon garland, or an under the sea theme for a kid’s party.
Check out Elsie’s Frozen-Themed Birthday Party here!
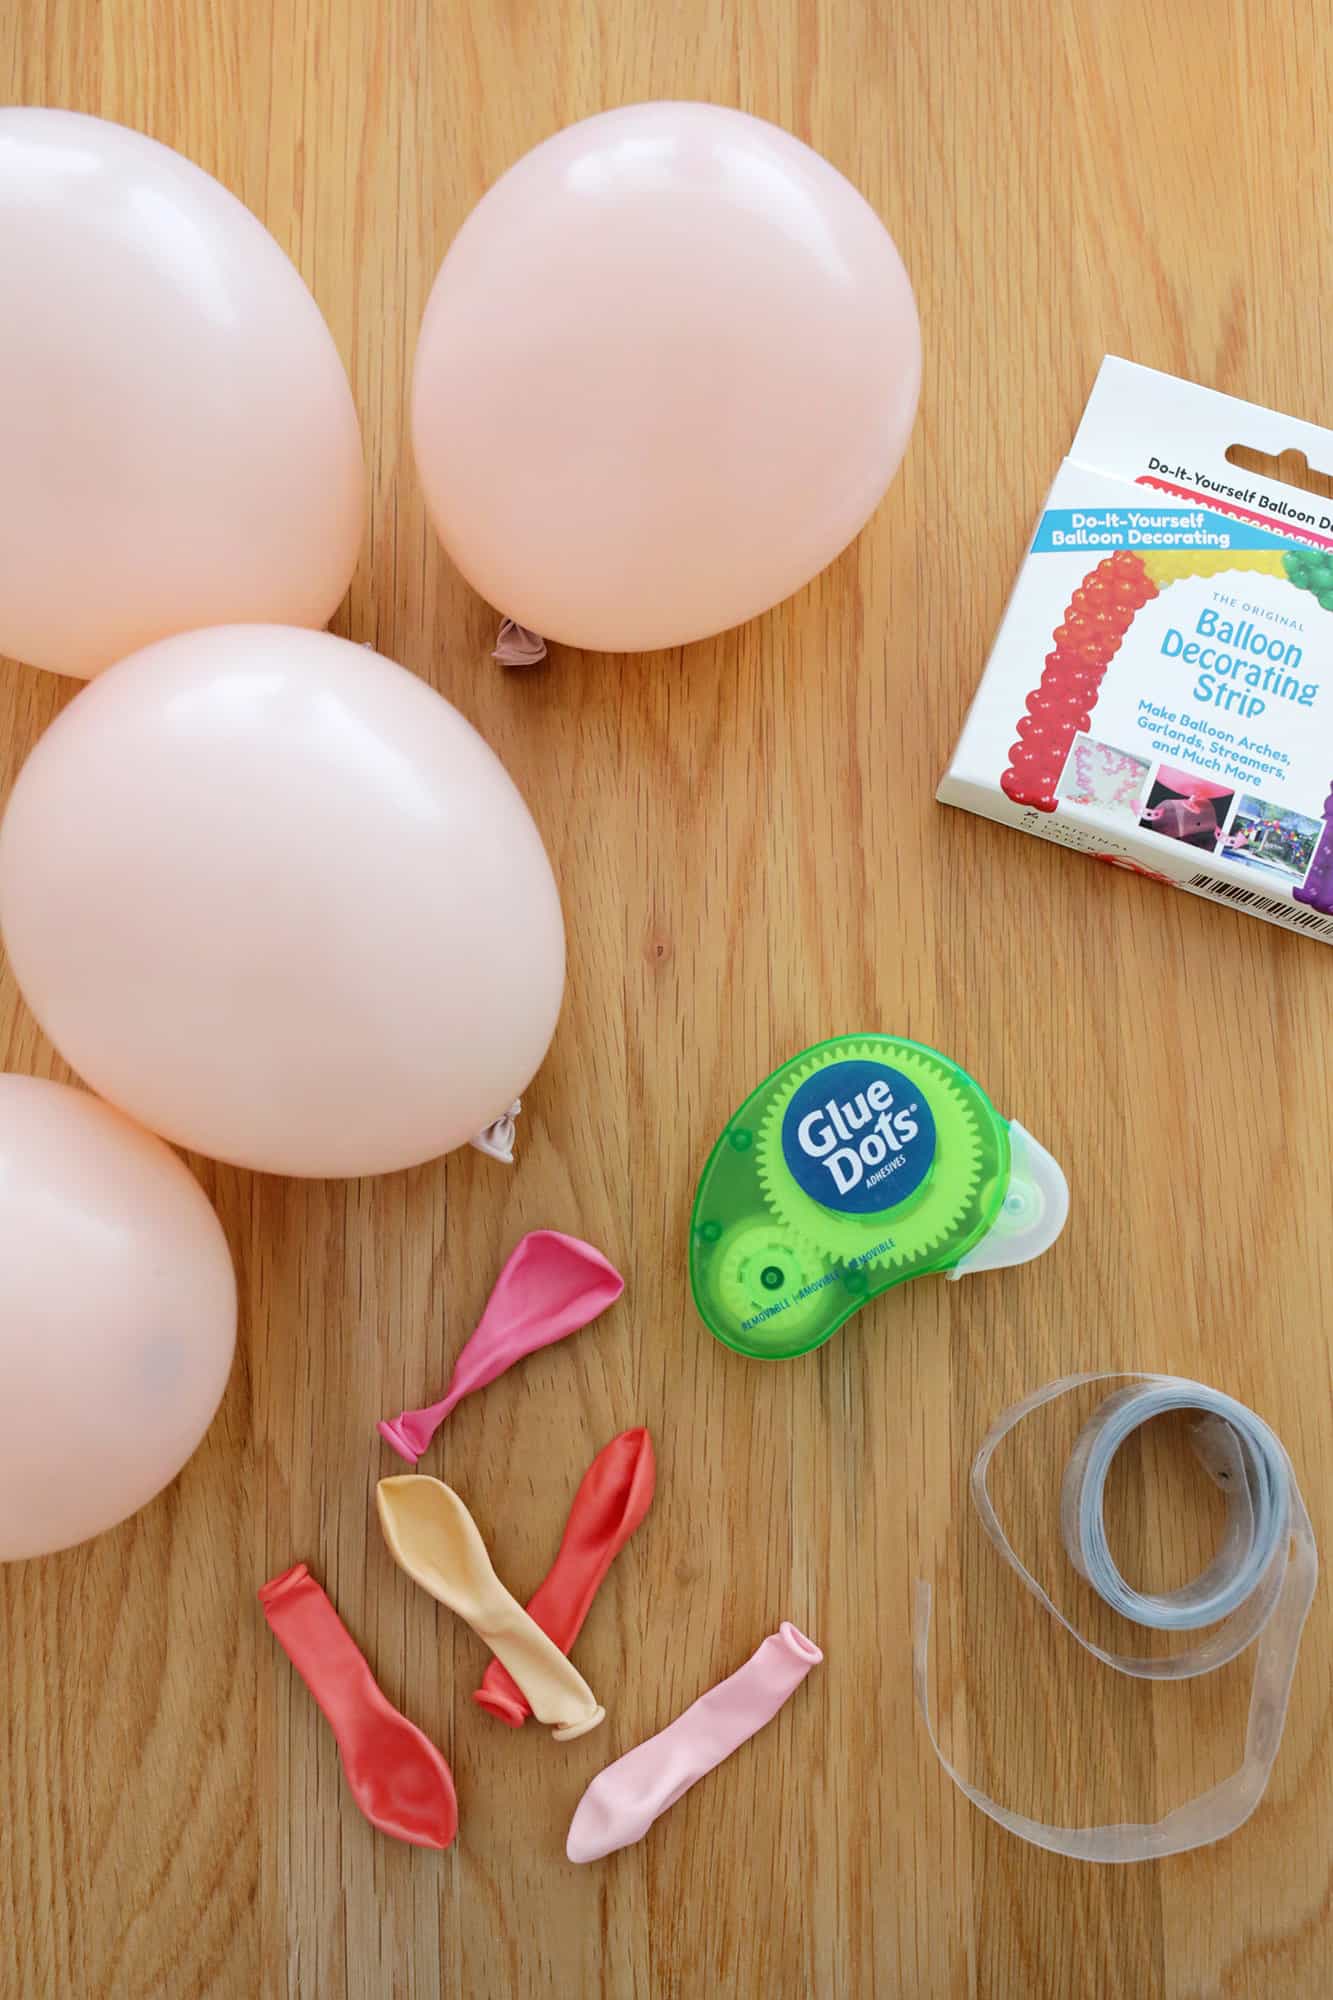
What do I need to make a balloon garland?
- Balloon Decorating Strip: This helpful strip has prepunched holes for you to slip the knots of your tied balloons into, making it easy to create a long base for a garland (and the holes make it easy to hang as well).
- 12″ latex and 5″ latex balloons in colors of your choice to match your party or color scheme (can add in other sizes if you like—17″ or over 20″ size balloons give a larger garland a more balanced look). The pink balloons in the all pink garland are the Cameo Pink option.
- Balloon tying tool (optional): This little device will help save your fingers if you are tying a ton of balloons for you party and you can use them over and over as needed.
- Glue Dots (or low-temp glue gun): While you can use a low-temp glue gun to attach your smaller filler balloons and fill holes in your garland (just be careful about touching the glue gun tip directly onto the balloon), adhesive glue dots are our favorite way to get the job done.
- Command hooks for hanging: Removable small hooks like these are perfect for hanging balloon garlands since they can be put up quickly and removed easily (and damage free) once the party is over.
- Electric balloon pump (optional but helpful!): Balloon pumps like this are relatively inexpensive and they will make the balloon blowing up process much faster.
How to Make an Easy Balloon Garland:
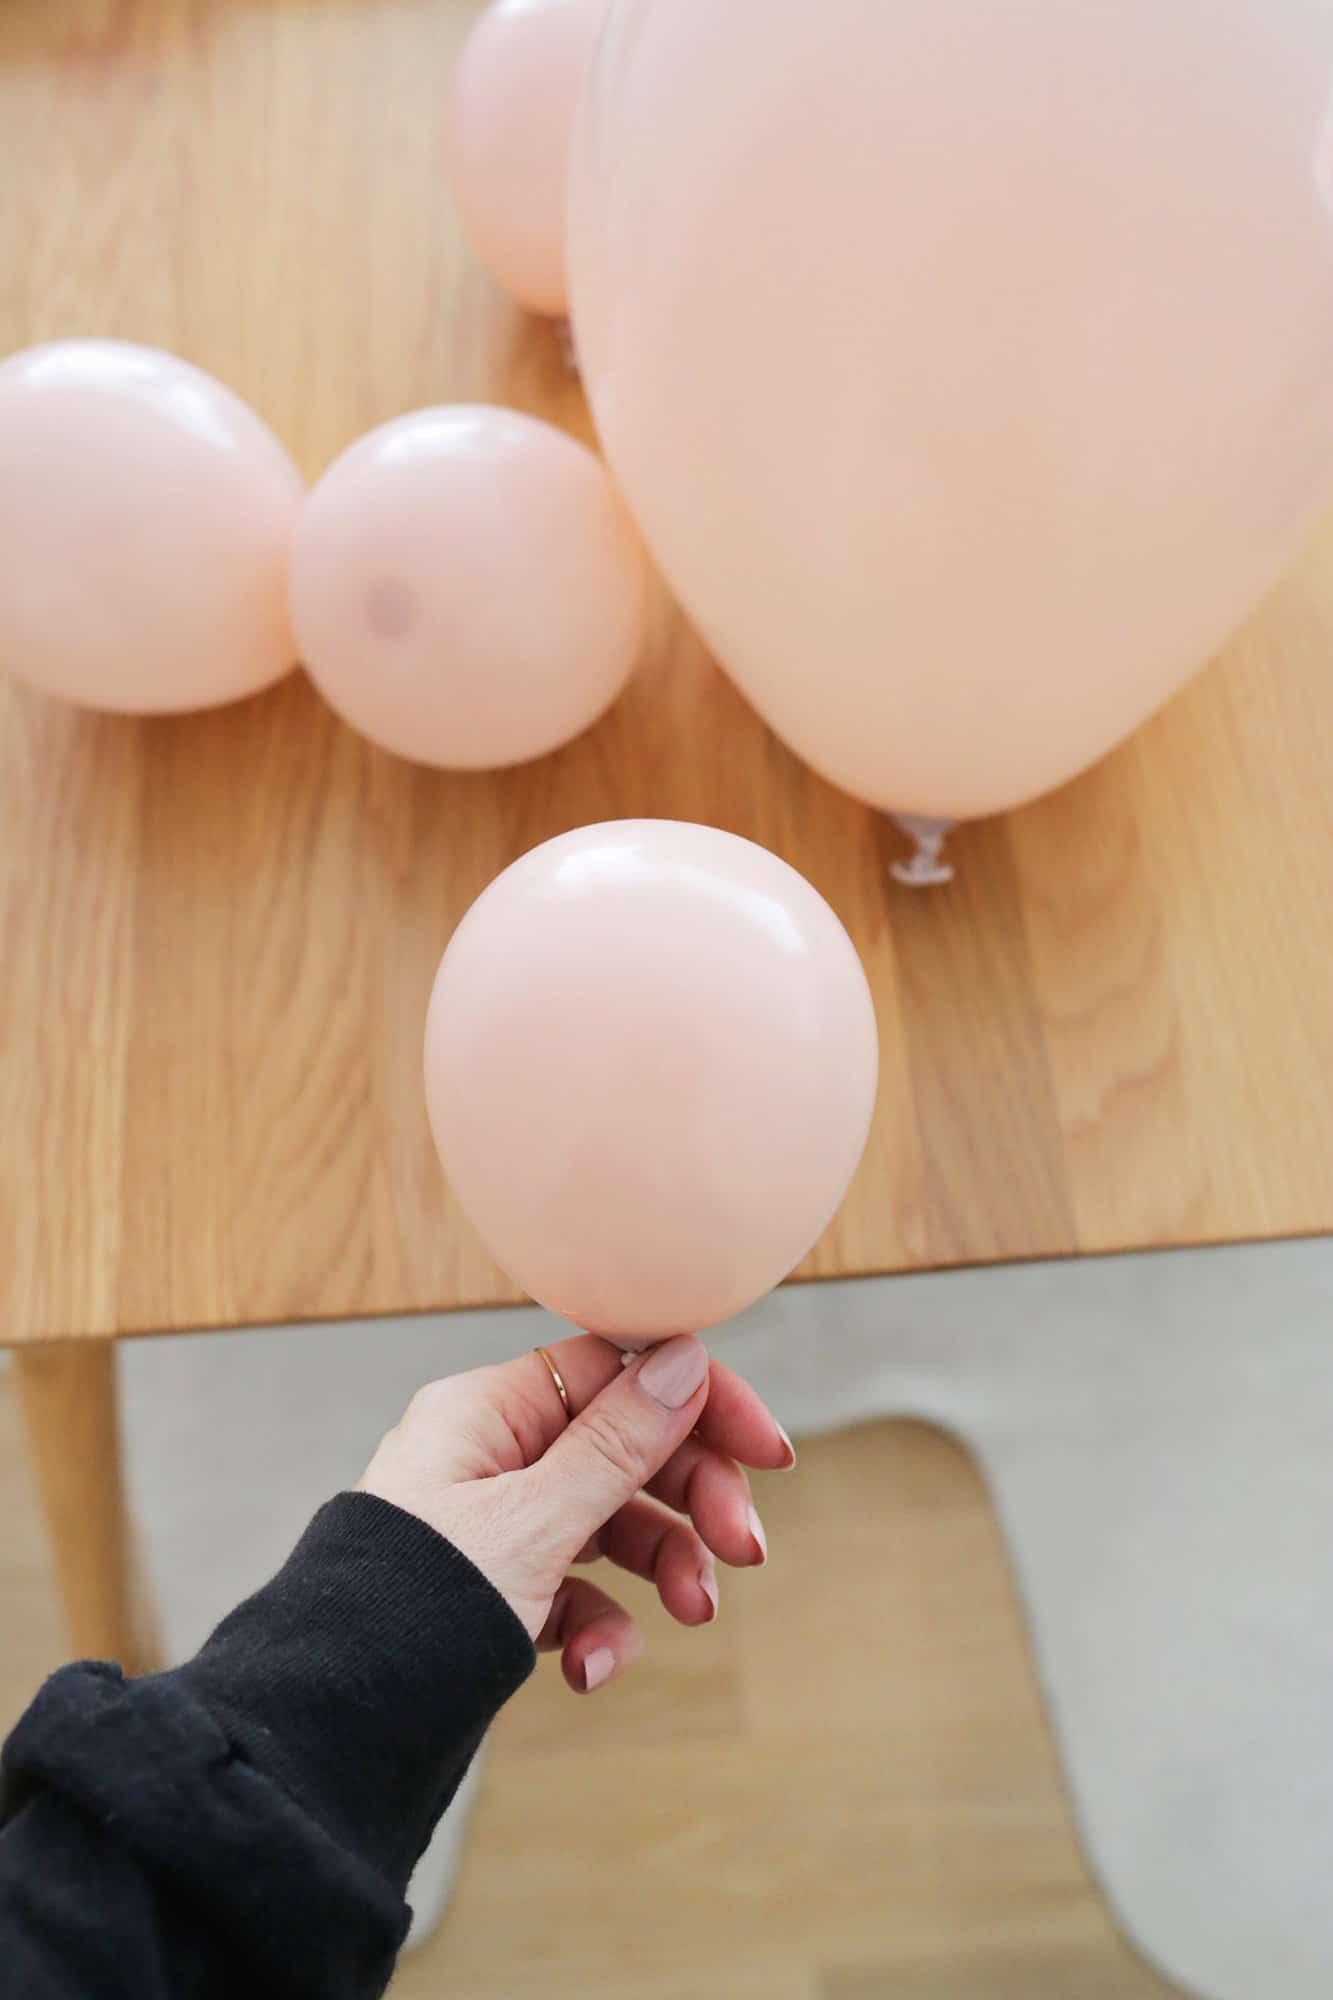
Step One: Blow up your balloons in your desired colors and sizes. If you are assembling the garland right, then you can kind of guess how many you need, and then blow up a few more if you want them in a certain size or color to fill it out to your liking.
How many balloons do you need for a balloon garland?
How many balloons you need will really depend on the length of your garland, the size of the balloons you have, and how thick you want the garland to look.
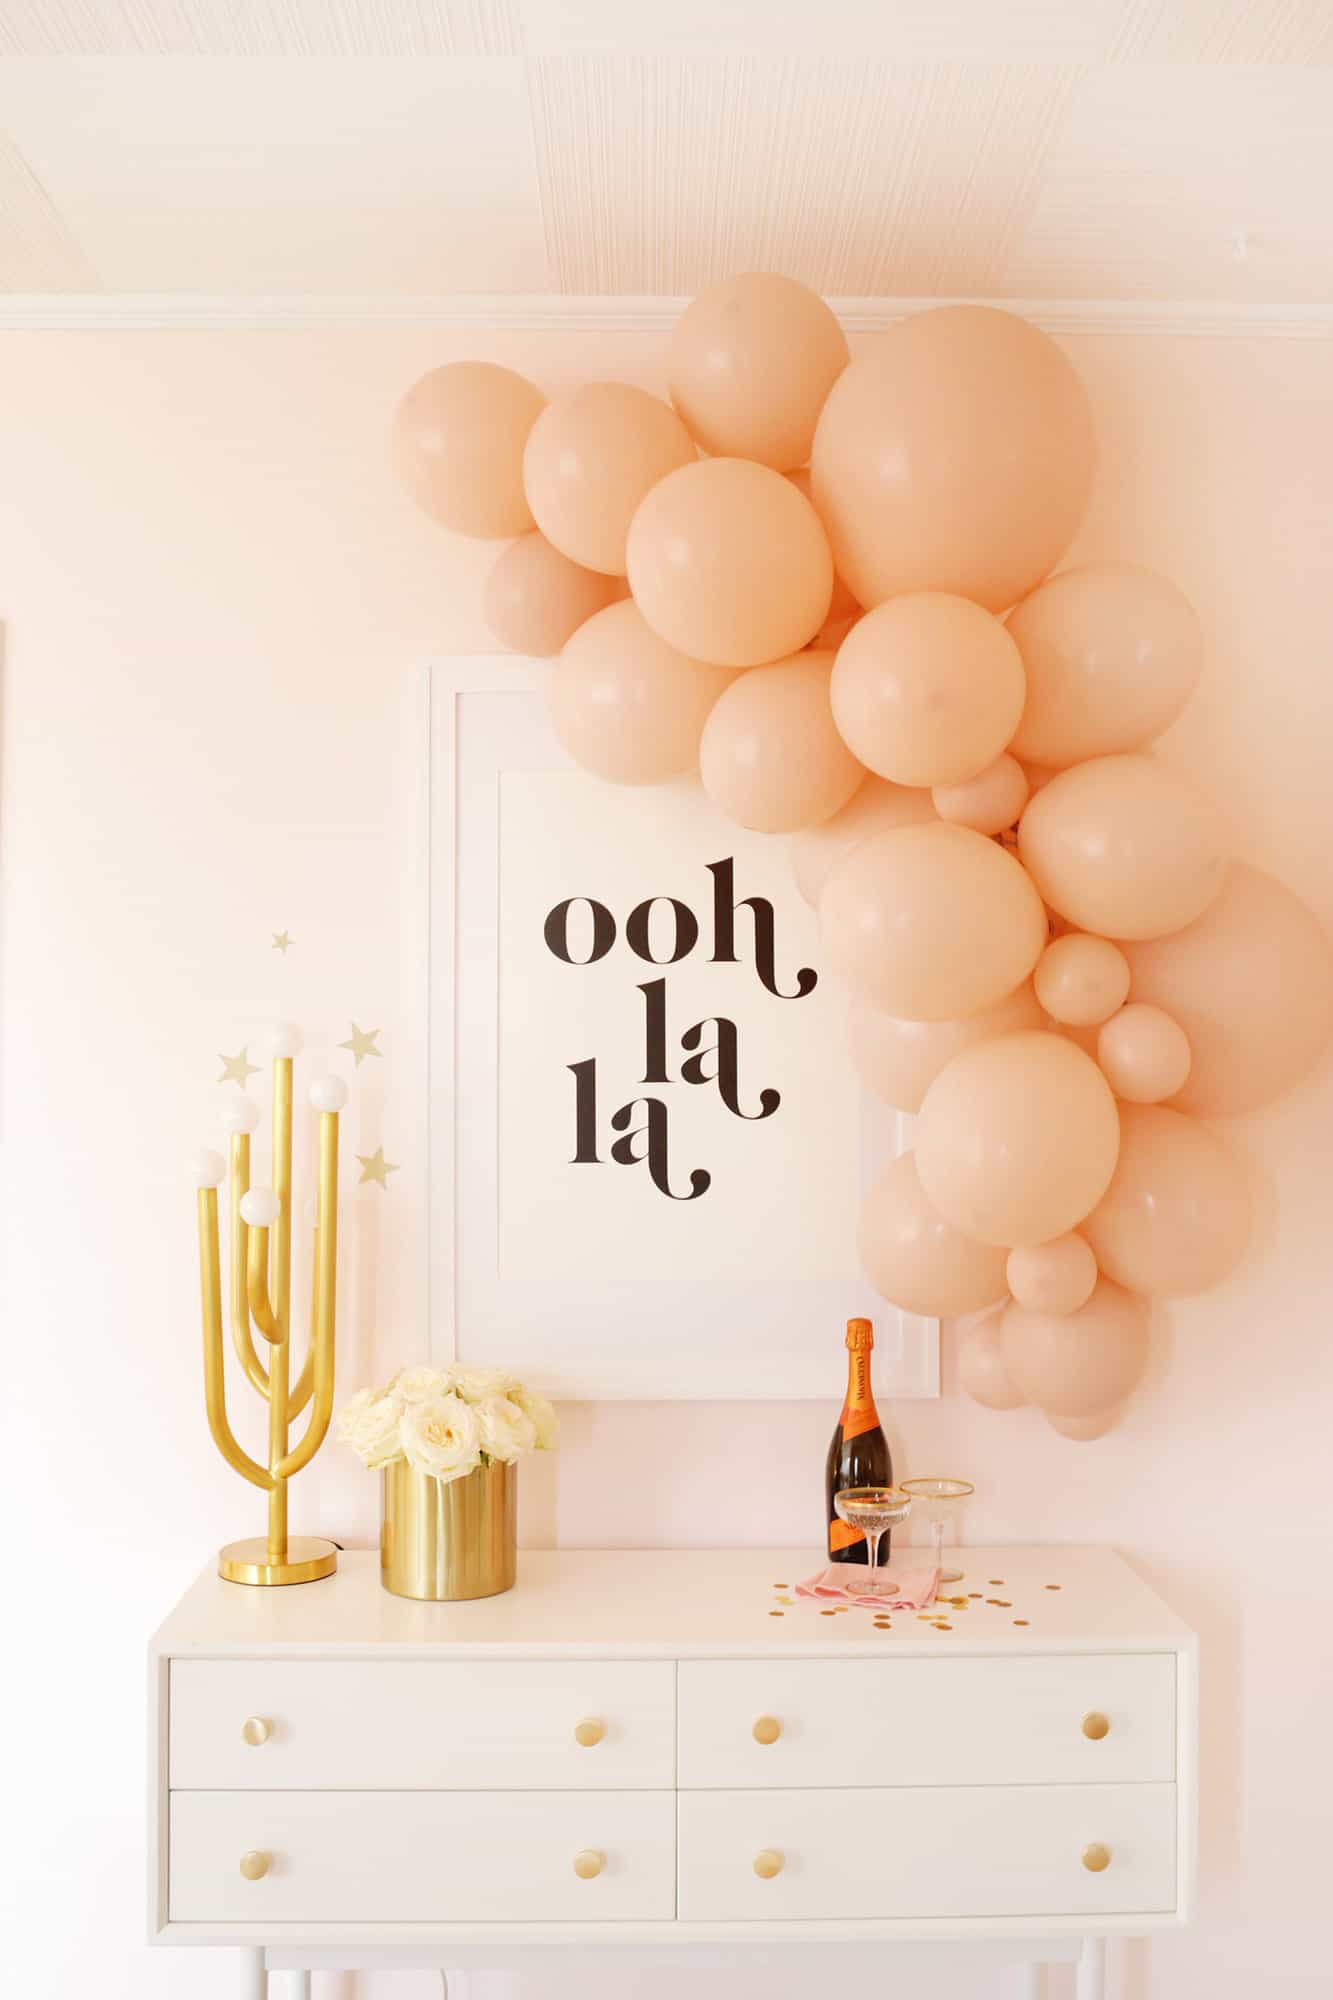
For some idea, the all-pink balloon garland is about 6′ long and has 10 small 5″ balloons, about 20 standard 12″ balloons and just a few 17″ larger balloons for accents.
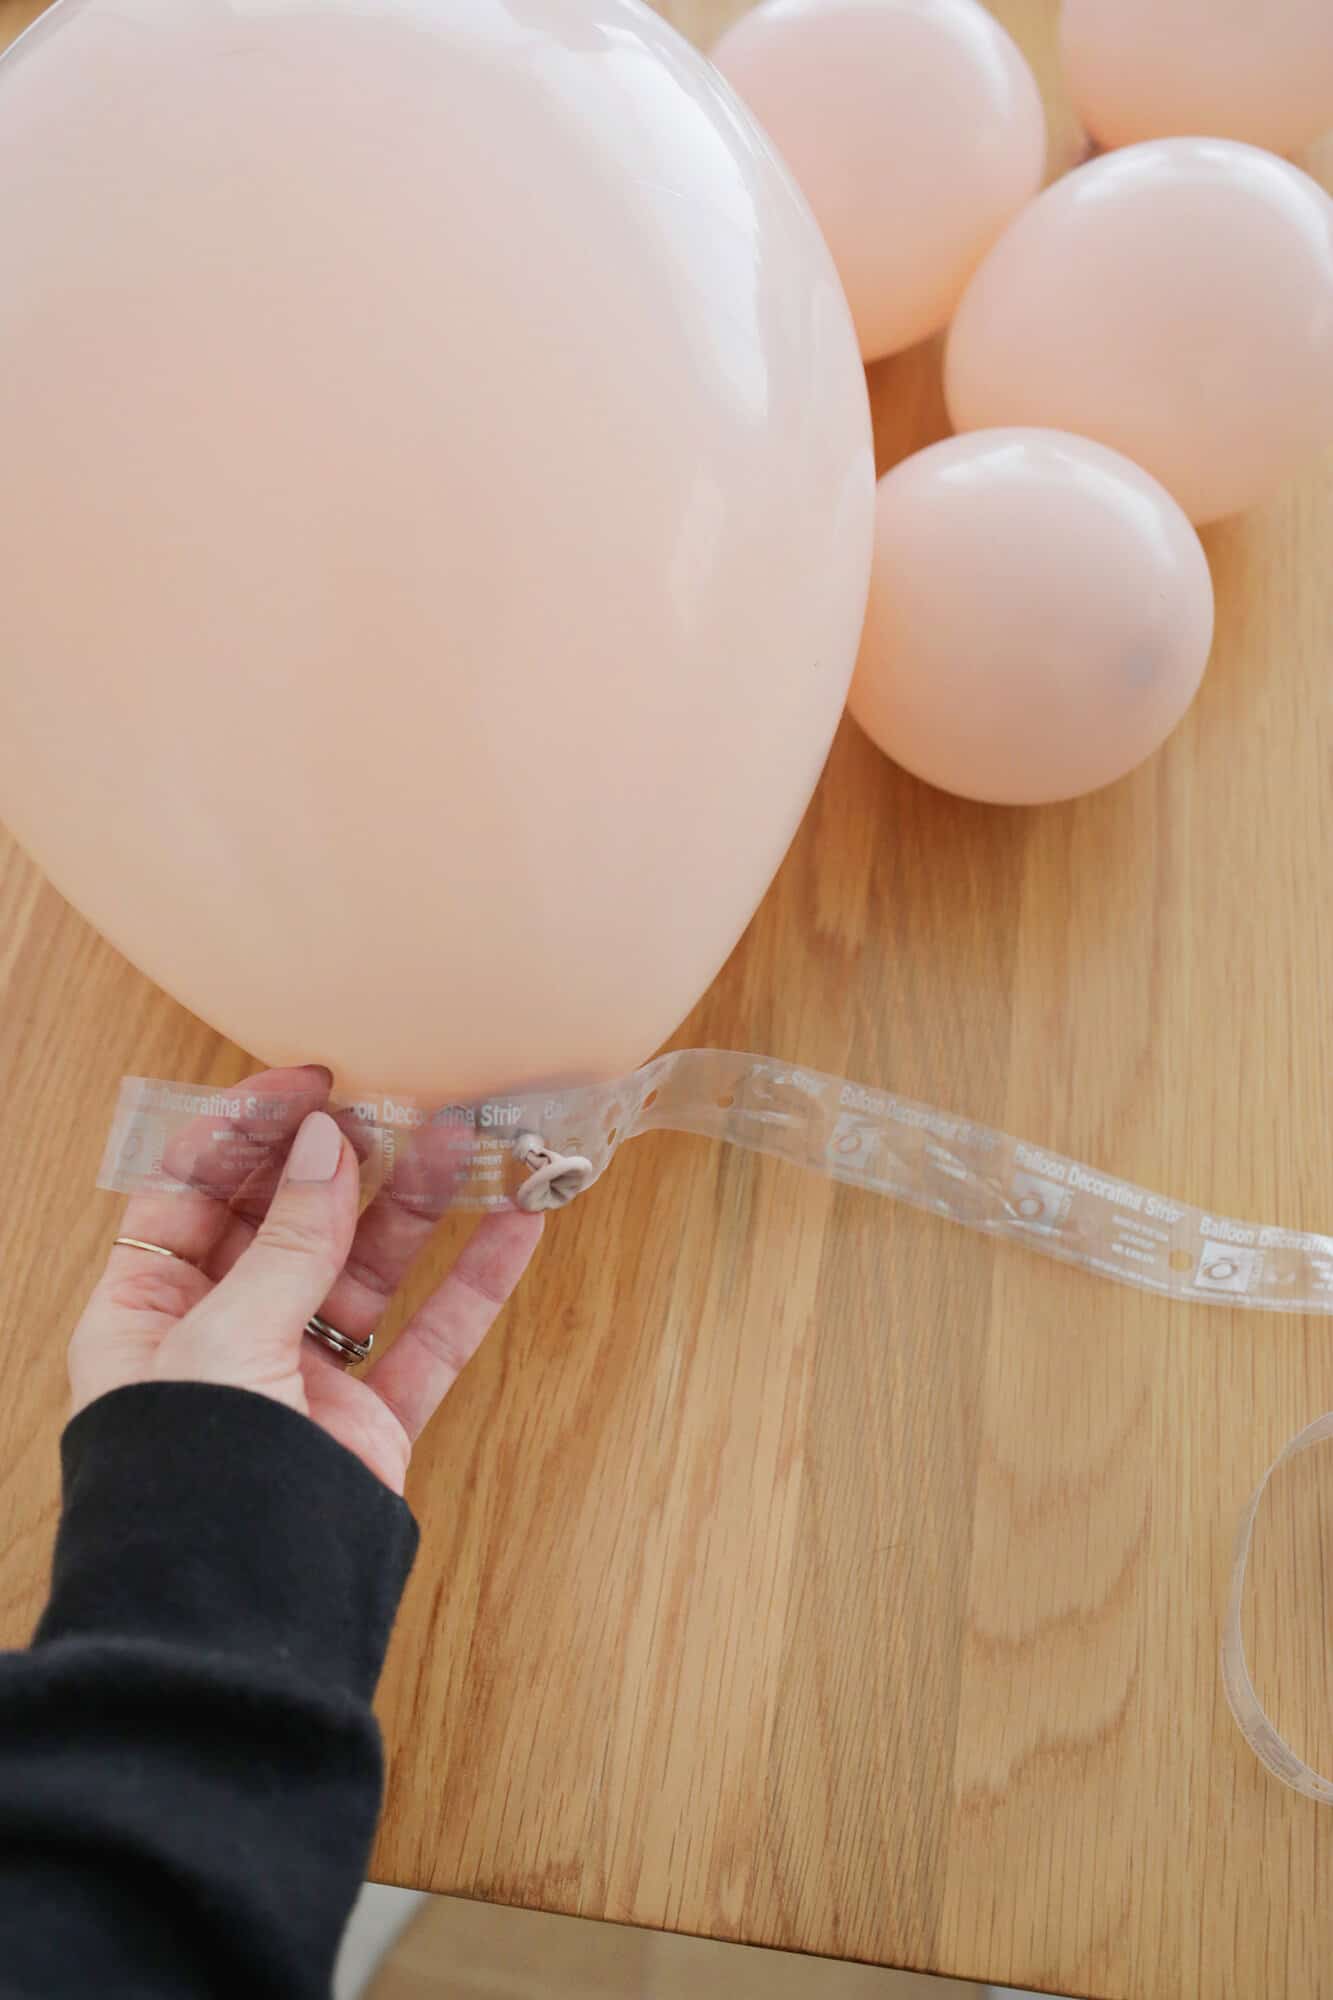
Step Two: Measure out your garland strip to be the length of your desired garland and start to add your balloons. Add a few extra inches at the beginning and end so you have some length to attach to the wall or hanging surface.
Add in your larger balloons first by placing the balloon knot through the holes in the balloon strip, and space them out a few holes from each other so you have space to add other sizes (and it doesn’t become too stuffed with one size).
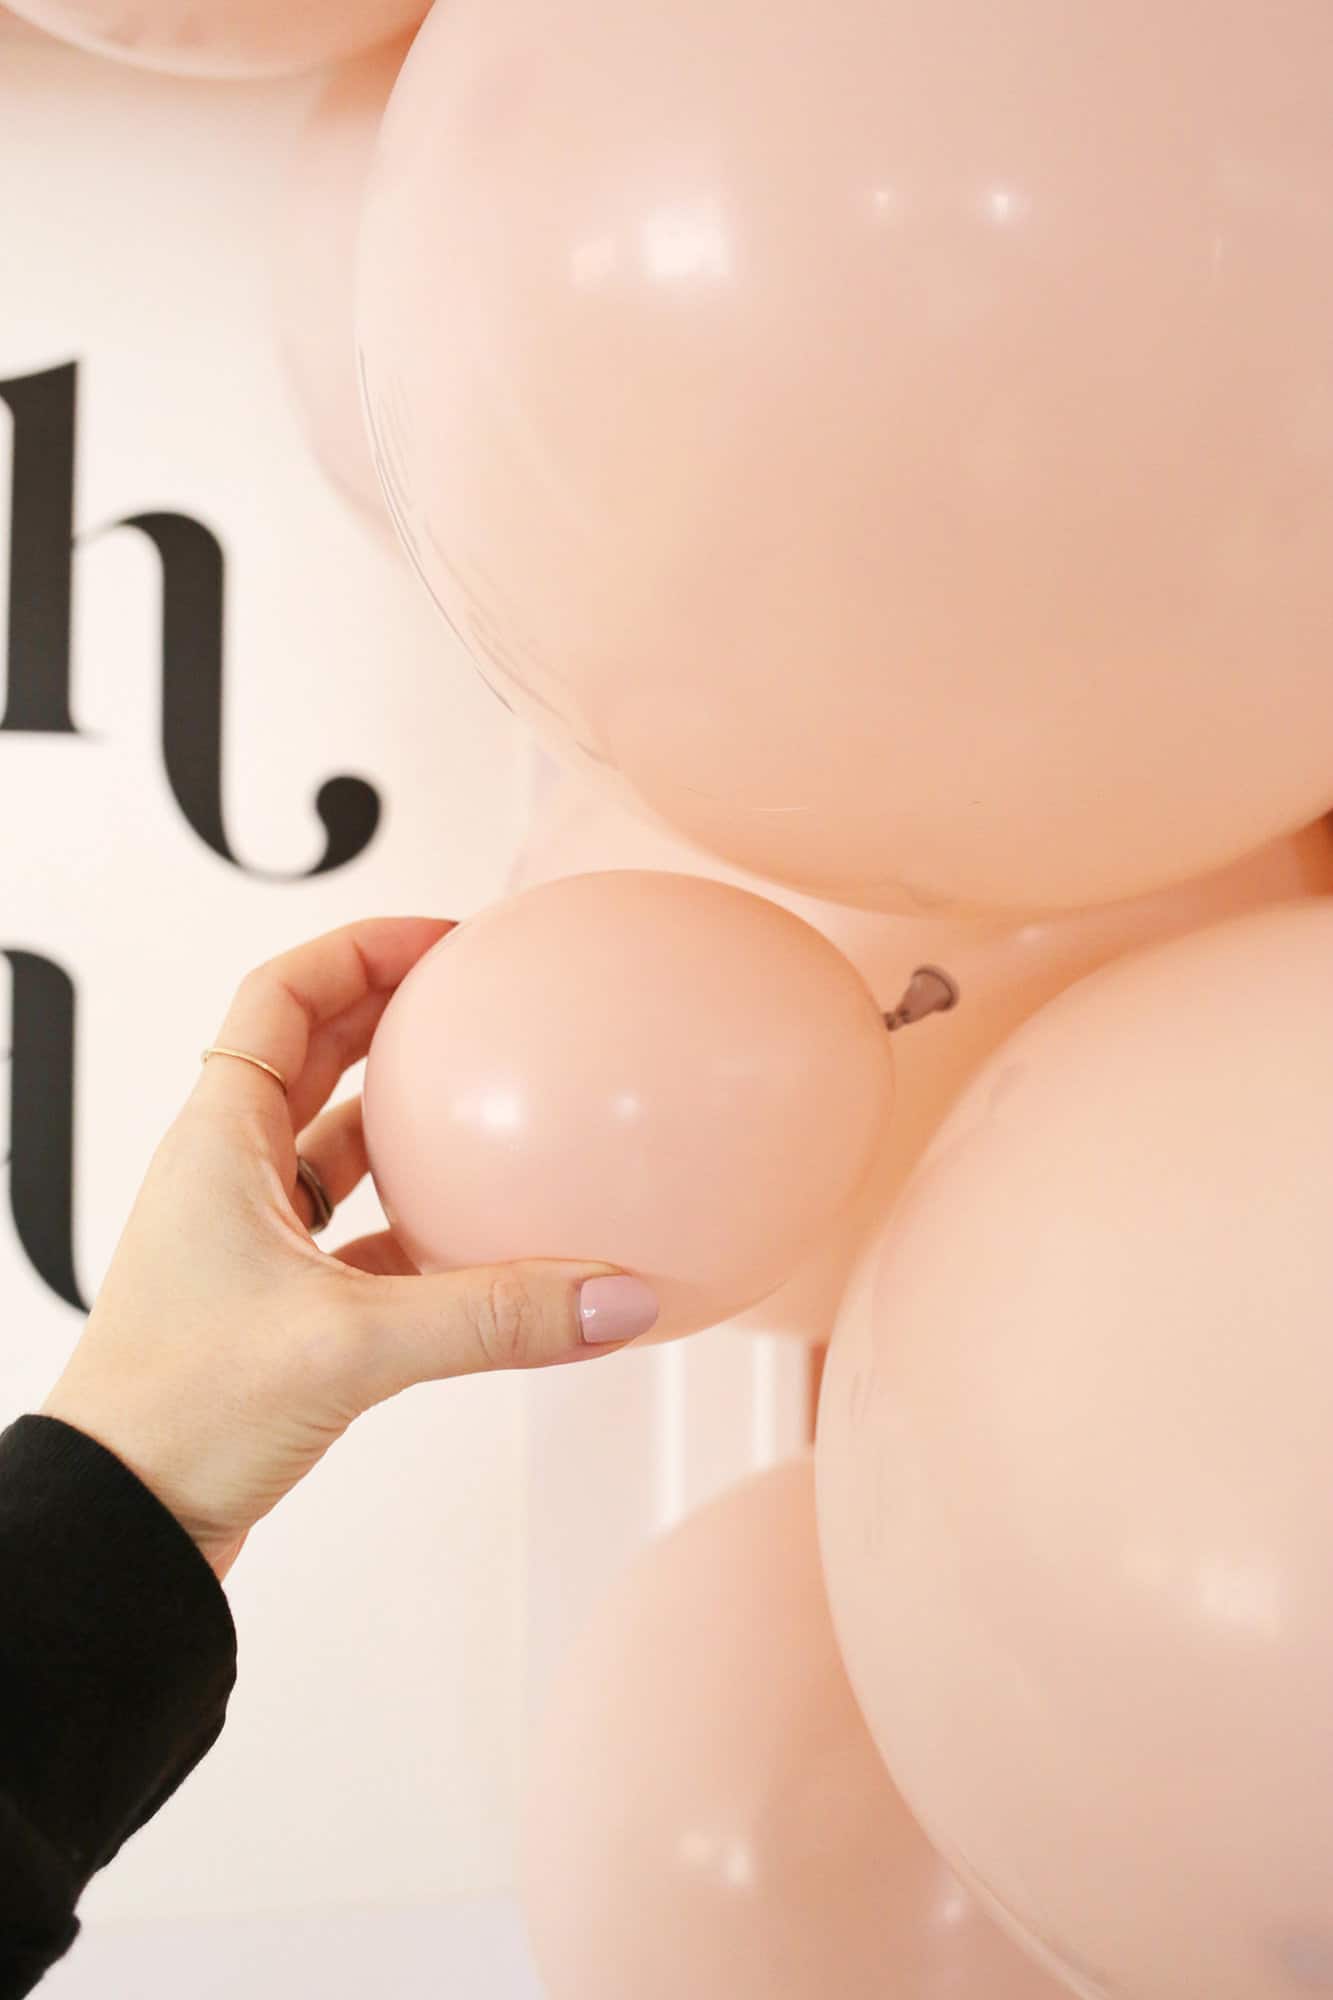
Step Three: Keep adding different sizes/colors of balloons until the garland strip looks nice and full where you want it. Some garlands are uniformly full the whole way through, and others have a fuller area in the middle or maybe 1/3 of the way through for a more dramatic thinning out at the ends on each side.
Totally a personal preference and may depend on how you were planning to hang it, so do whichever you like!
PRO TIP: You can alternate adding balloons through the front and the back of the balloon strip so it creates a more balanced 360° garland with balloons facing each way.
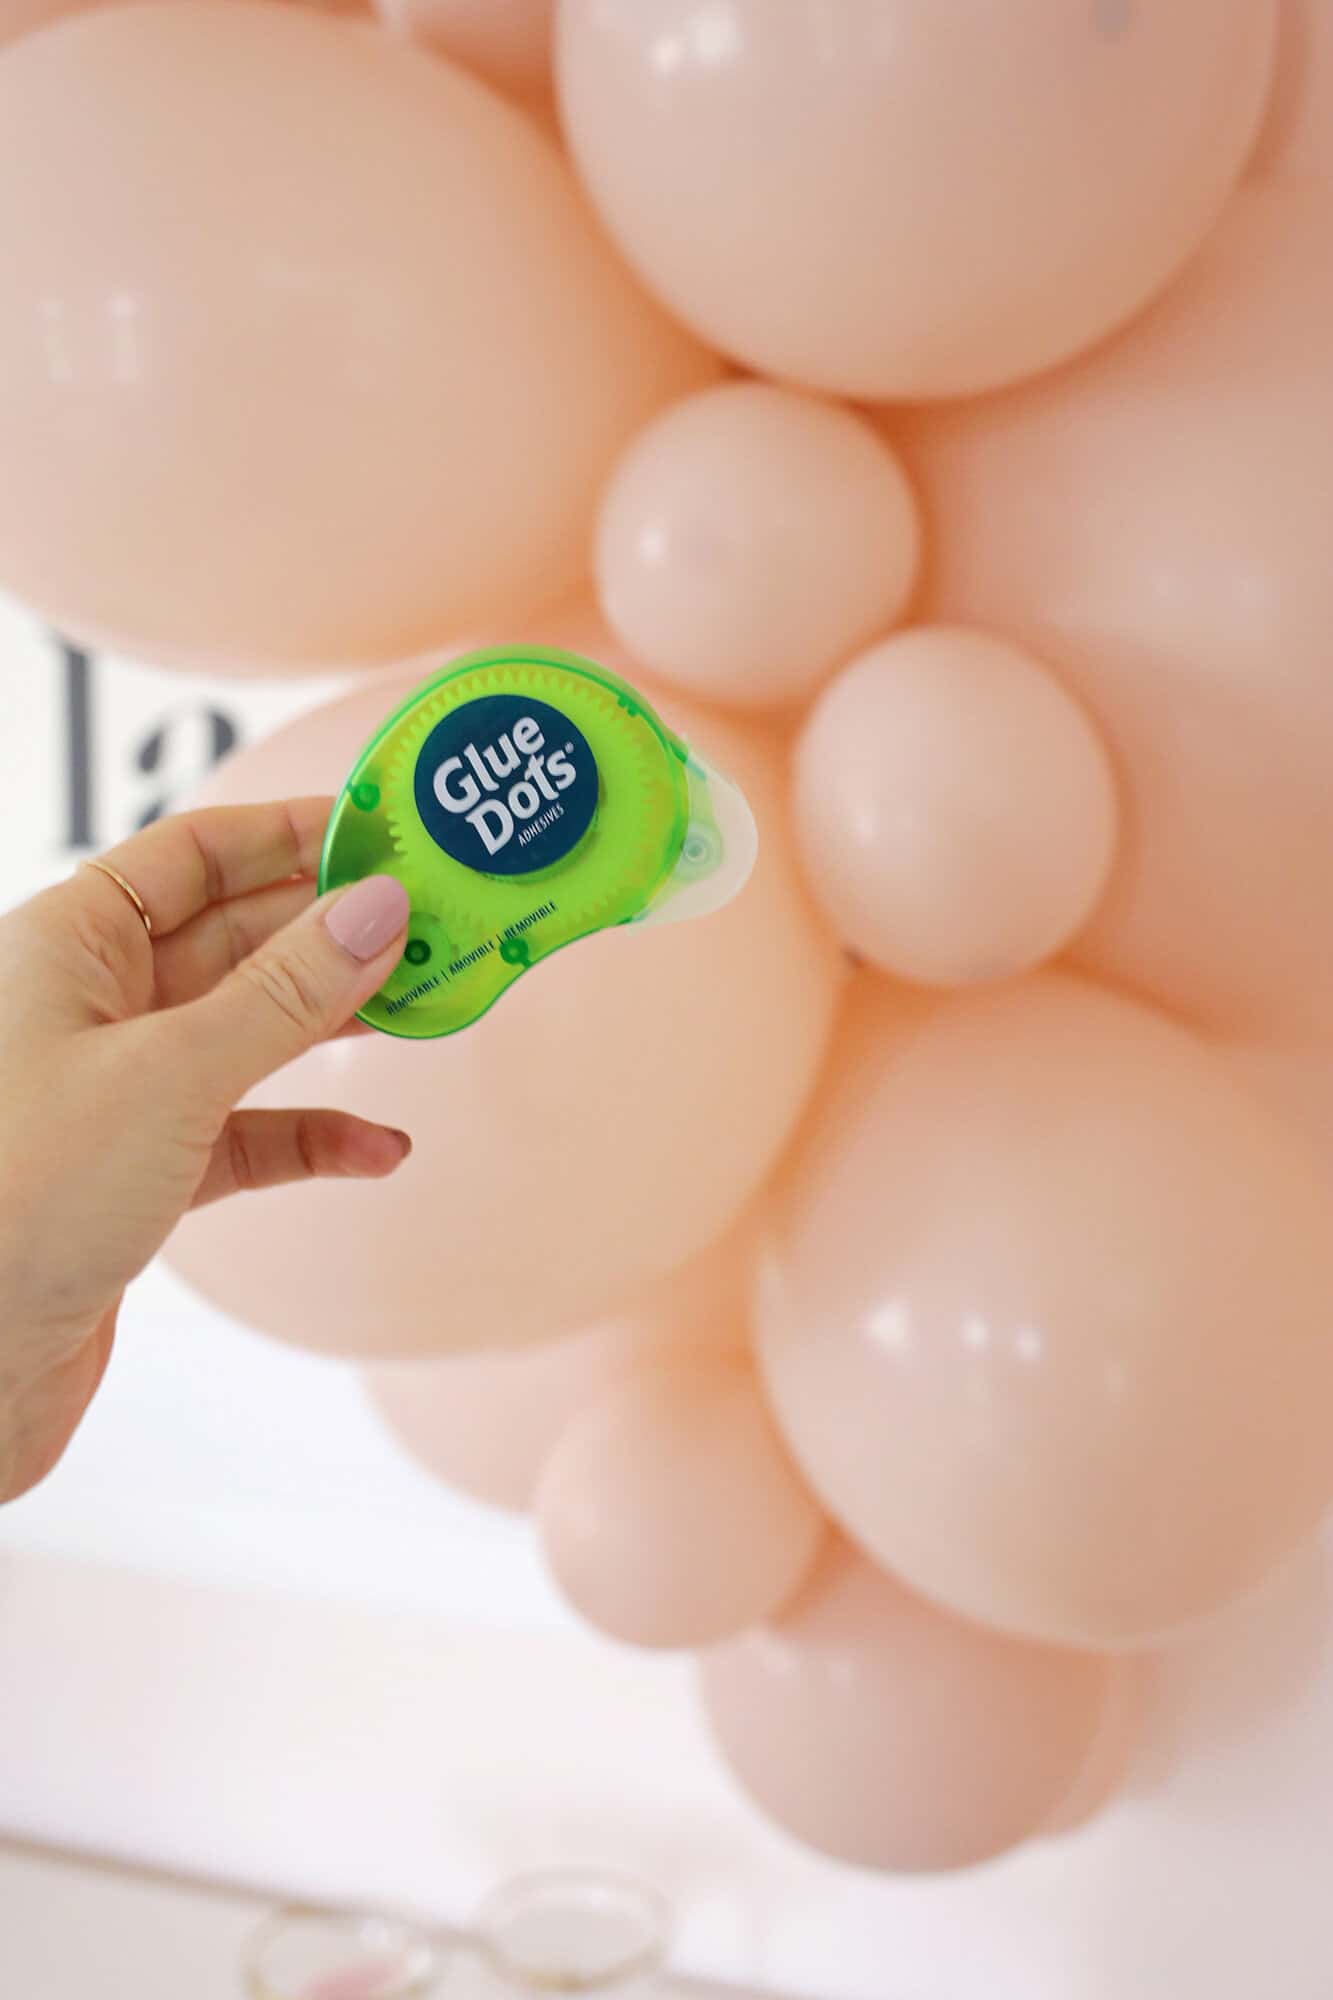
Step Four: Add small balloons attached with glue dots to fill in any gaps in your garland. You can do more of this once you hang your garland in the final step, but you should be able to see any spots that look a little gappy and fill those in with a smaller size balloon— or one that’s just not fully blown up.
You can also follow this garland making method if you like the look of clustering the small balloons together in a group before hanging, as it gives it a slightly different look.
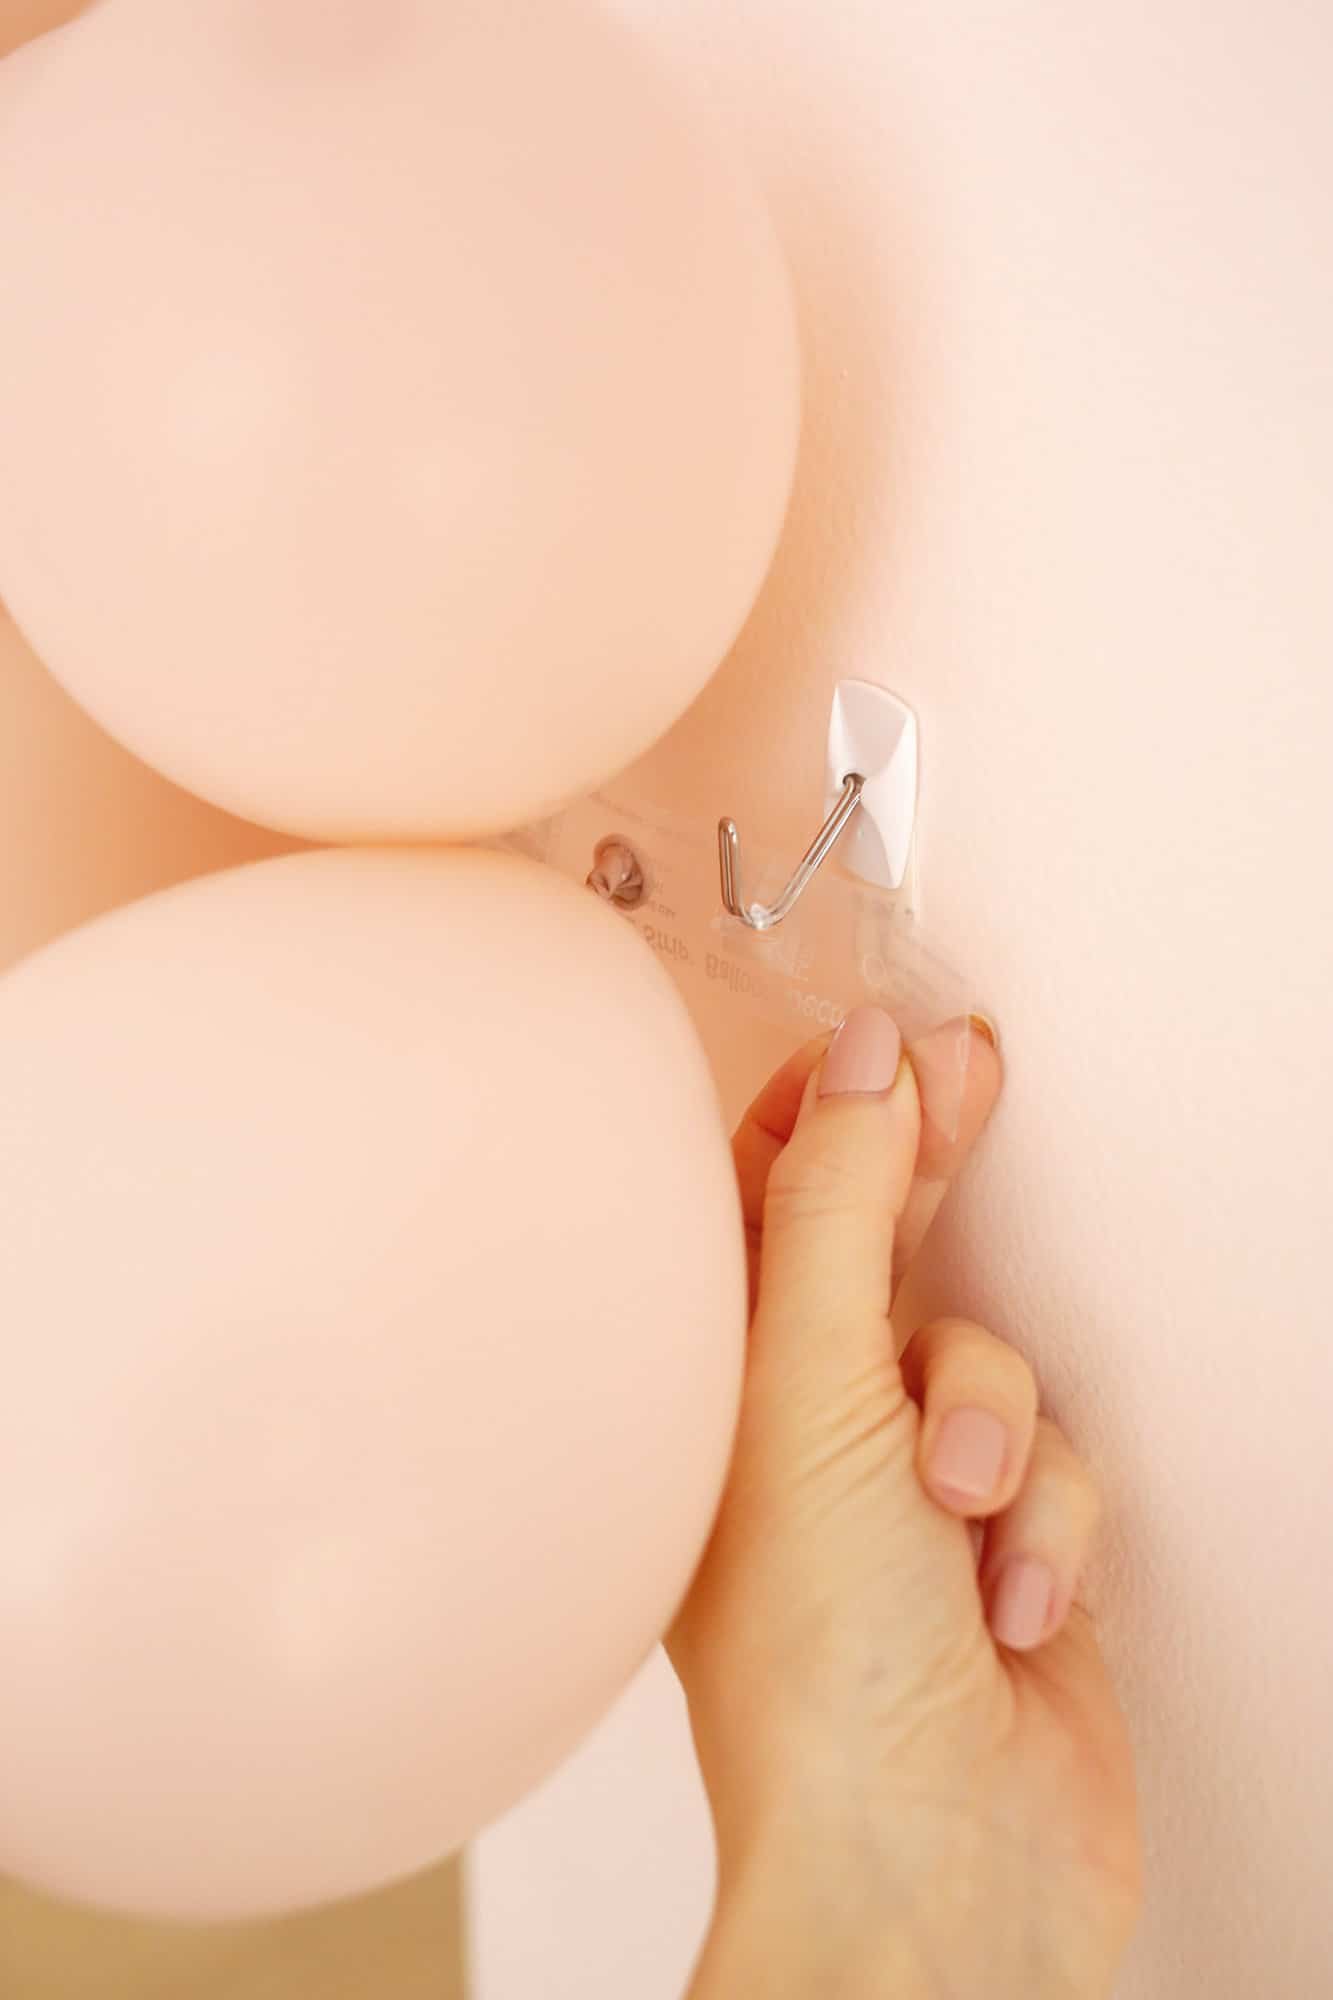
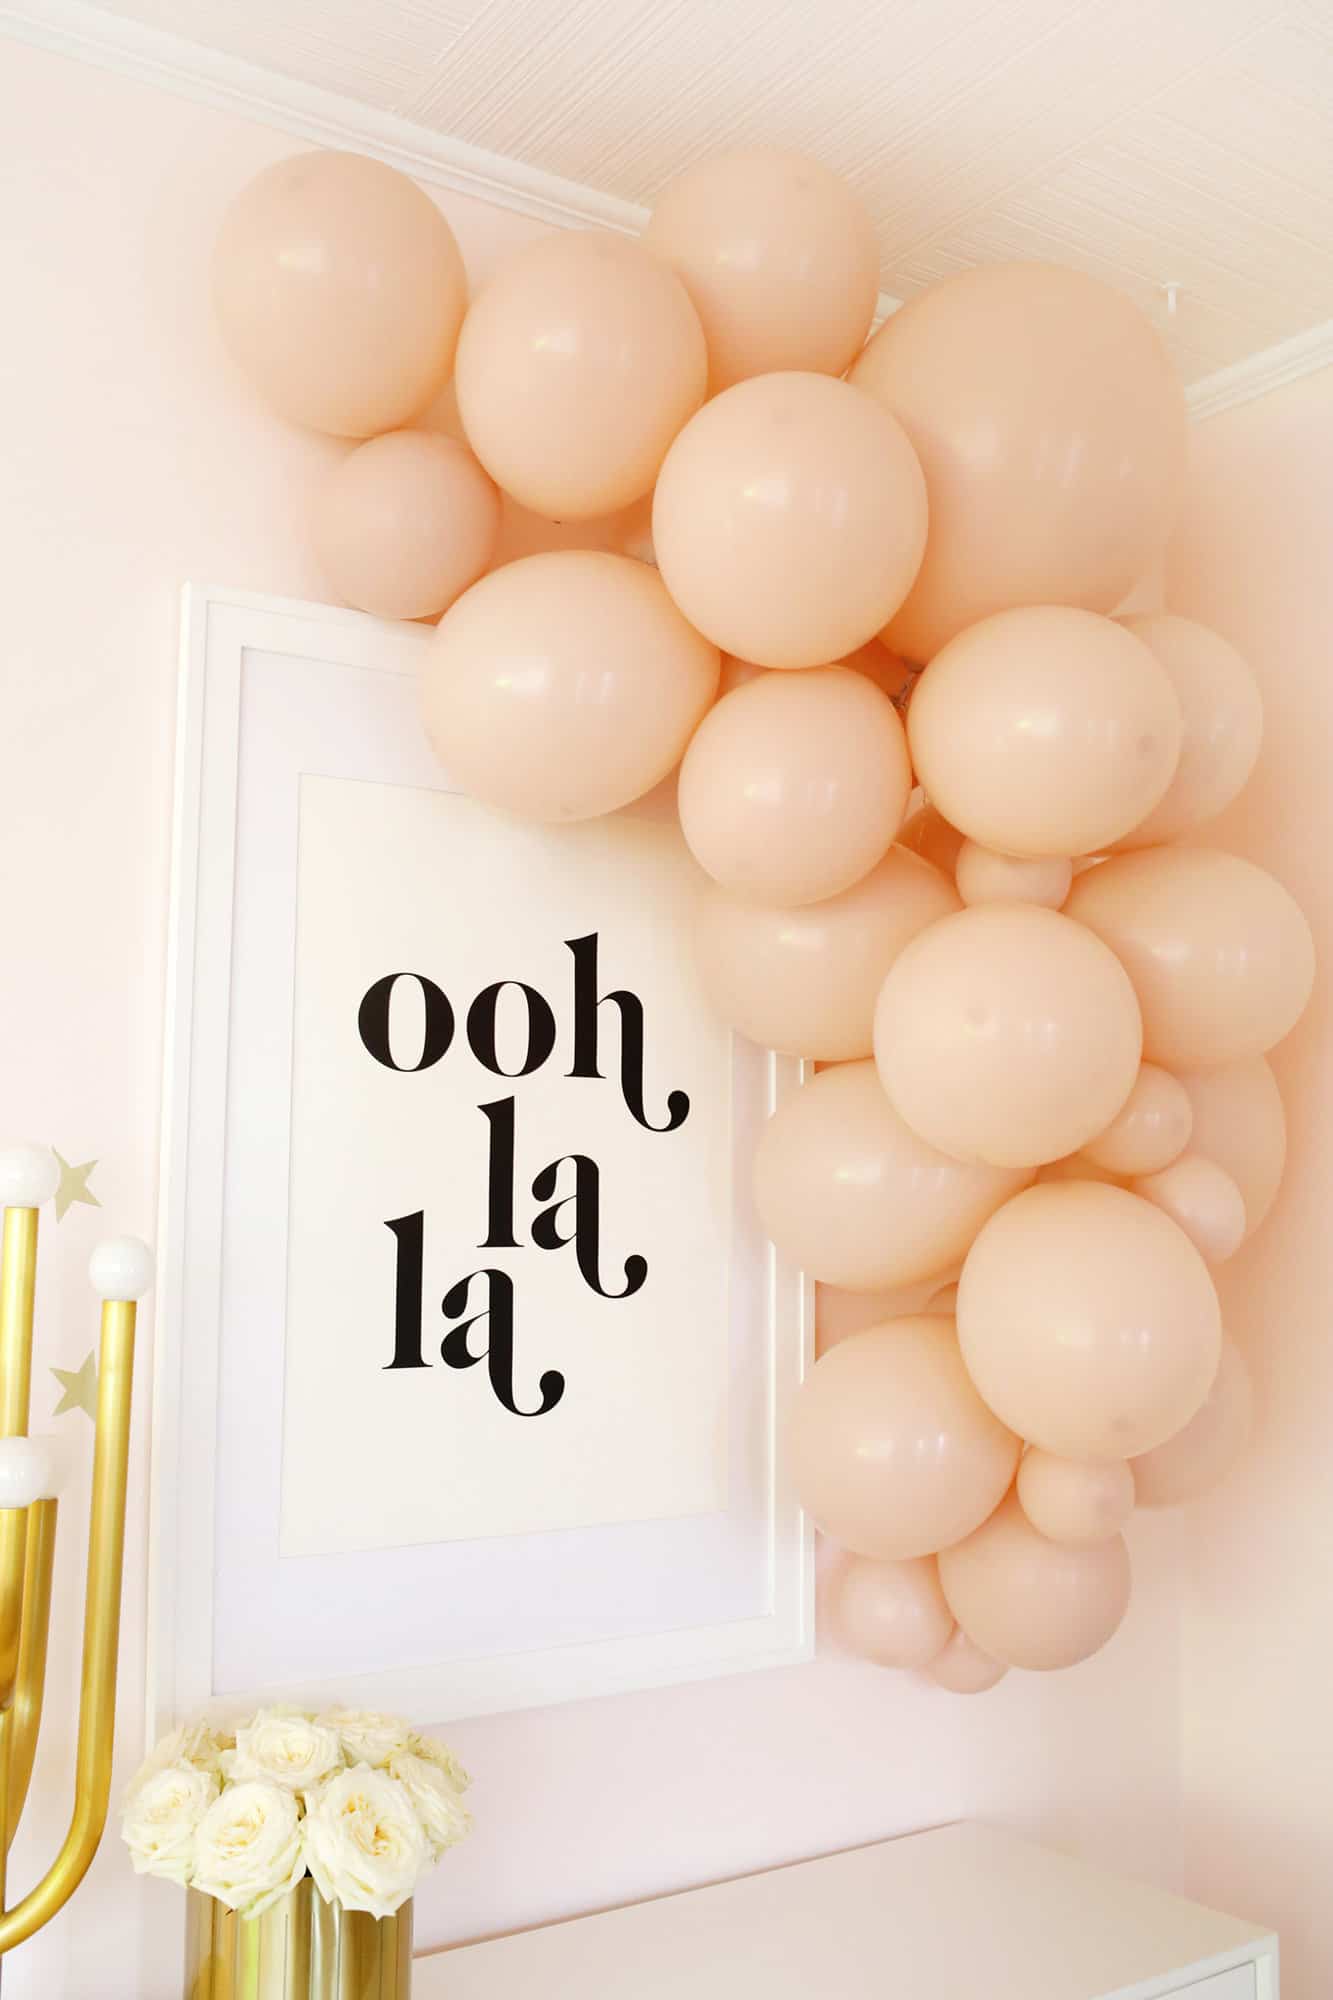
Step Five: Hang your balloon garland. Generally, the easiest way to do this is using Command hooks and strips to stick up hooks on which you can hang the beginning and end of your garland.
You can also tie twine or fishing line through the holes in parts of your balloon strip to tie onto existing railings or nails to attach the garland.
Sometimes it’s helpful to have a Command hook for the ends (and then use string and a third hook) to hang the middle for some extra support if needed.
Don’t want to gather supplies for a DIY balloon garland? Check out these balloon garland kits to make it easier:
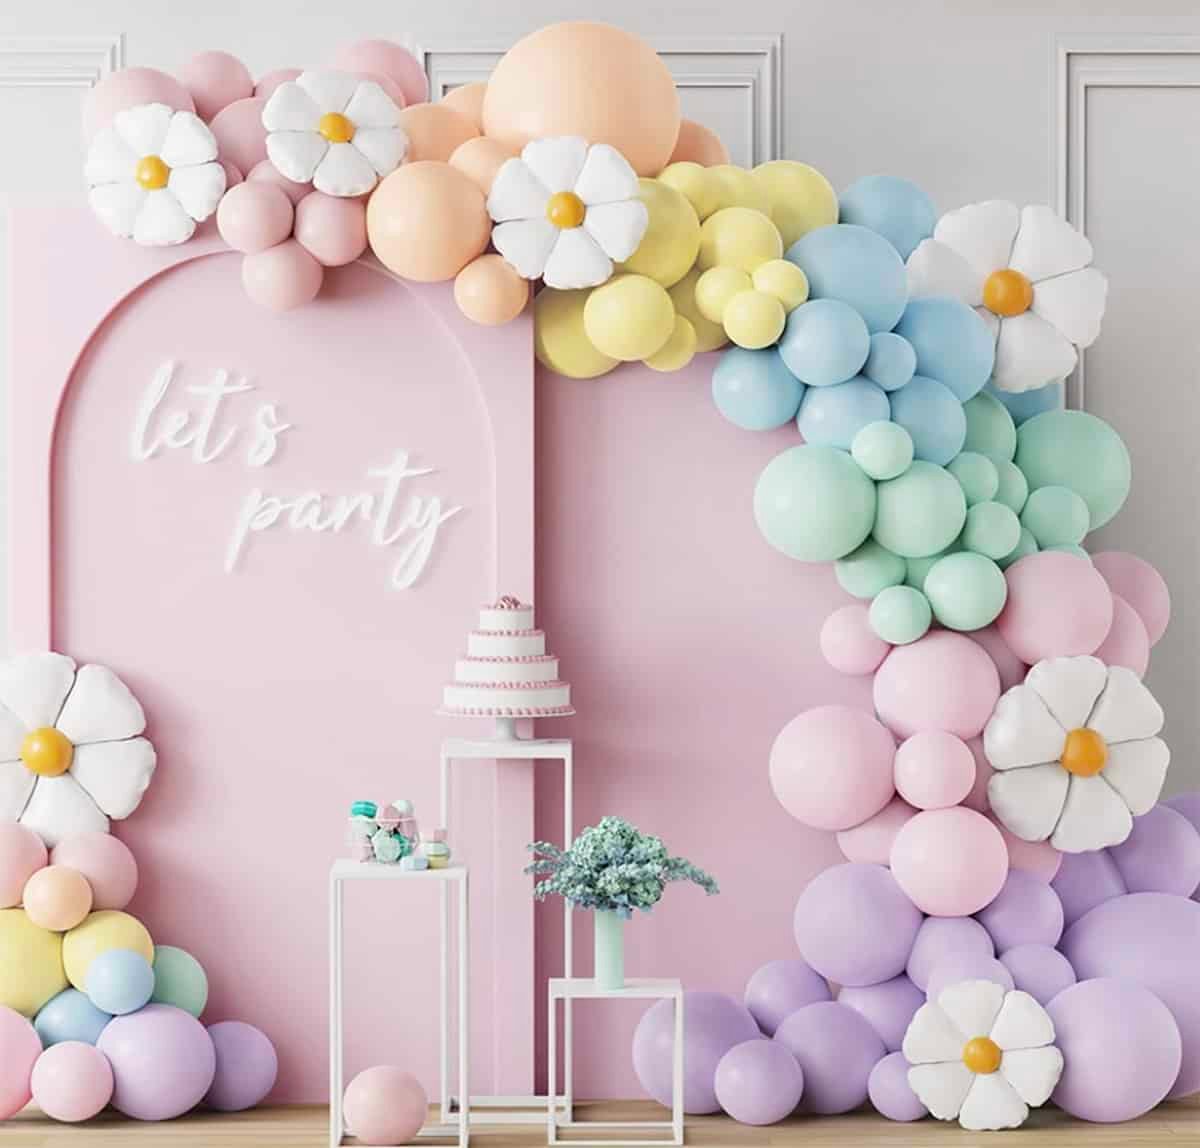
This kit comes with 159 pieces of multiple pastel colors and sizes along with a balloon strip and adorable daisy balloons to make any party or shower more fun.
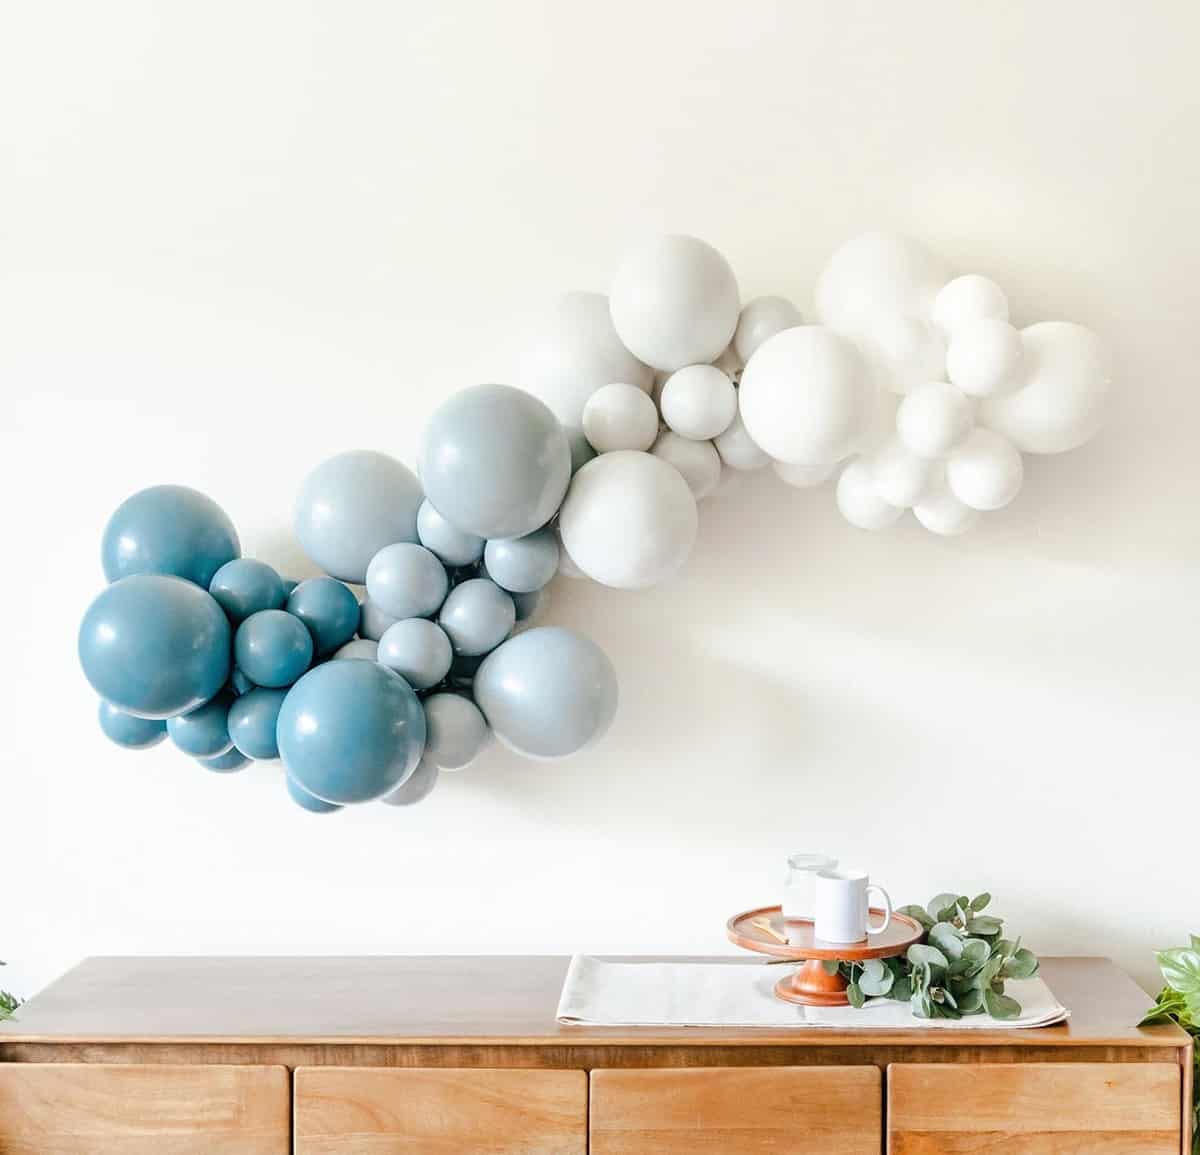
This garland kit creates a beautiful blue ombre effect with several different length options, four colors, two sizes, glue dots, a balloon decorating strip and a balloon pump add-on option.
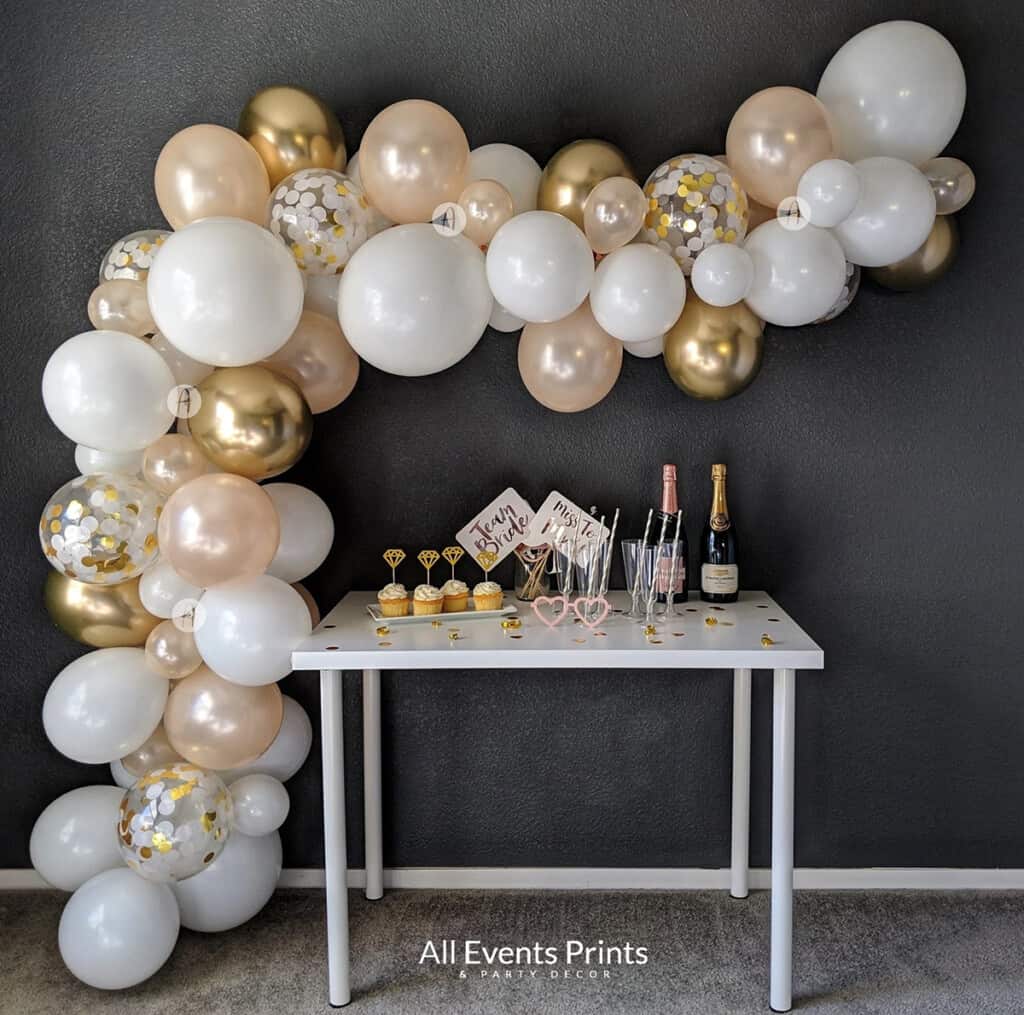
This festive kit comes with five different metallic shades of balloons, a hand pump, balloon decorating strip, glue dots, wall hooks, and twine so you have everything you need to create the garland of your dreams!
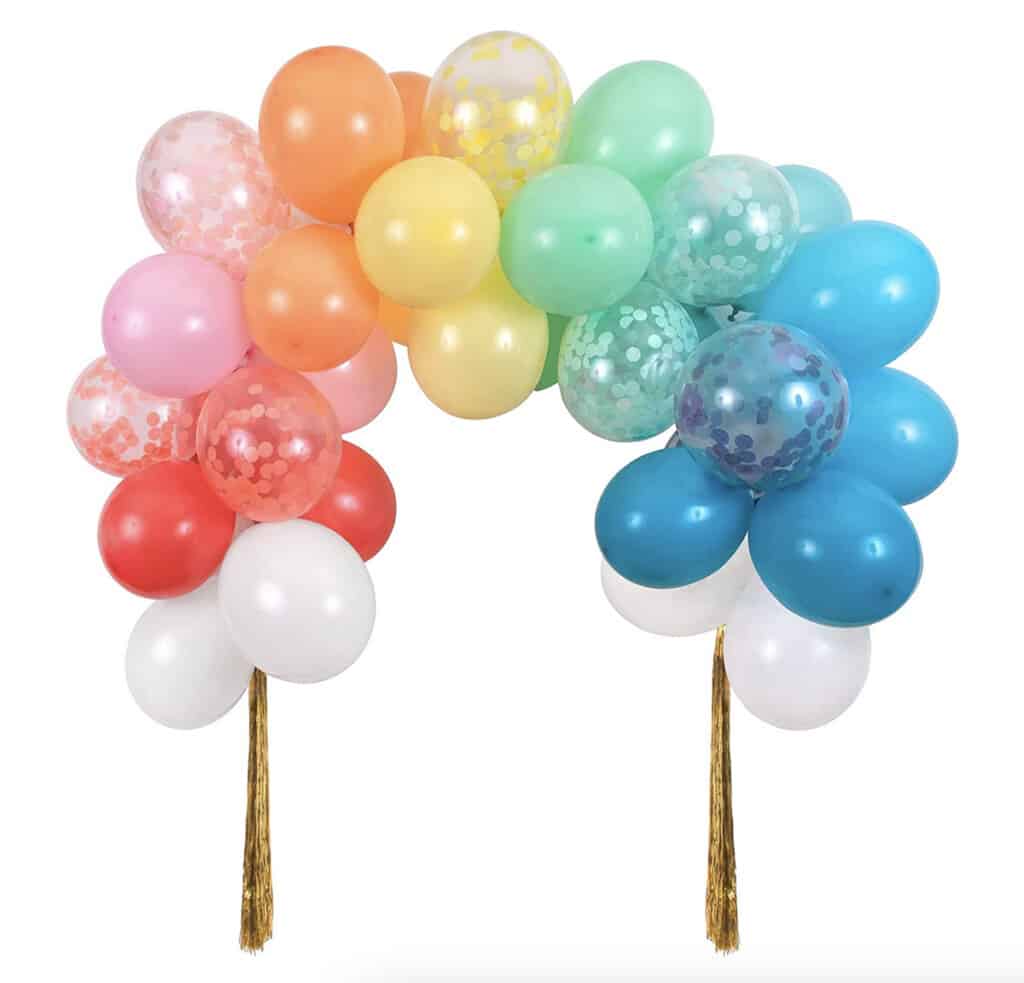
This garland is perfect to throw together for a kid’s birthday party (it also comes in a metallic gold color scheme version) and at only $32 it’s a deal to get such a sweet look.

This kit comes with 158 pieces to create the ultimate balloon arch with four colors of balloons, glue dots, a hook, and a balloon strip all for only $22!
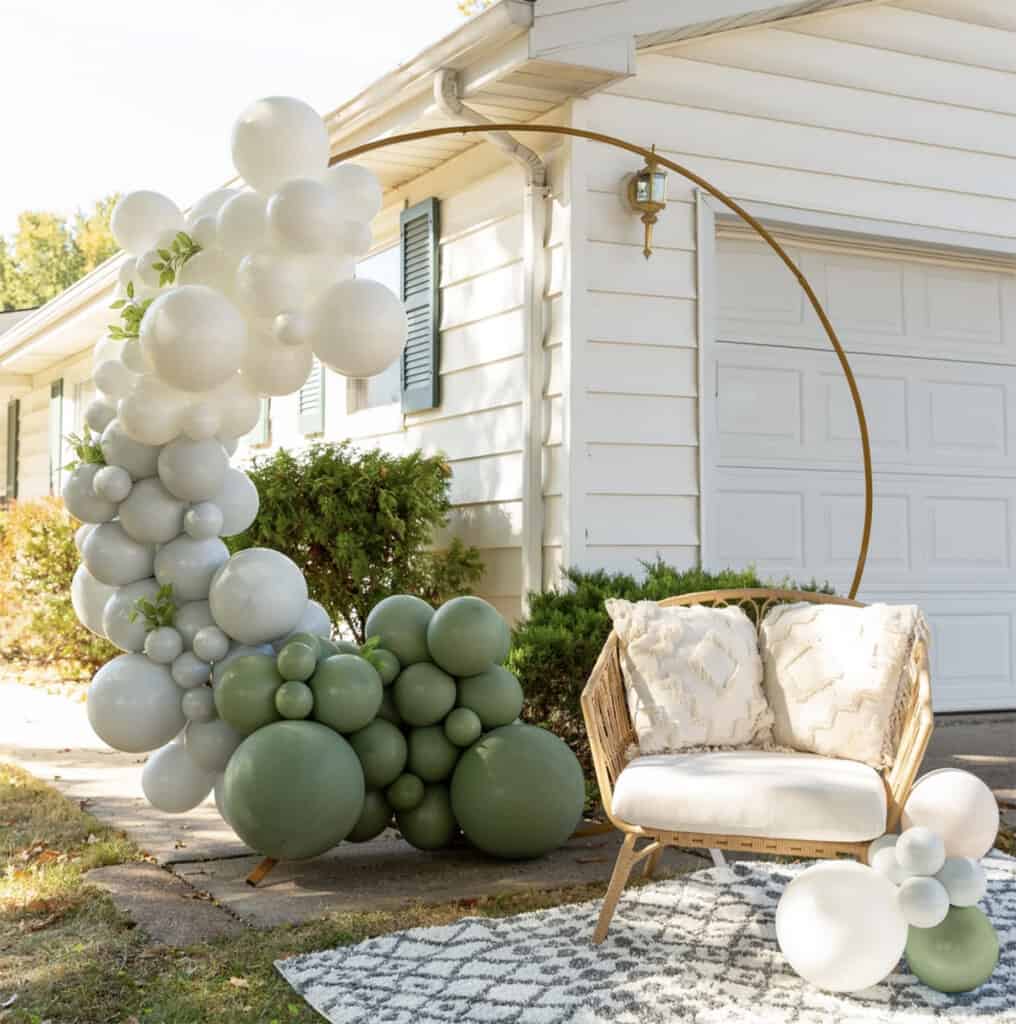
This beautiful color scheme comes with four sizes of three colors of balloons, three different length options, glue dots, and a balloon pump ad-on option.


Having a party? Check out our DIY garland archives and our party tips for all types of parties!
Love this post? Sign up for our newsletter for more ideas!

Get creative ideas for recipes, crafts, decor, and more in your inbox!
Get the How-To
Create an easy balloon garland DIY for your next party!
Instructions
Step One: Blow up your balloons in your desired colors and sizes. If you are assembling the garland right then you can kind of guess how many you need and then blow up a few more if you want more in a certain size or color to fill it out to your liking.
- Step Two: Measure out your garland strip to be the length of your desired garland and start to add your balloons (add a few extra inches at the beginning and end so you have some length to attach to the wall or hanging surface).Add in your larger balloons first by placing the balloon knot through the holes in the balloon strip and space them out a few holes from each other so you have space to add other sizes and it doesn’t become too stuffed with one size.
- Step Three: Keep adding different sizes/colors of balloons until the garland strip looks nice and full where you want it. Some garlands are uniformly full the whole way through and others have a fuller area in the middle or maybe 1/3 of the way through for a more dramatic thinning out at the ends on each side—totally a personal preference and may depend on how you were planning to hang it, so do whichever you like!
- Step Four: Add small balloons attached with Glue Dots to fill in any gaps in your garland. You can do more of this once you hang your garland in the final step, but you should be able to see any spots that look a little gappy and fill those in with a smaller size balloon (or one that’s just not fully blown up).You can also follow this garland making method if you like the look of clustering the small balloons together in a group before hanging as it gives it a slightly different look.
- Step Five: Hang your balloon garland. Generally, the easiest way to do this is using Command hooks and strips to stick up hooks on which you can hang the beginning and end of your garland.You can also tie twine or fishing line through the holes in parts of your balloon strip to tie onto existing railings or nails to attach the garland, and sometimes it’s helpful to have a Command hook for the ends and then also use string and a third hook to hang the middle for some extra support if needed.
Notes
- The amount of balloons you need will really depend on the length of your garland, the size of the balloons you have, and how thick you want the garland to look.
- For some idea, the all pink balloon garland is about 6′ long and has 10 small 5″ balloons, about 20 standard 12″ balloons and just a few 17″ larger balloons for accents.
- PRO TIP: You can alternate adding balloons through the front and the back of the balloon strip so it creates a more balanced 360° garland with balloons facing each way.
Source link
#Easy #Balloon #Garland #DIY #Video


