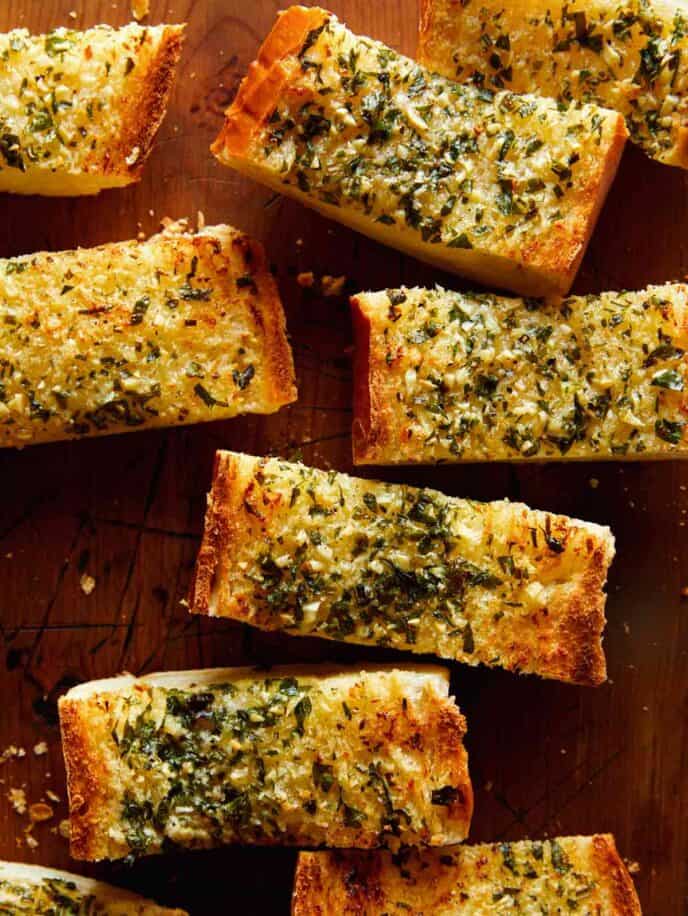
The most delicious and addicting Garlic Bread that you’ll ever taste! Our recipe is everything garlic bread should be – garlicky, buttery, toasted on the outside, but soft and fluffy on the inside. Serve it up with pasta, soups, salads, roasts, the possibilities are endless!
Did anyone not grow up eating those big, thick loaves of extra buttery Garlic Bread?? Seriously though, I feel like this was a staple in almost every household growing up and for good reason!
Our garlic bread recipe is so easy to make and the perfect carb-y, buttery, delicious addition to any dinner table! We love serving it with salads, pasta, appetizer style meatballs swimming in lots of marinara sauce, a variety of roasts, all by itself as a snack…there are so many options!
Is Garlic Bread Originally from Italy?
A lot of people are confused about the origins of garlic bread. Is it Italian or was it created in the US? The answer is both. Garlic bread originated from Italy in the form of bruschetta, but the (modern) idea of garlic bread that we are referring to and presenting today is American.
How to Make the Best Garlic Bread
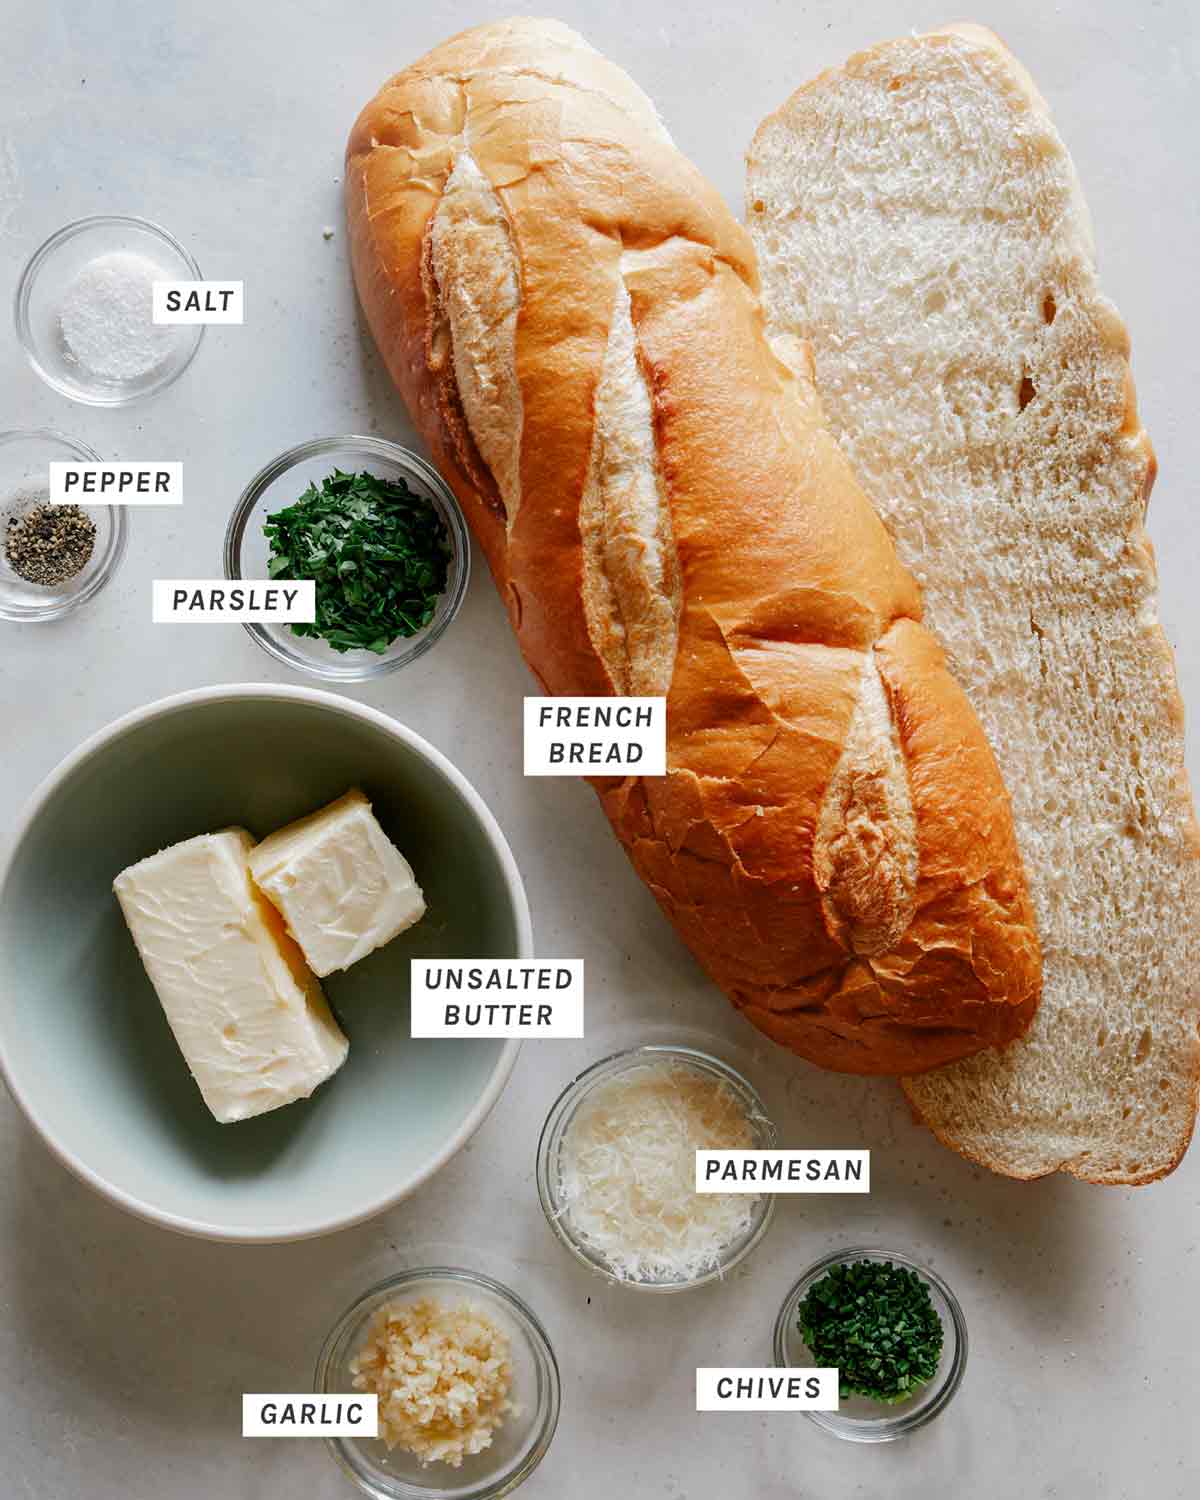
Ingredients
Process
- Preheat oven to 350˚F. Combine butter, Parmesan, parsley, chives, garlic, salt, and pepper.
- Stir together until fully mixed together.
- Spread butter mixture evenly over both cut sides of the loaf of bread.
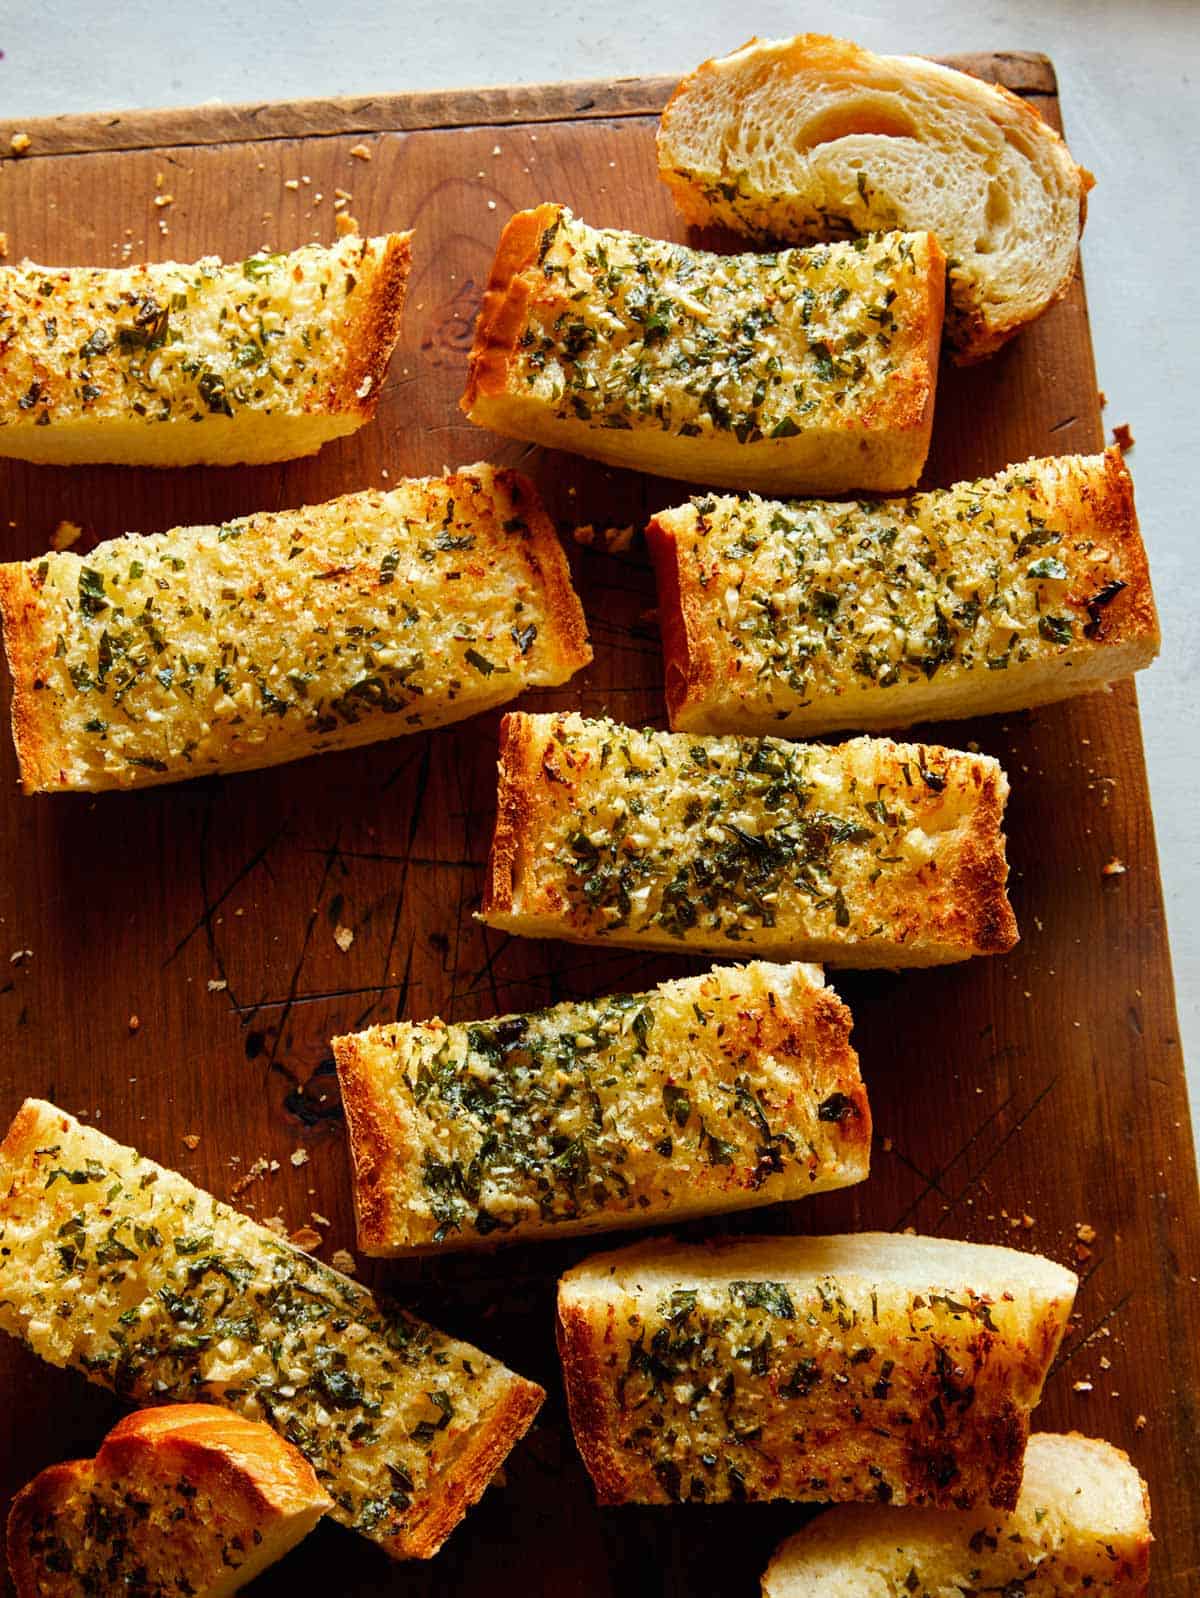
- Place both halves of bread, cut side up, onto a baking sheet and bake for 12-15 minutes. Then broil for 30 seconds, just to get the tops slightly browned and crisp.
- Remove garlic bread from oven, slice crosswise into 2 inch thick pieces and serve.
Tools You Will Need
Tips and Tricks for Garlic Bread Success
- Find the right bread! Although you can make garlic bread with many different types of bread, the best one to use is a large French loaf. The exterior has a nice crust and the interior is super soft and fluffy, resulting in a perfectly buttery and flavor packed garlic bread that is well toasted, but still soft in the center.
- Don’t slice or score the halves of the loaf into individual pieces until after the garlic bread has been baked. Some recipes we’ve seen has called for the halves of each loaf to be scored or mostly sliced into pieces, so after its baked, it’s easy to just tear the pieces off. We don’t like doing it this way because it’s harder to evenly distribute the butter and the butter tends to leak all over the baking sheet as it melts, instead of melting and soaking directly into the bread.
Garlic Bread Variations
- We add a little bit of Parmesan into our compound butter, but if you want a very cheesy garlic bread, you can sprinkle more grated Parmesan or another great melting cheese (like mozzarella or gruyere) on top of the loaf halves before baking.
- Add a little lemon zest to the butter for a bright citrus kick to the garlic bread.
- Incorporate different herbs depending on your flavor preference. We like adding some minced rosemary or thyme (or both) to the butter for a more earthy and hearty flavored garlic bread.
- Replace the dairy butter we use with vegan butter to turn this recipe vegan!
Make Ahead and Freezing Instructions
We don’t recommend making or freezing our garlic bread recipe ahead of time for quality purposes, but you can definitely make and freeze the garlic butter ahead of time.
Make Ahead
Once butter has been made, place it onto a sheet of plastic wrap or wax paper into the shape of a log and roll it tightly, sealing the sides. Place the butter in the refrigerator and use within 5 days. To use: Take butter out of the refrigerator and keep at room temperature for about 1 hour until soft enough to spread.
Freezing
Once butter has been made, place it onto a sheet of plastic wrap into the shape of a log and roll it tightly, sealing the sides. Then wrap the log in foil. Butter absorbs odors easily, so the foil will prevent the butter from picking up any freezer odors and help it stay fresh. Once butter has been tightly wrapped, place in freezer and freeze for up to 3 months for optimal freshness.
To thaw and use: Transfer butter to refrigerator and thaw overnight. Once butter has thawed, place at room temperature for about an hour, until butter is soft enough to spread.
More Delicious Bread Recipes You Will Love
Hungry for more?
Subscribe to never miss a recipe.
Garlic Bread
The most delicious and addicting Garlic Bread that you’ll ever taste! Our recipe is everything garlic bread should be – garlicky, buttery, toasted on the outside, but soft and fluffy on the inside. Serve it up with pasta, soups, salads, roasts, the possibilities are endless!
Servings:
INGREDIENTS
INSTRUCTIONS
Preheat oven to 350˚F.
Combine butter, Parmesan, parsley, chives, garlic, salt, and pepper.
Stir together until fully mixed together.
Spread butter mixture evenly over both cut sides of the loaf of bread.
Place both halves of bread, cut side up, onto a baking sheet and bake for 12-15 minutes. Then broil for 30 seconds, just to get the tops slightly browned and crisp.
Remove garlic bread from oven, slice crosswise into 2 inch thick pieces and serve.
NOTES
- Find the right bread! Although you can make garlic bread with many different types of bread, the best one to use is a large French loaf. The exterior has a nice crust and the interior is super soft and fluffy, resulting in a perfectly buttery and flavor packed garlic bread that is well toasted, but still soft in the center.
- Don’t slice or score the halves of the loaf into individual pieces until after the garlic bread has been baked. Some recipes we’ve seen has called for the halves of each loaf to be scored or mostly sliced into pieces, so after its baked, it’s easy to just tear the pieces off. We don’t like doing it this way because it’s harder to evenly distribute the butter and the butter tends to leak all over the baking sheet as it melts, instead of melting and soaking directly into the bread.
Calories: 308kcal Carbohydrates: 29g Protein: 7g Fat: 19g Saturated Fat: 12g Polyunsaturated Fat: 1g Monounsaturated Fat: 5g Trans Fat: 1g Cholesterol: 47mg Sodium: 434mg Potassium: 85mg Fiber: 1g Sugar: 1g Vitamin A: 649IU Vitamin C: 2mg Calcium: 53mg Iron: 2mg
CUISINE: Italian, Italian-american
KEYWORD: compound butter, garlic butter, toasted bread
COURSE: Appetizer, Side Dish
DIET : Vegetarian
www.spoonforkbacon.com (Article Sourced Website)
#Garlic #Bread #Recipe #Spoon #Fork #Bacon