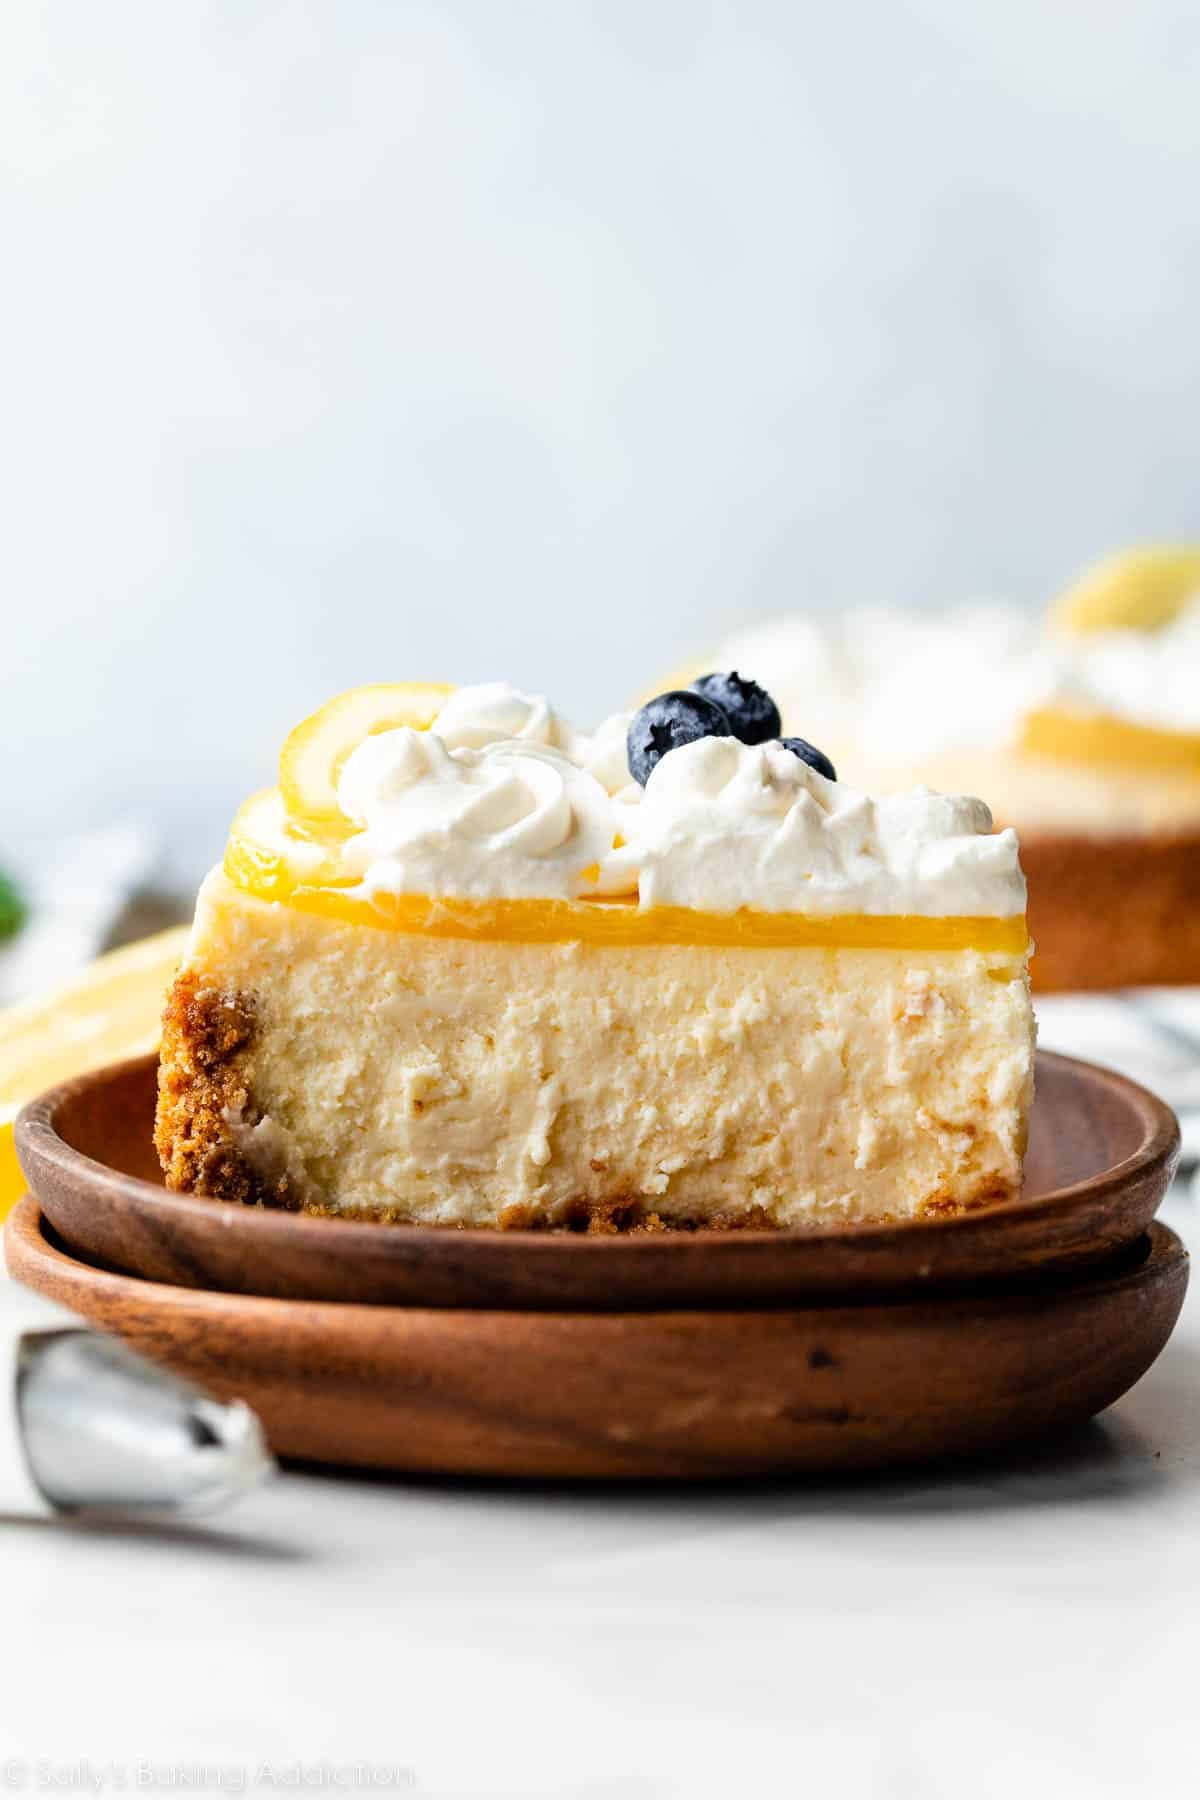
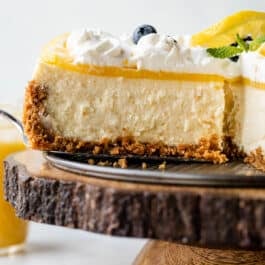
Look no further—this is the only lemon cheesecake recipe you’ll ever make again. Savor every sweet-tart taste of the creamiest, dreamiest cheesecake flavored with fresh lemon, nestled between a buttery graham cracker crust and a layer of homemade lemon curd. Top with clouds of fluffy whipped cream and sunny lemon slices for a simple yet eye-catching presentation.
Here we have a pure lemon cheesecake. I adapted this recipe from my popular key lime cheesecake recipe. Some reviews have said they’d love even more key lime flavor, so I kept that in mind here, and infused a little more fresh zest into the batter.
Plan ahead to make this cheesecake—ideally, the day before you plan to serve it. It needs time to bake, cool, and set in the refrigerator. Don’t we all need a little me time before a big event? 😉
3 Parts to This Lemon Cheesecake
- Graham Cracker Crust: A classic graham cracker crumb crust is the perfect base for this lemon cheesecake. If you can’t find graham crackers where you live, see the post on how to make a graham cracker crust for substitution information.
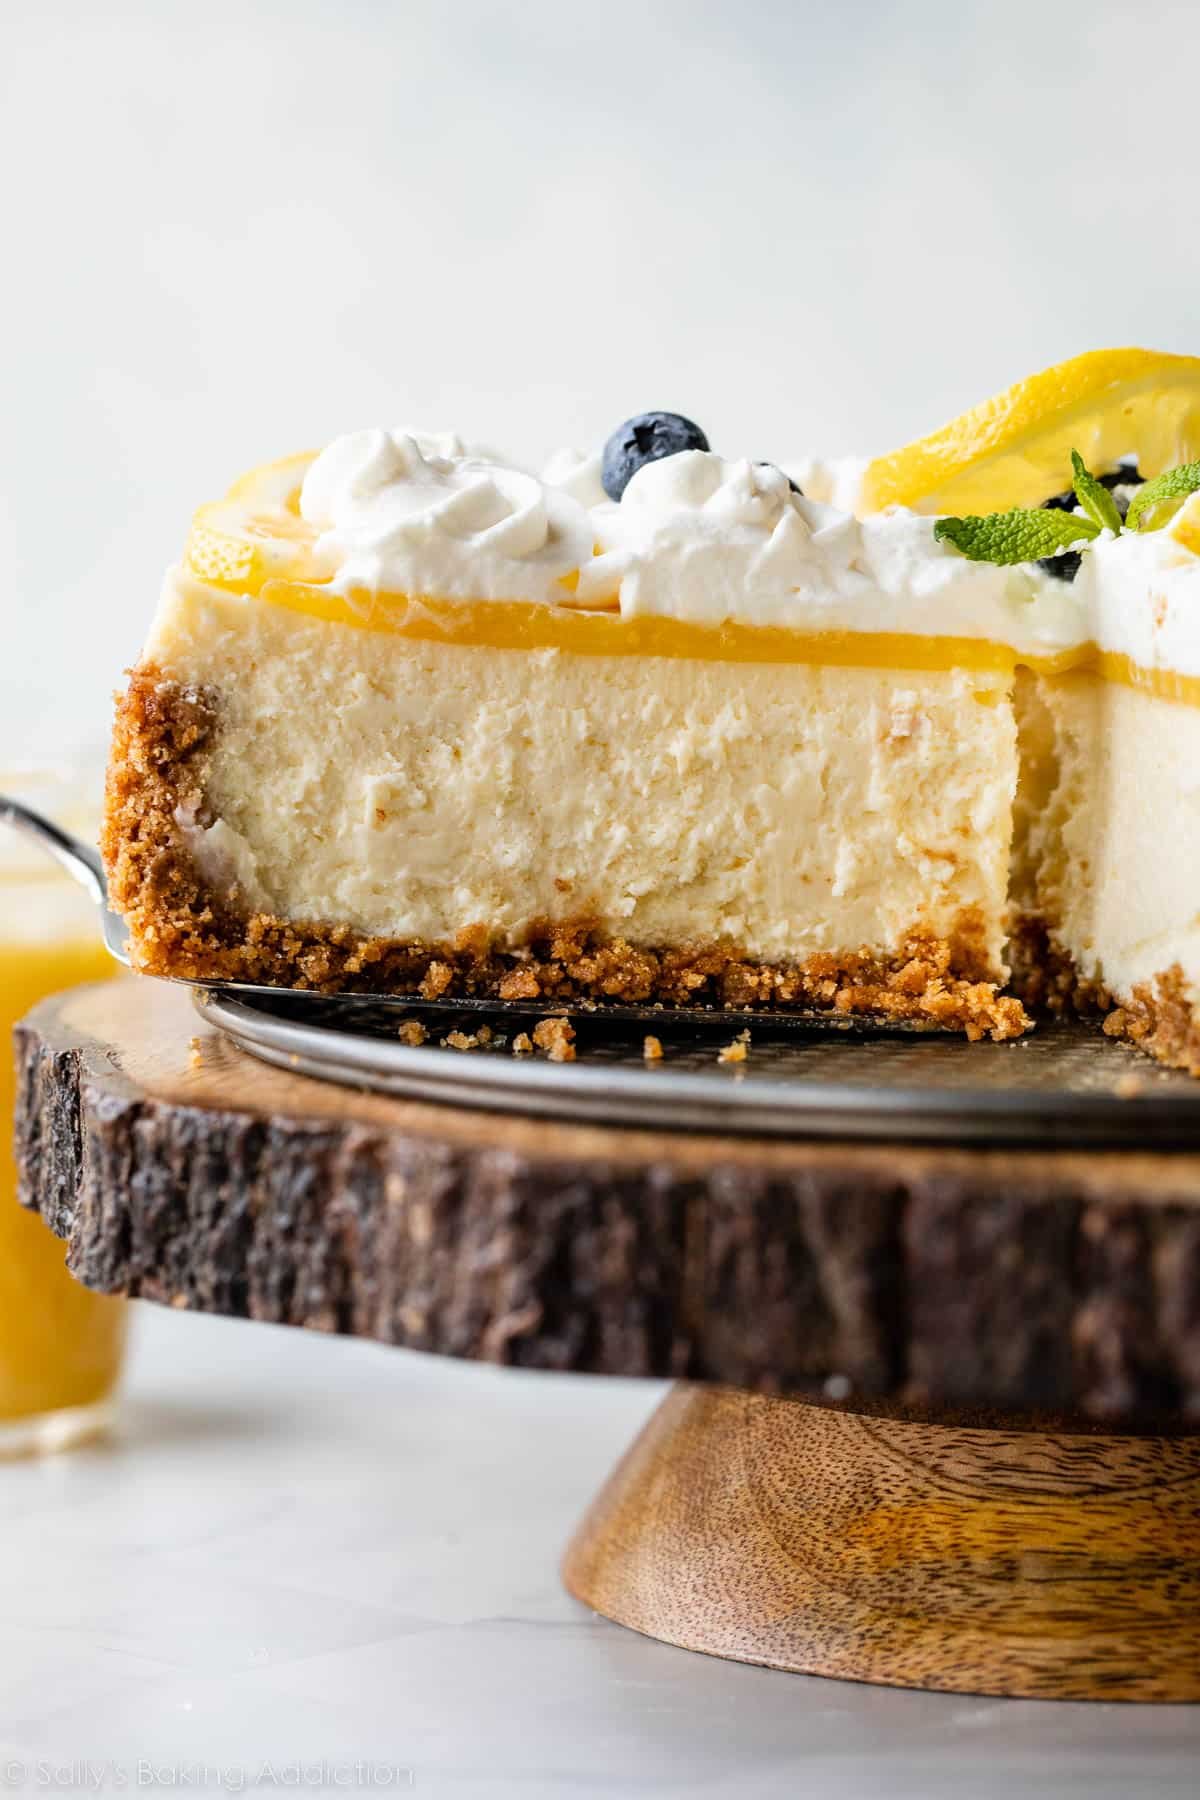
- Lemon Cheesecake Filling: This is a velvety-smooth and creamy filling, not stick-to-the-roof-of-your-mouth-dense like New York-style cheesecake can be.
- Lemon Curd: We’re topping the baked cheesecake with a layer of lemon curd. Have you made it before? It’s surprisingly easy—if you can whisk, you can make lemon curd!
Start With a Crumb Crust
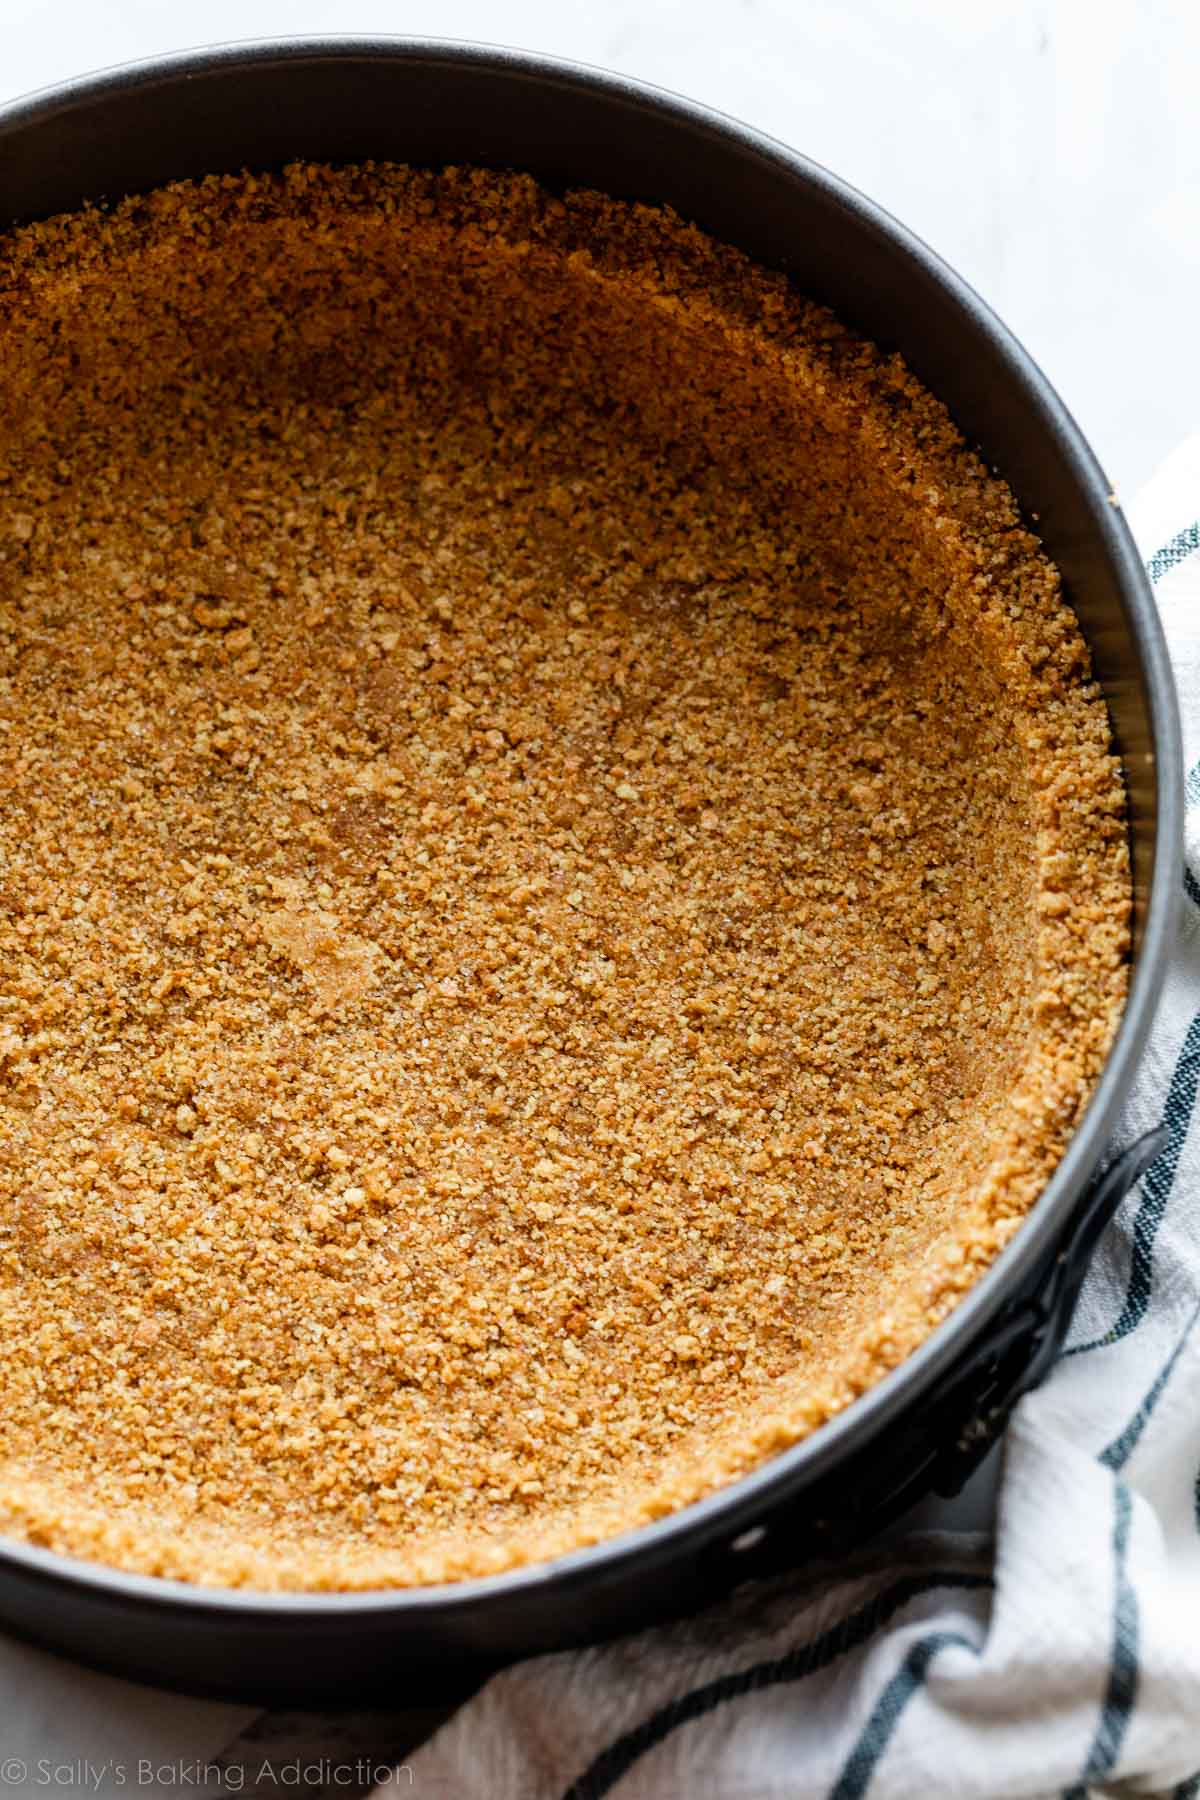
The recipe is basically the same as my traditional graham cracker crust, but with more crumbs and less butter, because cheesecake is so heavy and wet. Note that I use a little more crumbs here than what I use for regular cheesecake because today’s batter is a little thinner. (And therefore you want to start with a slightly drier crust.)
The crust turns out buttery, soft, and crunchy at the same time. Give it a 10-minute head start in the oven before adding the filling.
Make the Filling
Have you ever tried vanilla sugar before? I ask because we’re doing something similar here. Some readers have mentioned they would love more lime flavor in my key lime cheesecake, and so I wanted to amp up the lemon flavor in today’s recipe without actually changing the base recipe.
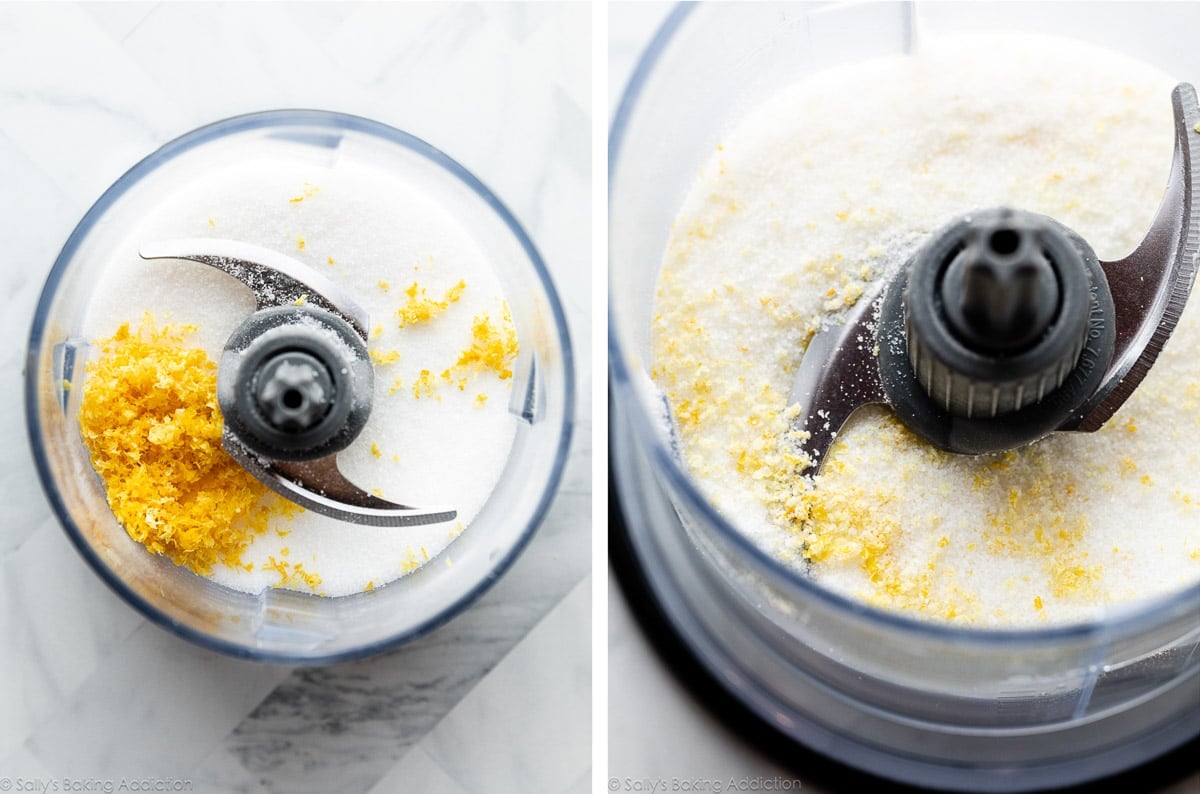
Pulse lemon zest with the sugar you need for the cheesecake filling. This infuses the sugar with lemon flavor. Instead of the lemon zest just sitting in the batter, it’s now broken down in the sugar (which, along with the cream cheese, is the base of the filling). Very easy.
You could really do this with any recipe that calls for granulated sugar and lemon zest. Grab your food processor (something you also need for the graham crackers in the crust!) and pulse away:
The cheesecake filling ingredients come together in a certain order. Beat the cream cheese and lemon zest-infused sugar together first, and then beat in the rest of the ingredients except for the eggs. Add the eggs one at a time, beating only until combined. Over-beating the eggs incorporates too much air into the batter, which causes the cheesecake to deflate and crack.
While a common concern about baking cheesecakes is how to prevent cracks in cheesecake, it doesn’t matter as much for this recipe because we’re covering the top with lemon curd. Still, I always bake cheesecake in a water bath. Cheesecake loves a humid environment so it can bake up smooth, creamy, tall, and crack-free. I usually use the traditional water bath method, but also explain an alternative in the recipe Notes below.
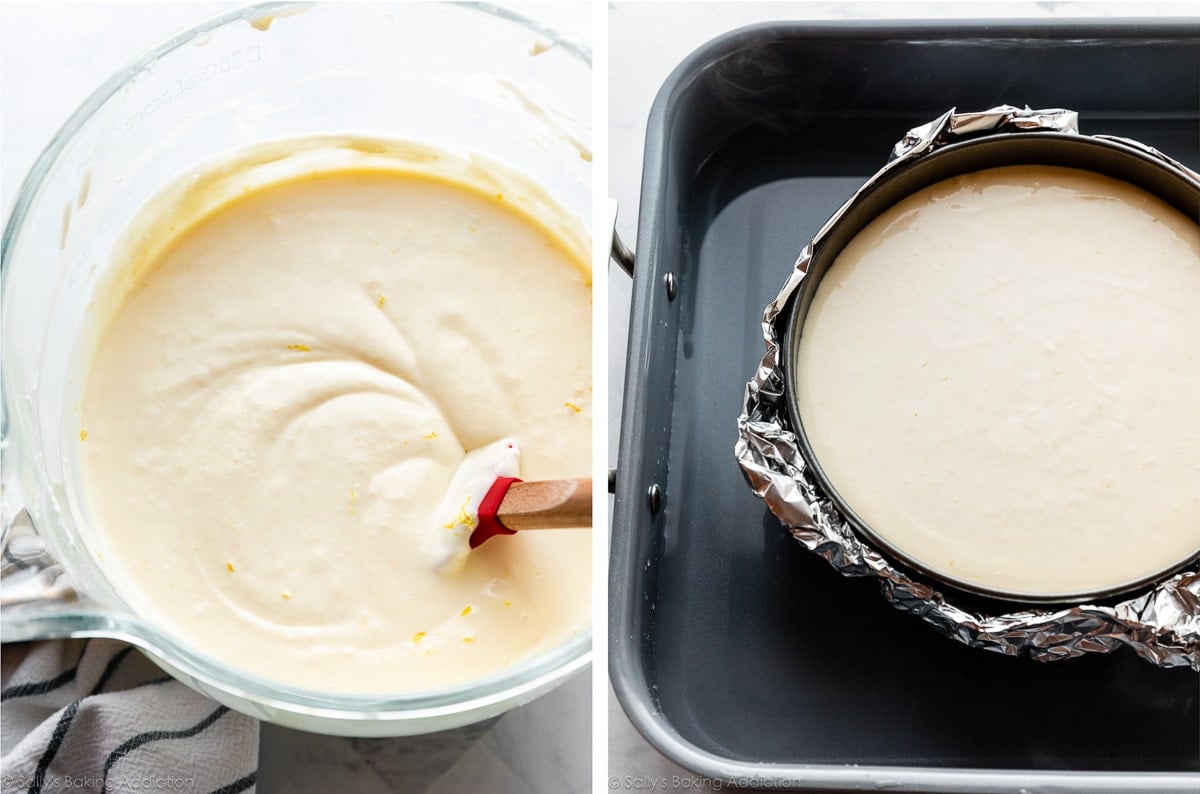
Follow my precise instructions for baking and cooling your cheesecake. I’ve said it before and I’ll say it again: there’s no greater test to your willpower than those few hours waiting for a cheesecake to bake and cool. During this time, you can make the lemon curd topping.
Make the Lemon Curd
I have a complete separate page dedicated to homemade lemon curd, with a video tutorial to help. This is an optional topping, but accentuates the lemon flavor in the dessert. I strongly recommend adding it!
Cool the lemon curd completely. Then spread it on top of the lemon cheesecake after the cheesecake has cooled to room temperature, and before chilling in the refrigerator. You want the lemon curd to chill and set on top of the cheesecake.
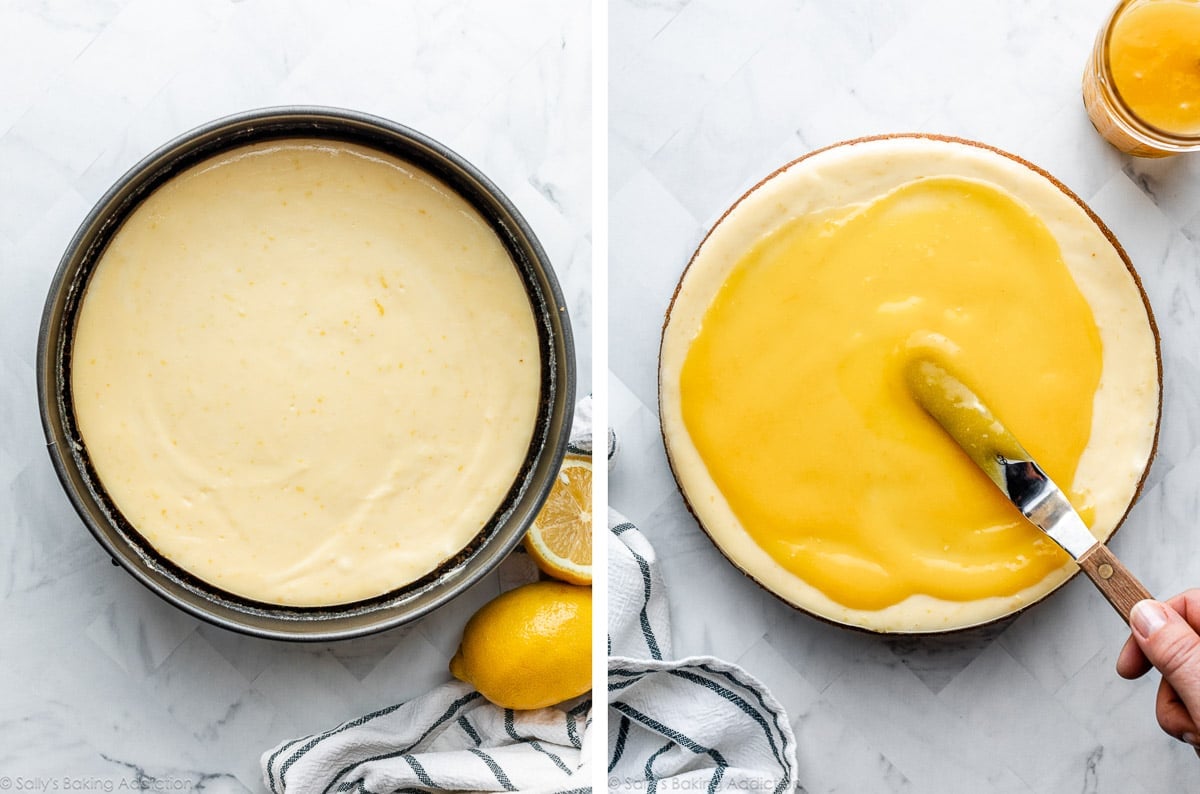
After the lemon curd-topped cheesecake has chilled completely, you can garnish and serve.
Optional Garnishes
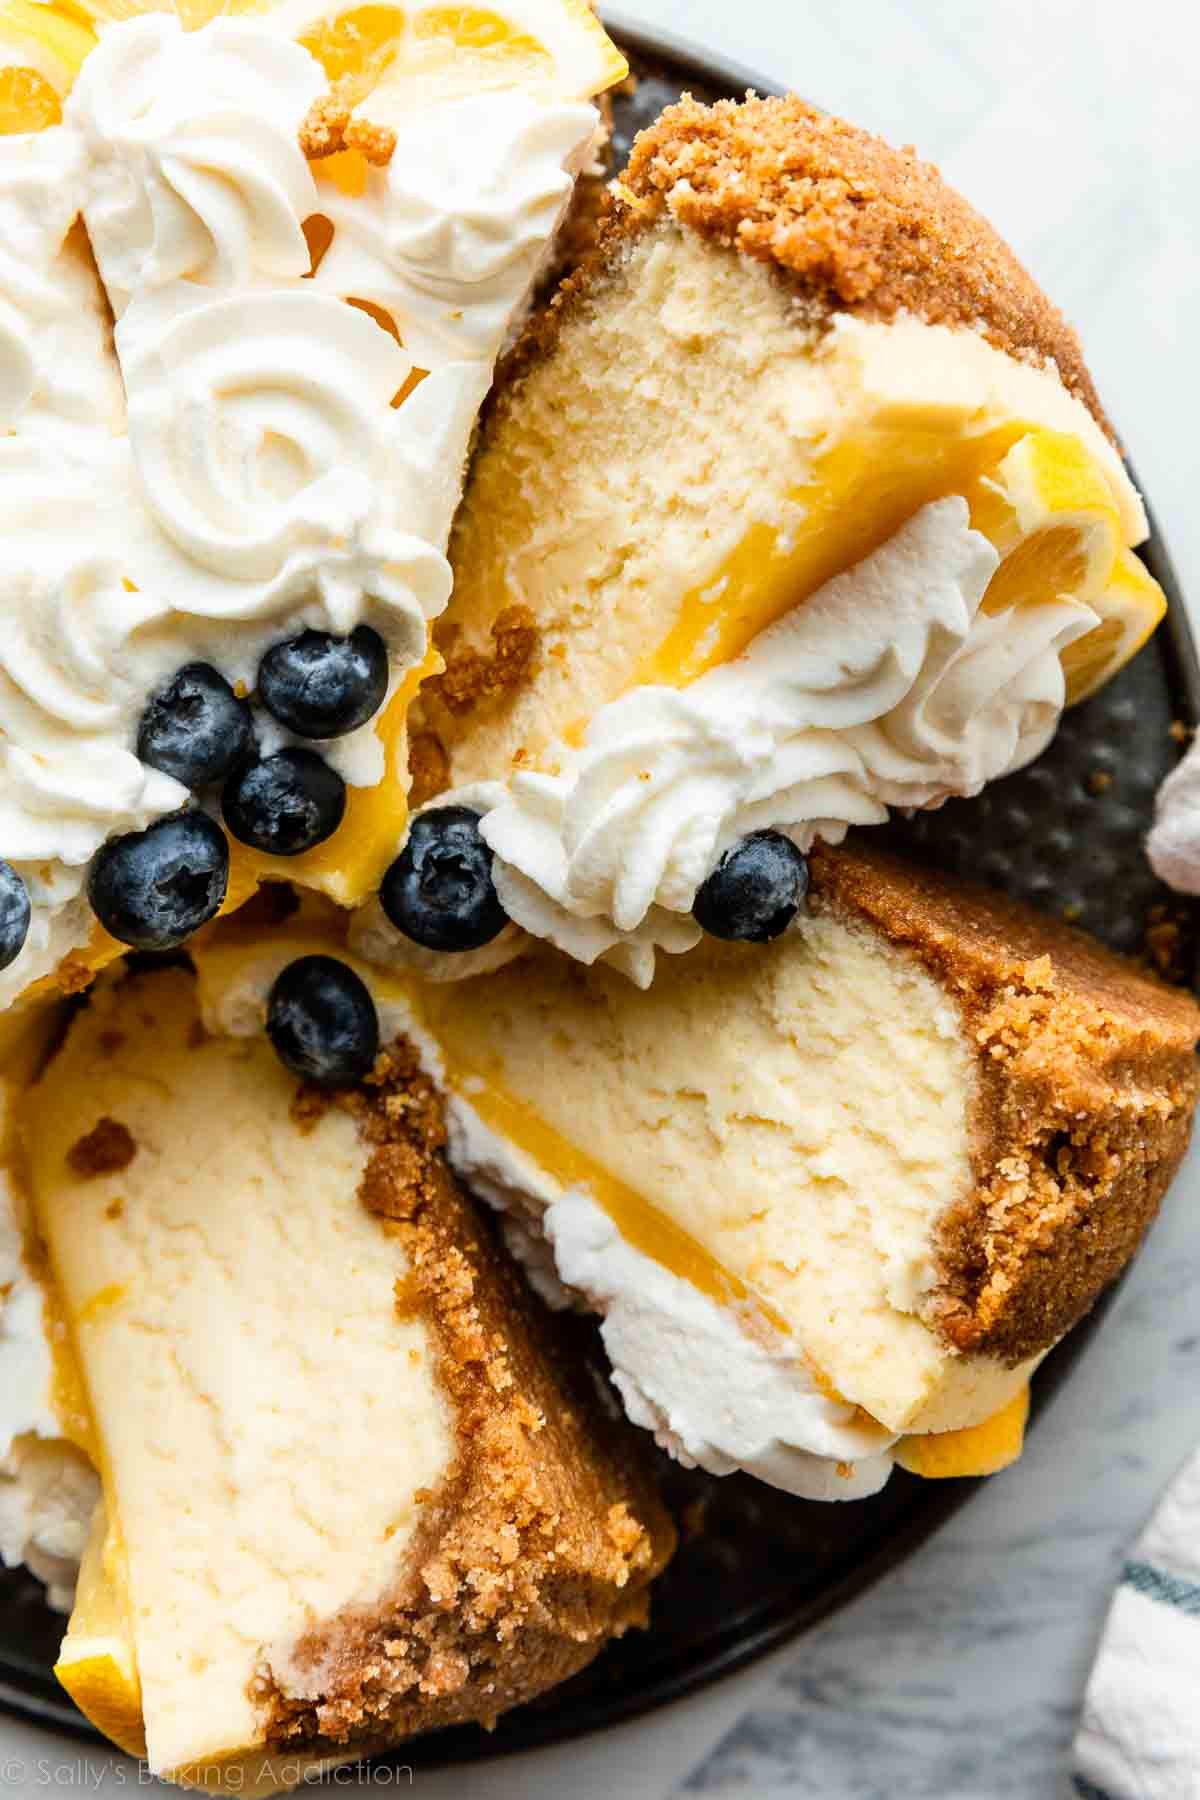
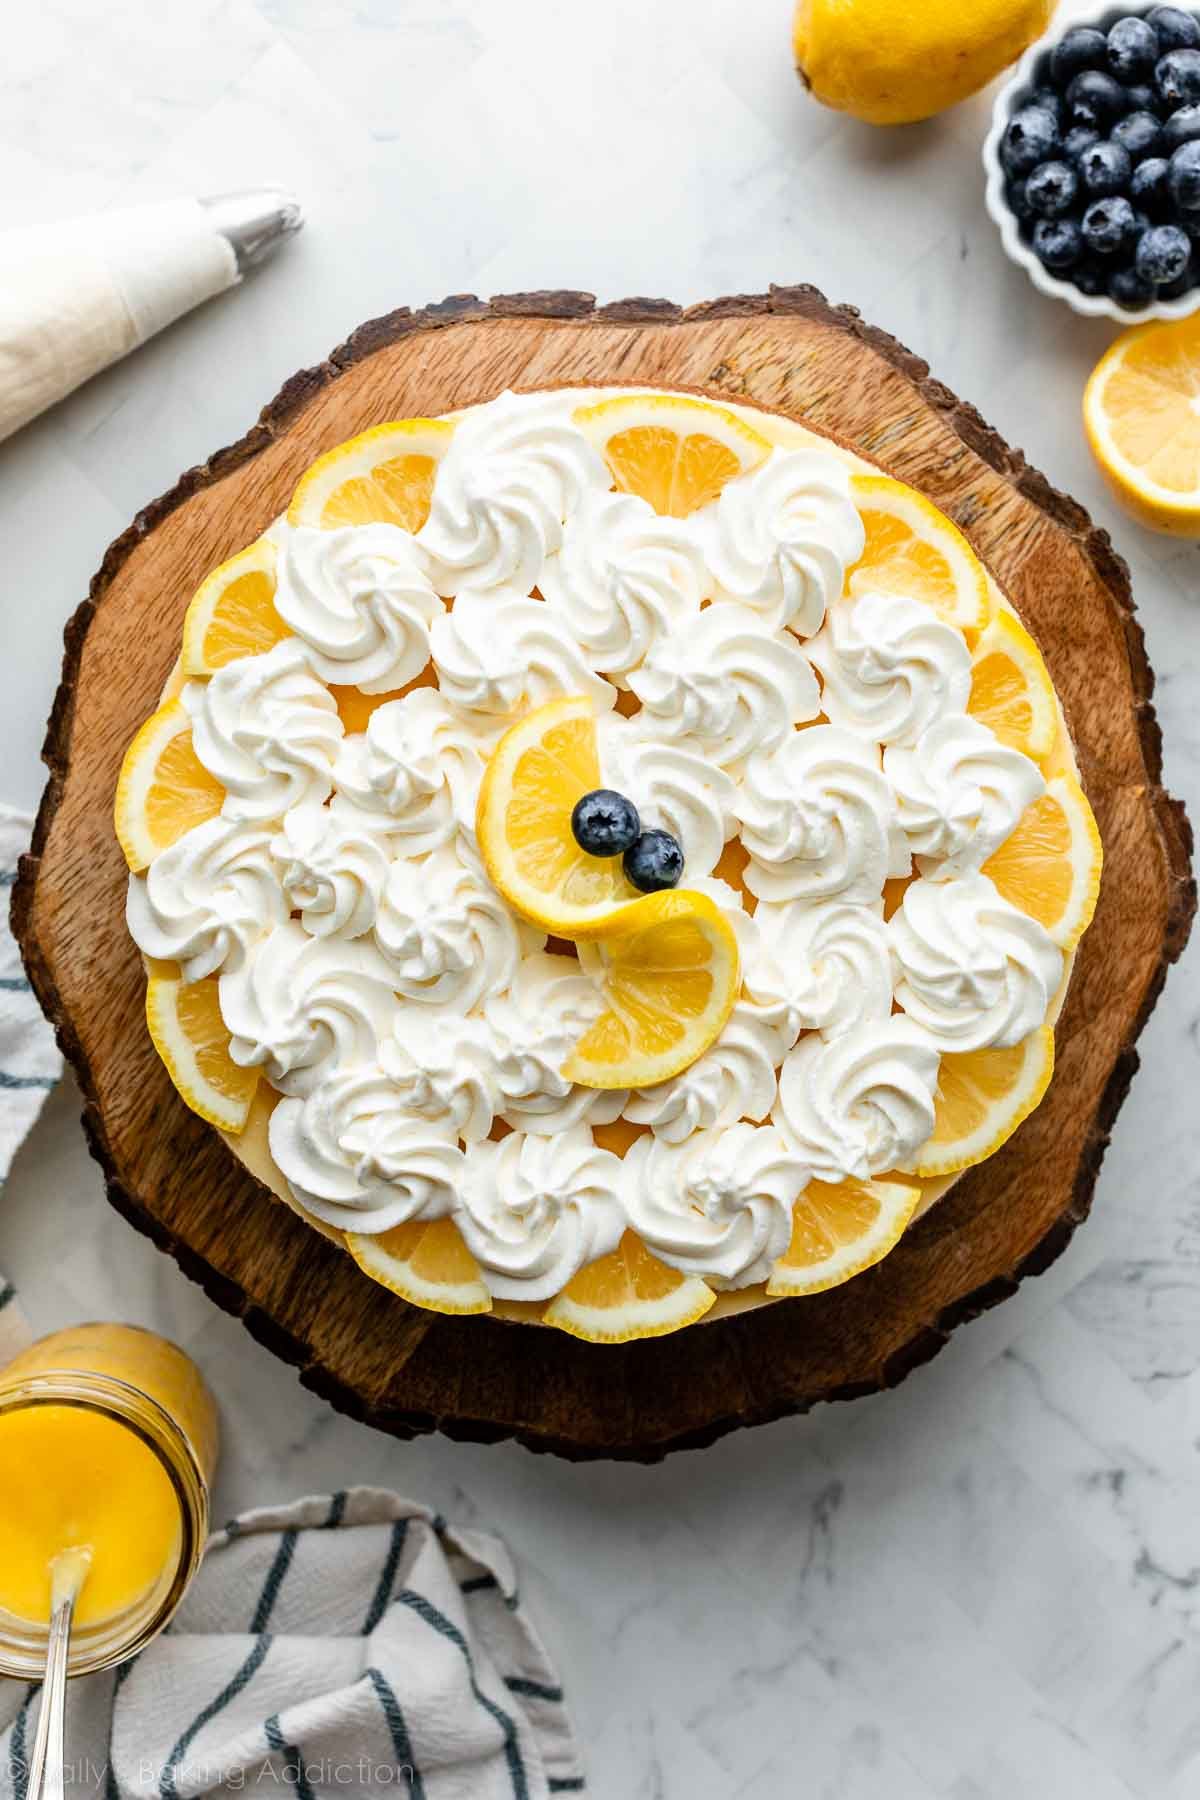
This lemon cheesecake is sublime (or should I say, sublemon—LOL) topped with whipped cream. You could also add fresh lemon slices and berries, and raspberry sauce or strawberry topping would also be delicious.
But extra toppings are completely optional; no one is going to turn down a plain slice of this divine dessert, with its shiny halo of homemade lemon curd.
In the pictured lemon cheesecake, I piped the whipped cream with Wilton 1M piping tip, but you could also just spread it on top like I do with this pumpkin swirl cheesecake.
Lemon Cheesecake Success Tips
- Room temperature batter: Make sure all of the cheesecake batter ingredients are at room temperature so the batter remains smooth and combines quickly. Beating cold ingredients will result in a chunky over-beaten batter… hardly the way you want to start!
- Bake the cheesecake: The lemon cheesecake can take anywhere from 55–70 minutes. It’s done when the edges are set. Using an oven mitt, give the pan a light tap. The very center of the cheesecake should still be a bit wobbly.
- Cool the cheesecake: Cheesecake doesn’t like vast temperature changes, so cool it using my guaranteed method: turn off the oven, crack open the door, and let the cheesecake sit in the water bath in the oven for 1 hour. After that, remove it from the water bath and place it on the counter at room temperature to fully cool.
- Chill the cheesecake: After the cheesecake cools to room temperature, spread cooled lemon curd on top and chill it in the refrigerator for at least 4 hours or even overnight.
Lemon Cheesecake Recipe
Prep Time: 1 hour
Cook Time: 1 hour
Total Time: 8 hours (includes chilling)
Yield: serves 16
Category: Dessert
Method: Baking
Cuisine: American
Description
Savor every sweet-tart taste of the creamiest, dreamiest cheesecake flavored with fresh lemon, nestled between a buttery graham cracker crust and a layer of homemade lemon curd. You can make this lemon cheesecake recipe a day in advance, so the cheesecake has time to set in the refrigerator, and the lemon curd has time to set on top. Add the optional whipped cream and lemon slices or berries right before serving.
Graham Cracker Crust
Cheesecake
Toppings
Instructions
- Adjust the oven rack to the lower-middle position and preheat oven to 350°F (177°C).
- Make the crust: If you’re starting out with full graham crackers, use a food processor or blender to grind them into fine crumbs. Pour into a medium bowl and stir in sugar until combined, and then stir in the melted butter. Mixture will be sandy. Press firmly into the bottom and slightly up the sides of an ungreased 9-inch springform pan. Pat down until the mixture is no longer crumby/crumbly; you can use the flat bottom of a small measuring cup to help smooth it out if needed. Pre-bake for 10 minutes. Remove from the oven and place the hot pan on a large piece of aluminum foil. The foil will wrap around the pan for the water bath in step 6. Allow crust to slightly cool as you prepare the filling.
- Make the lemon sugar: Place sugar in your food processor or blender. Spoon lemon zest on top. Pulse/blend until the two are blended and the lemon zest is slightly broken down, about 10-12 pulses.
- Continue with the filling: Using a handheld or stand mixer fitted with a paddle attachment, beat the cream cheese and lemon sugar together on medium-high speed in a large bowl until the mixture is smooth and creamy, about 2 minutes. Add the lemon juice, sour cream, and vanilla extract, then beat on medium-high speed until fully combined. On medium speed, add the eggs one at a time, beating after each addition until just blended. After the final egg is incorporated into the batter, stop mixing. To help prevent the cheesecake from deflating and cracking as it cools, avoid over-mixing the batter.
- Pour cheesecake batter into warm crust. Use a rubber spatula or spoon to smooth it into an even layer.
- Prepare the simple water bath (see Note for alternative method): Boil a kettle/pot of water. You need 1 inch of water in your roasting pan for the water bath, so make sure you boil enough. I use an entire kettle of hot water. As the water is heating up, wrap aluminum foil around the springform pan. Place the pan inside of a large roasting pan. Carefully pour the hot water inside of the pan and place in the oven. (Or you can place the roasting pan in the oven first, then pour the hot water in. Whichever is easier for you.)
- Time-saving tip: If topping with lemon curd, which I highly recommend, make the curd on the stove as the cheesecake bakes, so it has time to cool before using in step 10.
- Bake cheesecake for 55–70 minutes or until the center is almost set. (Note: if you notice the cheesecake browning too quickly on top, tent it with aluminum foil halfway through baking.) When it’s done, the center of the cheesecake will slightly wobble if you gently tap the pan. Turn the oven off and open the oven door slightly. Let the cheesecake sit in the oven in the water bath as it cools down for 1 hour.
- Remove from the oven, lift out of the water bath, then cool uncovered cheesecake completely at room temperature.
- Top with lemon curd: After cheesecake has cooled completely at room temperature, spread about 3/4 cup of lemon curd (around 1/2 of the curd recipe) on top, nearing the edge of the cheesecake without spilling over. I use an offset spatula to spread.
- Refrigerate the cheesecake for at least 4 hours or overnight.
- Use a knife to loosen the chilled cheesecake from the rim of the springform pan, then remove the rim. Add more garnishes like whipped cream, lemon slices, and berries, if desired. I used Wilton 1M piping tip for the pictured whipped cream. Using a clean sharp knife, cut into slices for serving. For neat slices, wipe the knife clean and dip into warm water between each slice.
- Cover and store leftover cheesecake in the refrigerator for up to 5 days.
Notes
- Make Ahead Instructions: This cheesecake can be made the day before. It has to chill for quite some time before serving. See step 11. If using, you can make, cover, and refrigerate the lemon curd up to 10 days in advance.
- Freezing Instructions: Another way to make this cheesecake ahead of time is to freeze it, and for best results, I recommend freezing without the lemon curd topping and just topping the cheesecake with the curd before serving. Cool the cheesecake at room temperature. To freeze with the springform pan base: Remove the outer rim from the springform pan. Wrap the cheesecake with the bottom of the pan with a few layers of plastic wrap, then a final layer of aluminum foil. To freeze without the springform pan base: After the cheesecake has completely cooled, run a sharp knife underneath the crust to release it from the bottom of the pan. Carefully slide it onto a parchment paper lined piece of cardboard or use a plate. Wrap it all in a few layers of plastic wrap, then a final layer of aluminum foil. With or without the springform pan base, you can freeze the cheesecake for up to 3 months. Thaw overnight in the refrigerator before serving. Add toppings when serving cheesecake.
- Special Tools (affiliate links): Citrus Juicer | Citrus Zester | Food Processor | Electric Mixer (Handheld or Stand Mixer) | 9-inch Springform Pan | Large Roasting Pan for water bath | Offset Spatula | Piping Bag (Disposable or Reusable) and Wilton 1M Piping Tip if piping
- Toppings: In addition to the lemon curd, my favorite toppings for this cheesecake are whipped cream, fresh lemon slices, and fresh blueberries. Raspberry sauce or strawberry topping would also be delicious.
- Alternative Water Bath Method: If you do not own a large roasting pan or are nervous about your springform pan leaking, you can bake the cheesecake directly on the oven rack, above a large pan of hot water on the rack below. Boil a kettle or pot of water. You need 1 inch of water in your pan for the water bath, so make sure you boil enough. Place a large metal baking or roasting pan (I usually use a 9×13-inch baking pan—do not use glass) on the bottom rack of the preheated oven. Pour boiling water into pan, about 1 inch deep. Immediately place the cheesecake on the center rack. Close oven to trap the steam inside. This alternative water bath method adds steam to the oven without having the cheesecake sit in the water, so no need to wrap the springform pan in aluminum foil.
- Room Temperature Ingredients: Bring all cold ingredients to room temperature before beginning. Room temperature ingredients combine quickly and evenly, so you won’t risk over-mixing. Also, beating cold ingredients together will result in a chunky cheesecake batter, hardly the way you want to begin!
- Can I use Meyer lemons? Yes. No other changes to the recipe.
- Can I use limes? Yes. Or try my key lime cheesecake.
- Can I make mini lemon cheesecakes? Yes. For about 30 mini cheesecakes in a muffin pan, use the crust and filling above and follow the same baking instructions as these mini margarita cheesecakes. Or, for a smaller batch, follow the margarita cheesecakes recipe and swap the tequila, triple sec, and lime juice with 1/4 cup (60ml) lemon juice and the lime zest for lemon zest. Also, replace the tequila and lime juice in the whipped cream with lemon juice. Feel free to add lemon curd on top of the cooled cheesecakes before chilling.
- Non-US Readers: Don’t have graham crackers where you live? Use 200g ground digestive biscuit crumbs (about 2 cups; 13–14 biscuits), 1/3 cup (67g) granulated sugar, and 6 Tablespoons (85g) melted butter. Pre-bake the crust for a bit longer, about 12–14 minutes. And from what I understand, spreadable cream cheese sold in a tub in countries outside of the US is a little different from the spreadable cream cheese in the US, so may be OK to use in this recipe. I have no experience with it, but some non-US readers have reported success with straining off excess liquid before using. If you try it, let us know how it turns out!
Keywords: lemon cheesecake
Source link
#Lemon #Cheesecake #Recipe #Sallys #Baking #Addiction