Soft, fluffy, garlic butter-topped homemade breadsticks are the perfect accompaniment to pretty much any dinner. The dough requires two rises, but the second rise is pretty quick as the oven preheats. This recipe should come with a warning: You’re only 7 ingredients away from (dare I say it?) better-than-Olive Garden breadstick bliss!
The moment when a fresh basket of bread hits the table is easily the best part of a dinner out. If you’ve ever been to the chain restaurant Olive Garden, you know what I mean. Each meal comes with unlimited soup or salad and breadsticks. I’ve always wanted to recreate those fan-favorite breadsticks, and it just so happens that you only need 7 ingredients to make a homemade version. There’s nothing like homemade.
These aren’t your authentically Italian crispy breadsticks; rather, they are basically elongated soft dinner rolls topped with salted garlicky butter.
These Homemade Breadsticks Are:
- Soft and fluffy on the inside, with a slightly chewy exterior
- Extra flavorful from melted butter and garlic both in the dough and brushed on after baking
- Delicious on their own, or dipped in a sauce
- Easy to make, perfect for bread-making beginners new to working with yeast
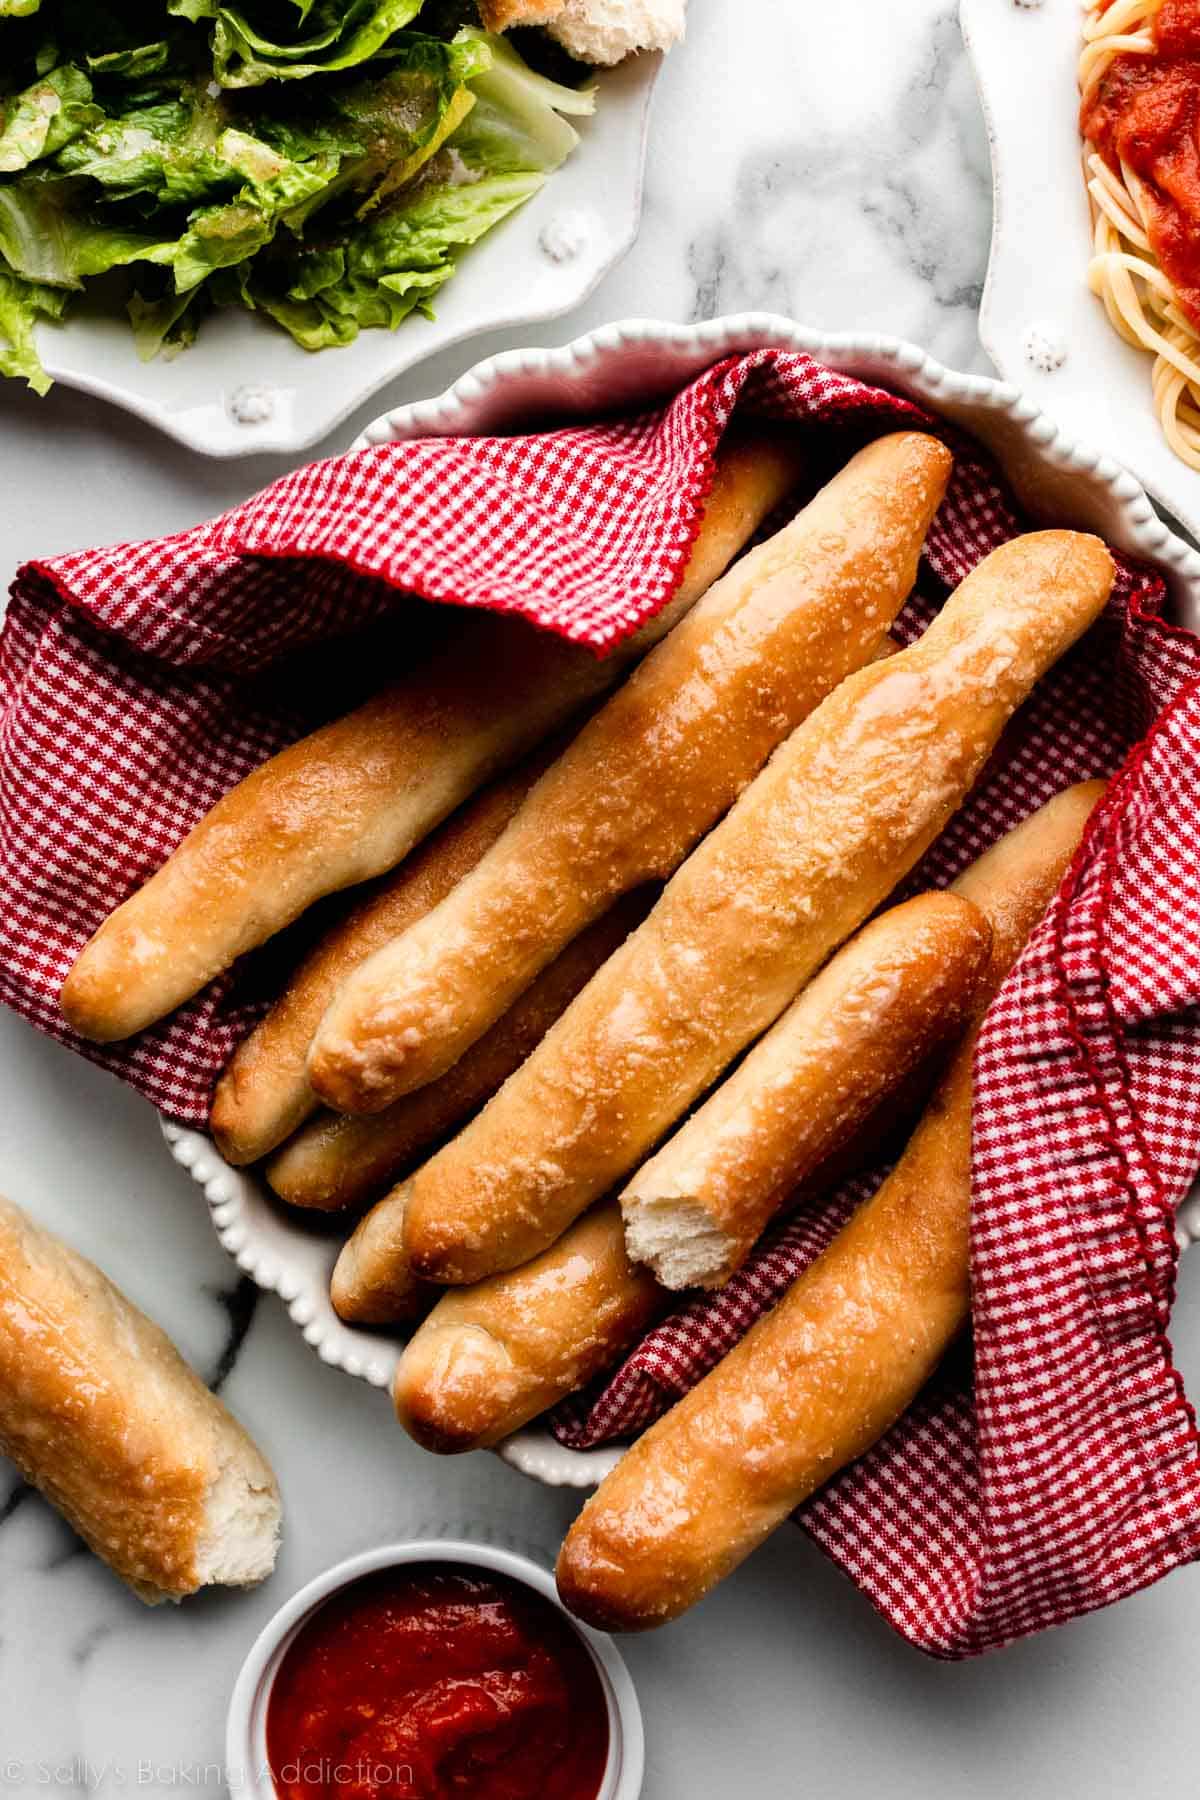
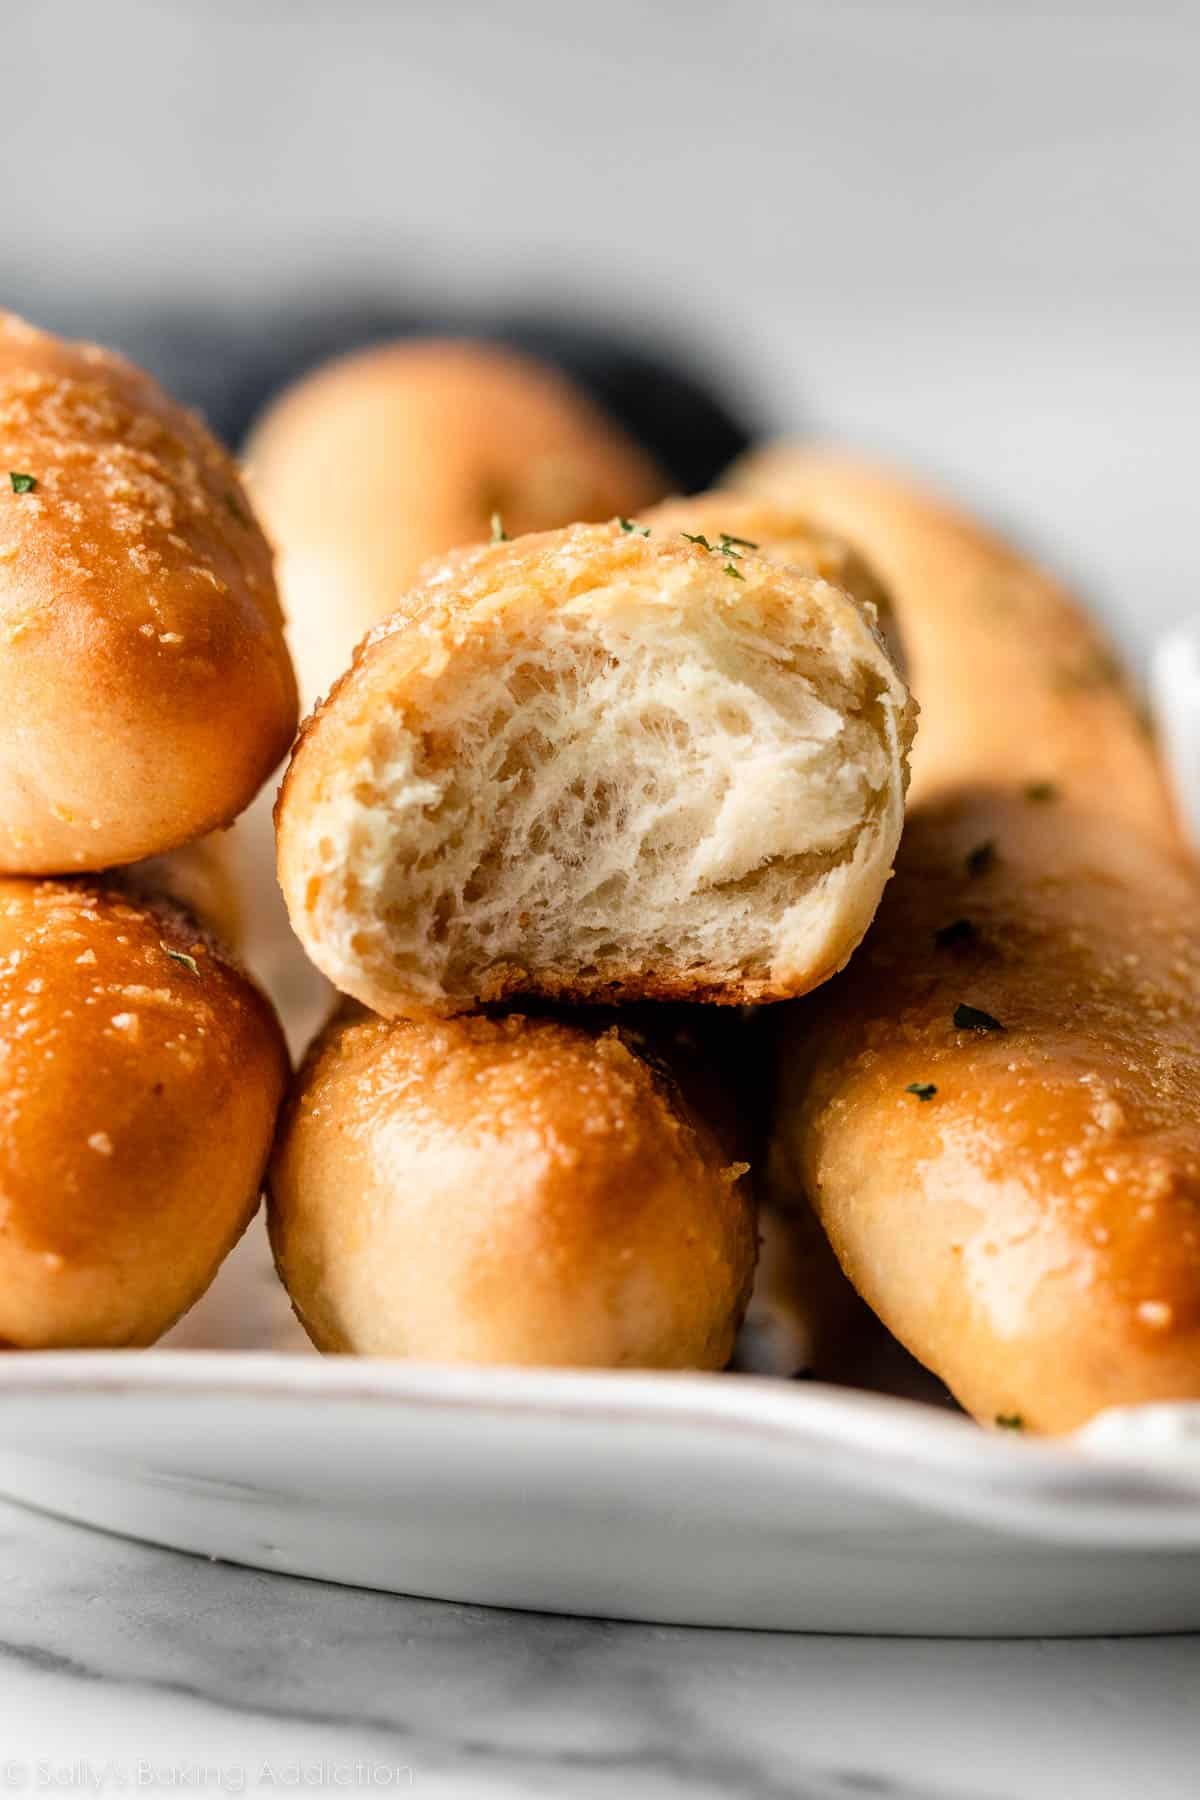
I adapted this recipe from reader-favorite pizza dough, with a few key changes. Since we’re not adding pizza toppings here, I wanted to amp up the flavor in the dough. I added a little more salt and sugar, and used melted butter instead of olive oil. Melted butter makes for a richer dough, which helps create a soft and fluffy bread, more like a dinner roll—as opposed to a lean dough that turns out a chewy pizza crust. If you’d like even more flavor, you can add 1/2 teaspoon garlic powder to the dough. (I usually do.)
In recipe testing, another version of this dough produced chewier breadsticks, with a texture more like soft pretzels. That dough was also harder to work with and shape than the one I’m sharing with you today.
If you’re new to working with yeast, be sure to check out my Baking With Yeast Guide.
Here Are the 7 Ingredients You Need & Why:
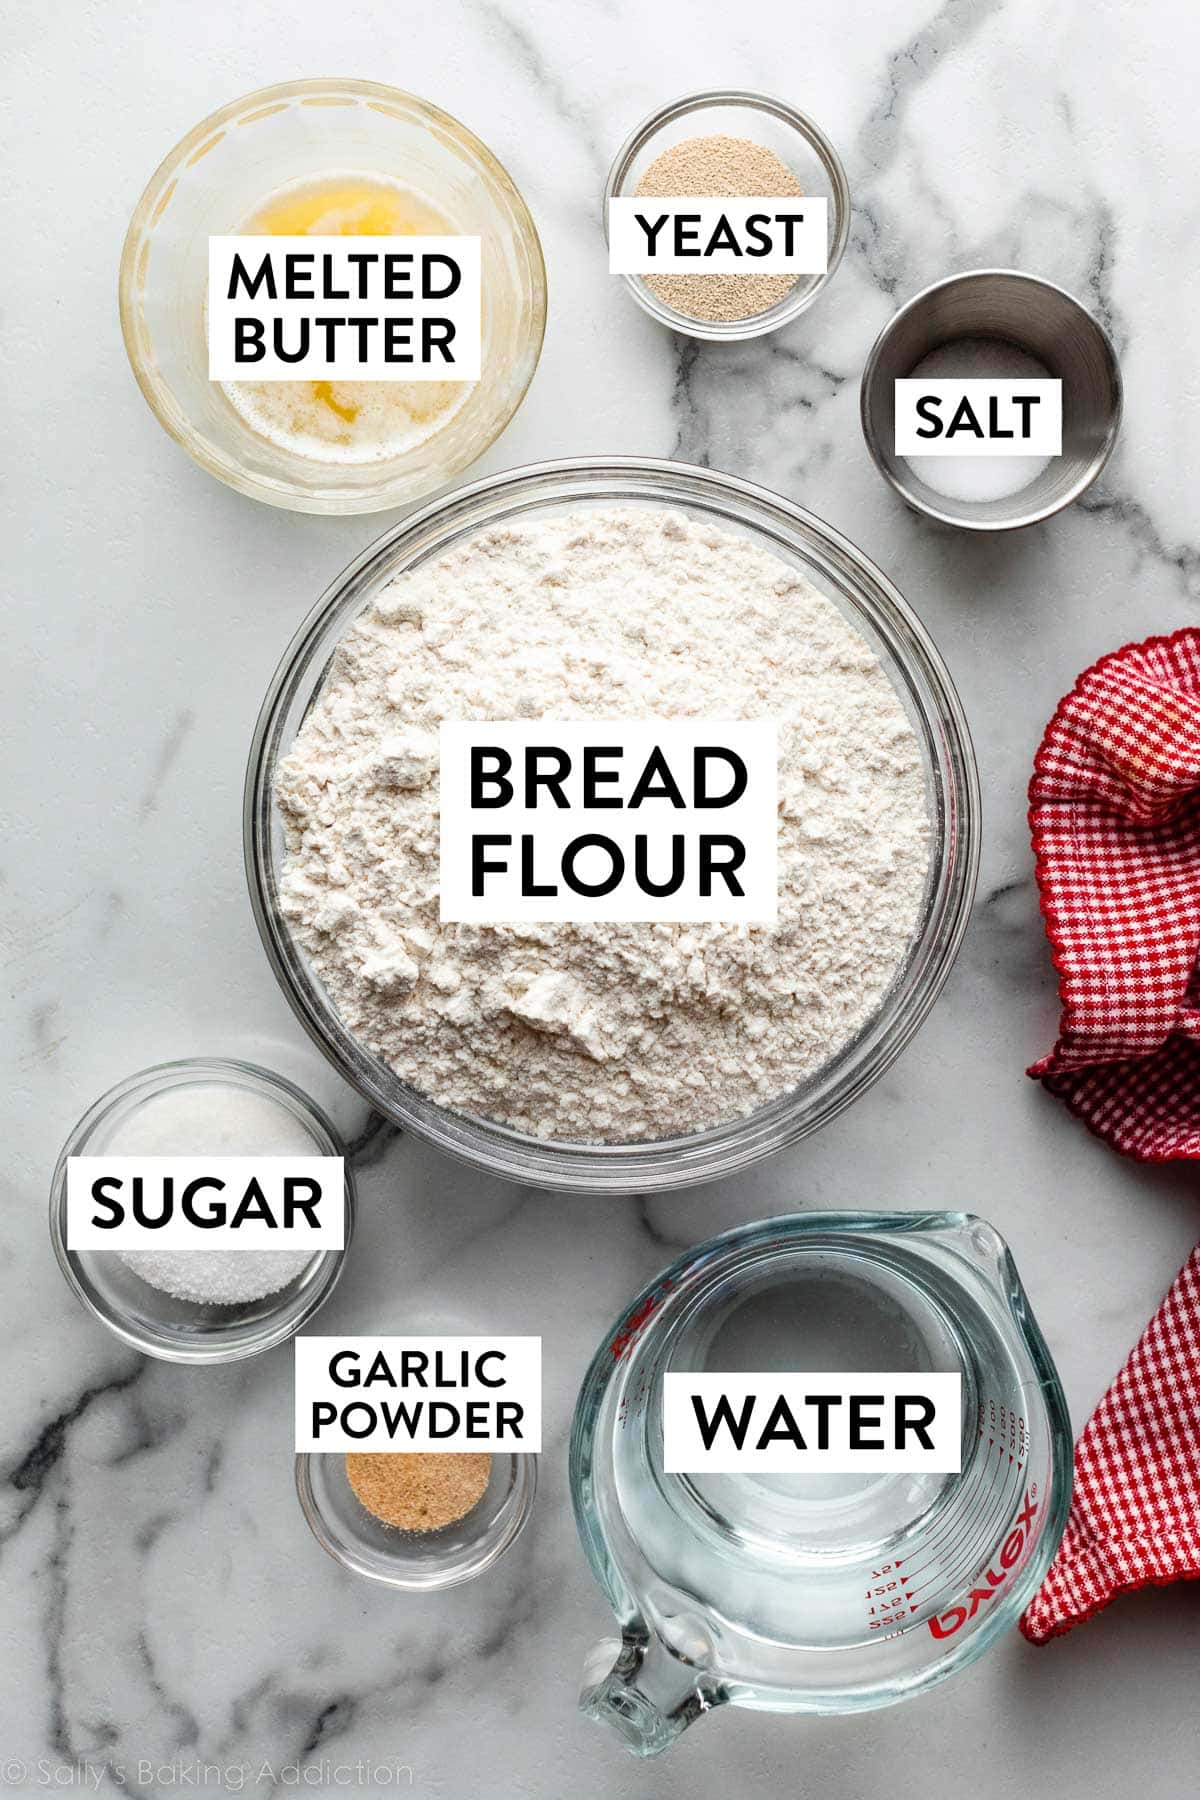
- Water: Warm water activates the yeast. It should be about 100–110°F (38–43°C). If the water is too hot, it will kill the yeast. And your dough will be doomed.
- Yeast: You need 2 and 1/4 teaspoons (which is 1 standard packet) of instant or active dry yeast to make this dough rise.
- Sugar: Sugar increases the yeast activity and tenderizes the dough, especially paired with melted butter.
- Melted Butter: Using butter instead of oil provides delicious flavor, and makes for a rich, soft dough. We’re using melted butter in both the dough and for brushing on top after baking.
- Salt: For flavor both in the dough and the buttery topping.
- Bread Flour: Bread flour gives these breadsticks a chewier texture, but if you only have all-purpose flour, you can use that instead.
- Garlic Powder: We’re mixing garlic powder into the melted butter topping, and if you want extra garlicky flavor, you can include some in the dough as well.
For cheese-topped breadsticks (that you don’t need to individually shape!), see these cheesy breadsticks.
Kneading the Dough Is Key
Kneading dough is a common step in bread baking, and this particular dough definitely benefits from a long kneading step (about 8–10 minutes) to help ensure the thin breadsticks stay soft. You can knead dough with your hands or in a stand mixer. A stand mixer obviously makes the job easier, but if you don’t have one, kneading is a great stress reliever. 😉 On a lightly floured work surface, using the heels of your hands, stretch and fold the dough with gentle motion.
- Why Do I Knead Dough? Kneading the dough serves a couple purposes. First, it incorporates air into the dough, which helps keep the thin breadsticks nice and soft. It also encourages the proteins in the flour and moisture in the dough to link together, forming a strong gluten network, which is essential for retaining the gas produced by the yeast. Gluten is what makes bread deliciously chewy.
You know your kneaded dough is ready to rise when it stretches without immediately tearing. After kneading, the dough will be soft and supple, and a windowpane test is always helpful. You can always poke the dough with your finger, too. If it slowly bounces back, it’s ready to rise.
- What’s a Windowpane Test? Tear off a small (roughly golfball-size) piece of dough and gently stretch it out until it’s thin enough for light to pass through it. Hold it up to a window or light. Does light pass through the stretched dough without the dough tearing first? If so, your dough has been kneaded long enough and is ready to rise. If not, keep kneading.
Pictured on the left below is the dough after mixing the ingredients together. And on the right is the dough after kneading. It’s smooth and stretchy, and ready to rise.
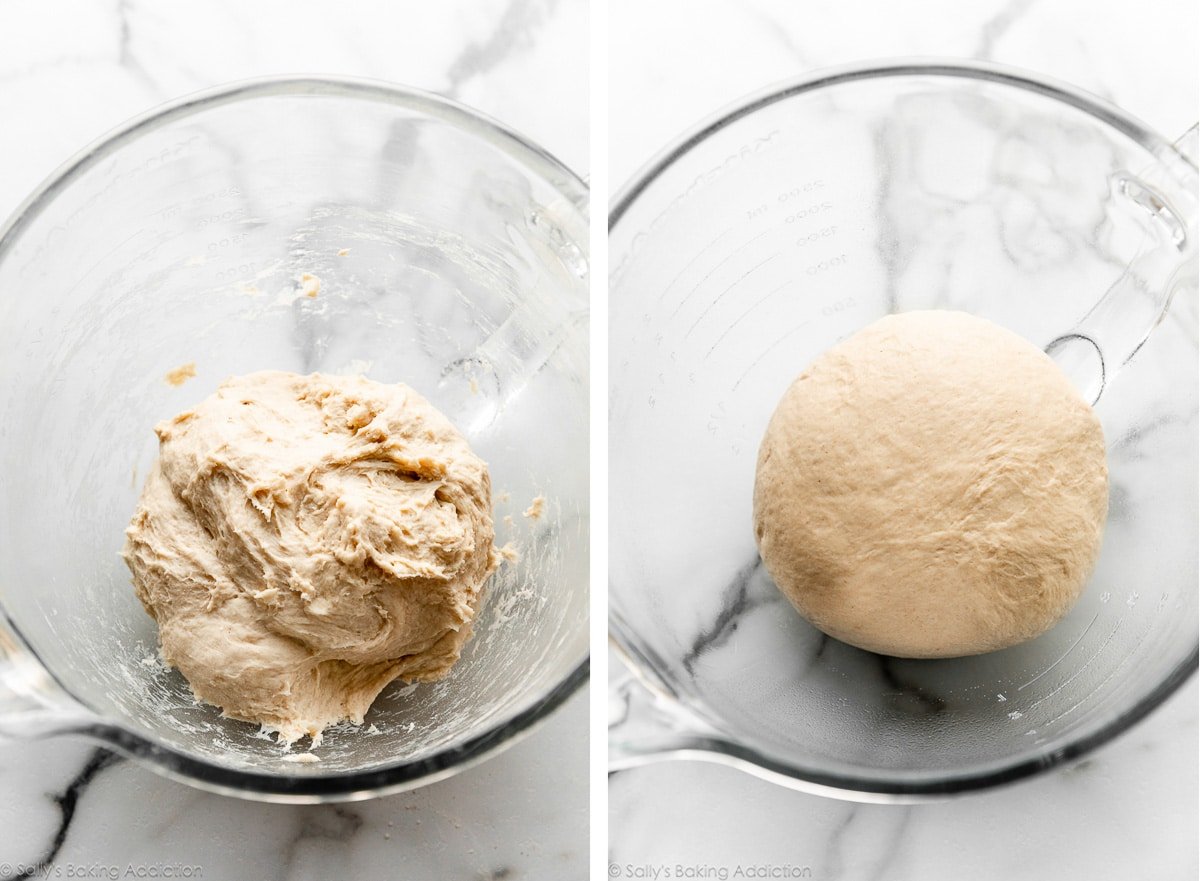
The breadstick dough requires 1 long rise time—about 1.5–2 hours—then a shorter rise after shaping the breadsticks, about 20 minutes. Here is the dough after the 1st rise:
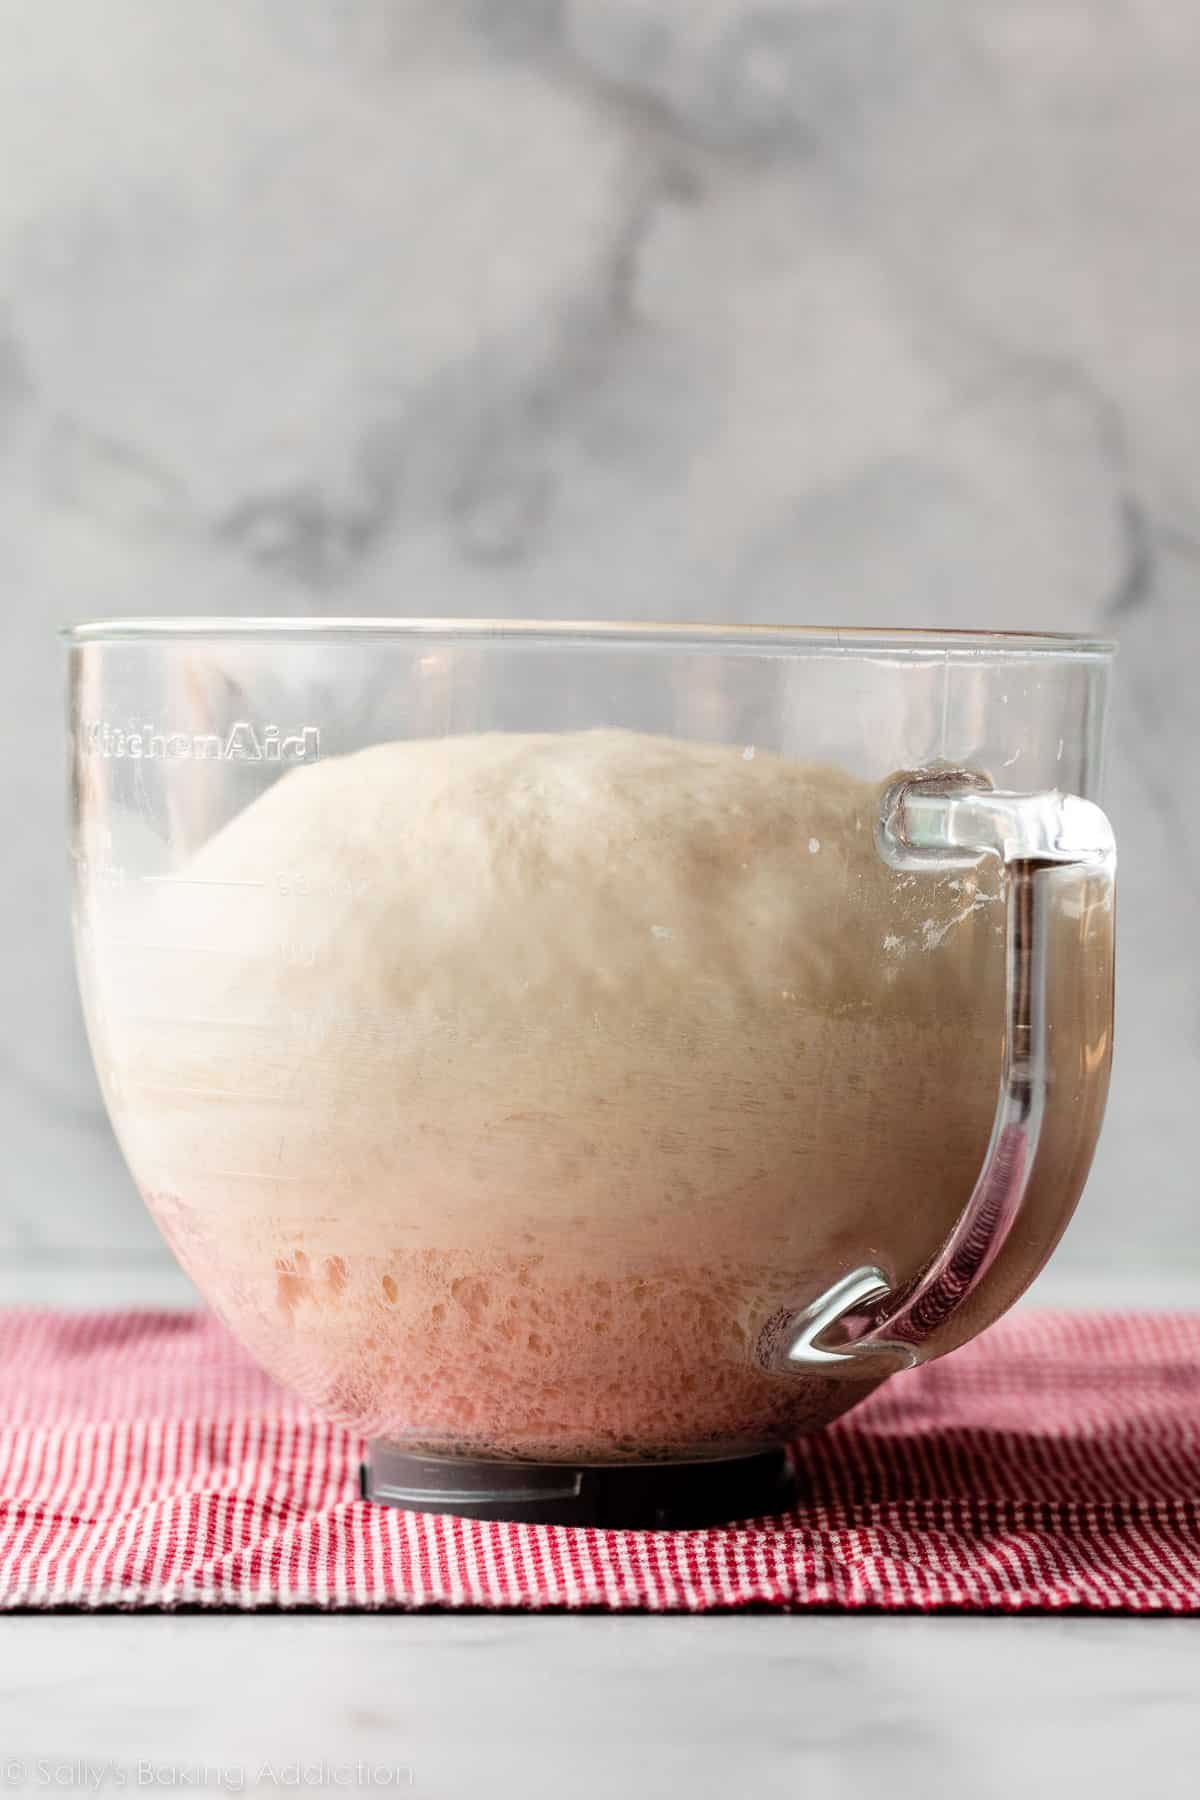
Shaping the Homemade Breadsticks
Punch down the risen dough, then cut it in half. You’ll have nearly 2 pounds of dough, total. Cut each half into 7 pieces, so 14 sticks total. (While not a necessary tool, I find a bench/dough scraper tool is handy for cutting dough.) Each piece of dough will weigh roughly 2 ounces, or 55 grams, but don’t worry about being exact.
Lightly flour your countertop and hands.
*Success Tip: The dough should feel a little tacky—not so sticky that it’s sticking to your hands and counter, but you do want it to get a little grip on the counter as you roll it into a log shape. If the dough is a little tacky, it will be easier to roll with your hands than if it’s too floury.
Roll each piece into an 8-inch log, sort of like you do when making homemade soft pretzels and garlic knots.
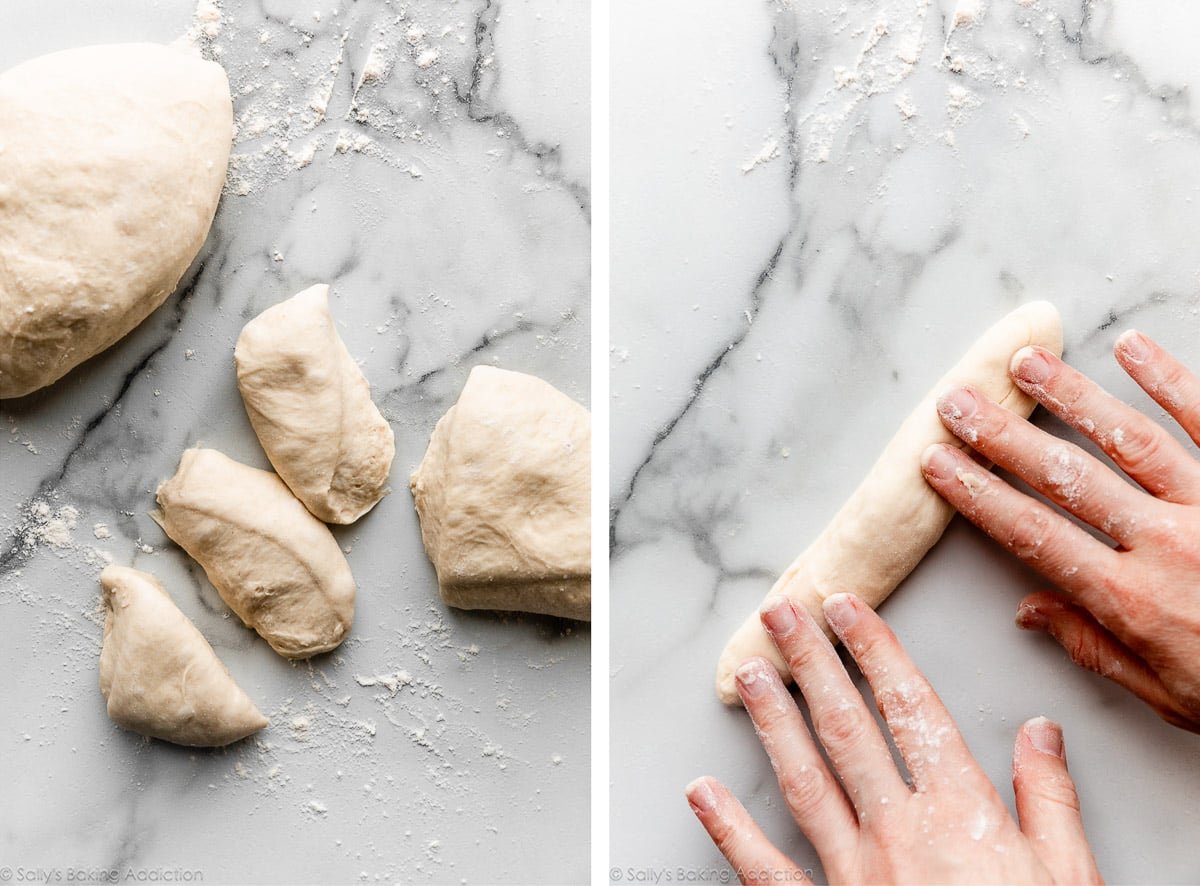
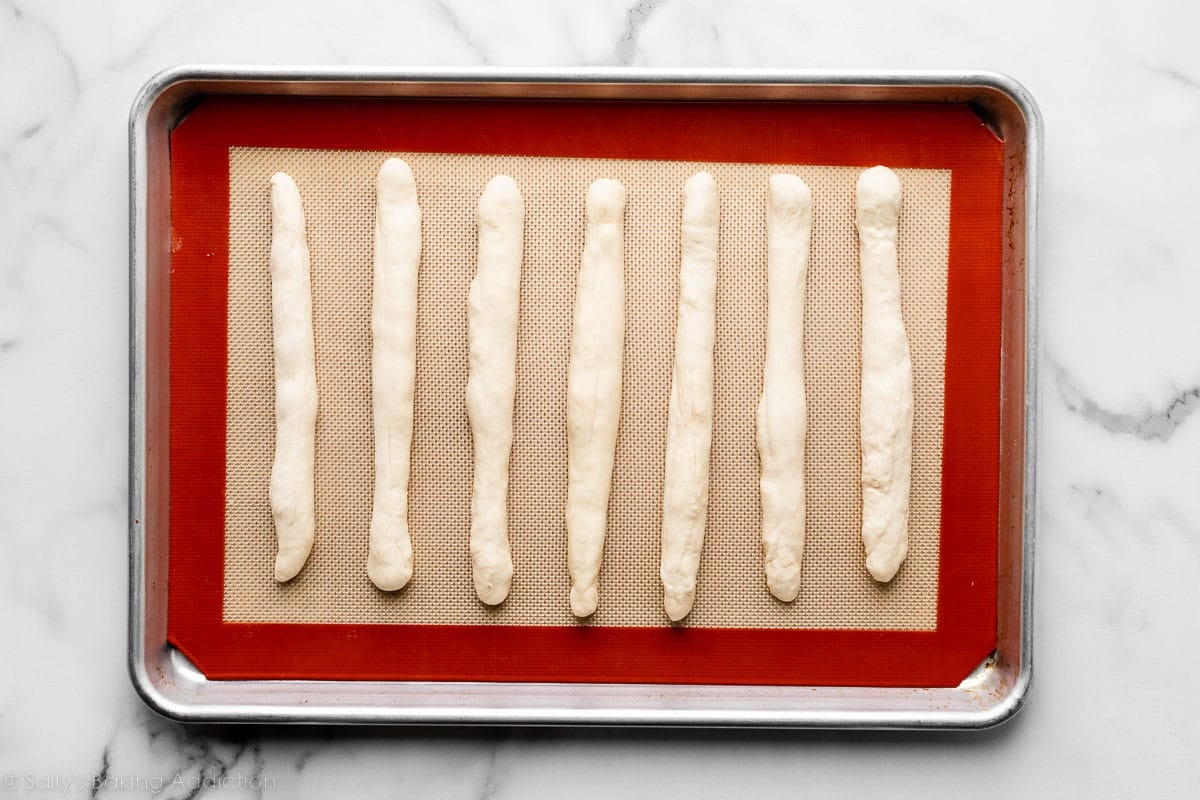
Lay the shaped dough logs on lined baking sheets, loosely cover, and let them rise for about 20 minutes.
This amount of dough makes 14 breadsticks, but you don’t have to use all of it. Shape as many breadsticks as you’d like, then use the remaining dough to make garlic knots or roll out to make a pizza. Yum!
Garlic Butter Topping
Brushing on melted garlic butter is the perfect finishing touch to the warm homemade breadsticks.
The topping is made from just 3 ingredients, all of which you’re already using in the dough. While the breadsticks are in the oven, melt 2 Tablespoons of butter and stir in 1/4 teaspoon each of salt and garlic powder. If you want to add a little Italian seasoning like we do in the garlic butter topping for these pizza pull-apart rolls, go for it.
As soon as they’re out of the oven, brush the garlic butter on top of the warm breadsticks. (A pastry brush is such a handy kitchen tool… always use it for pie crust!)
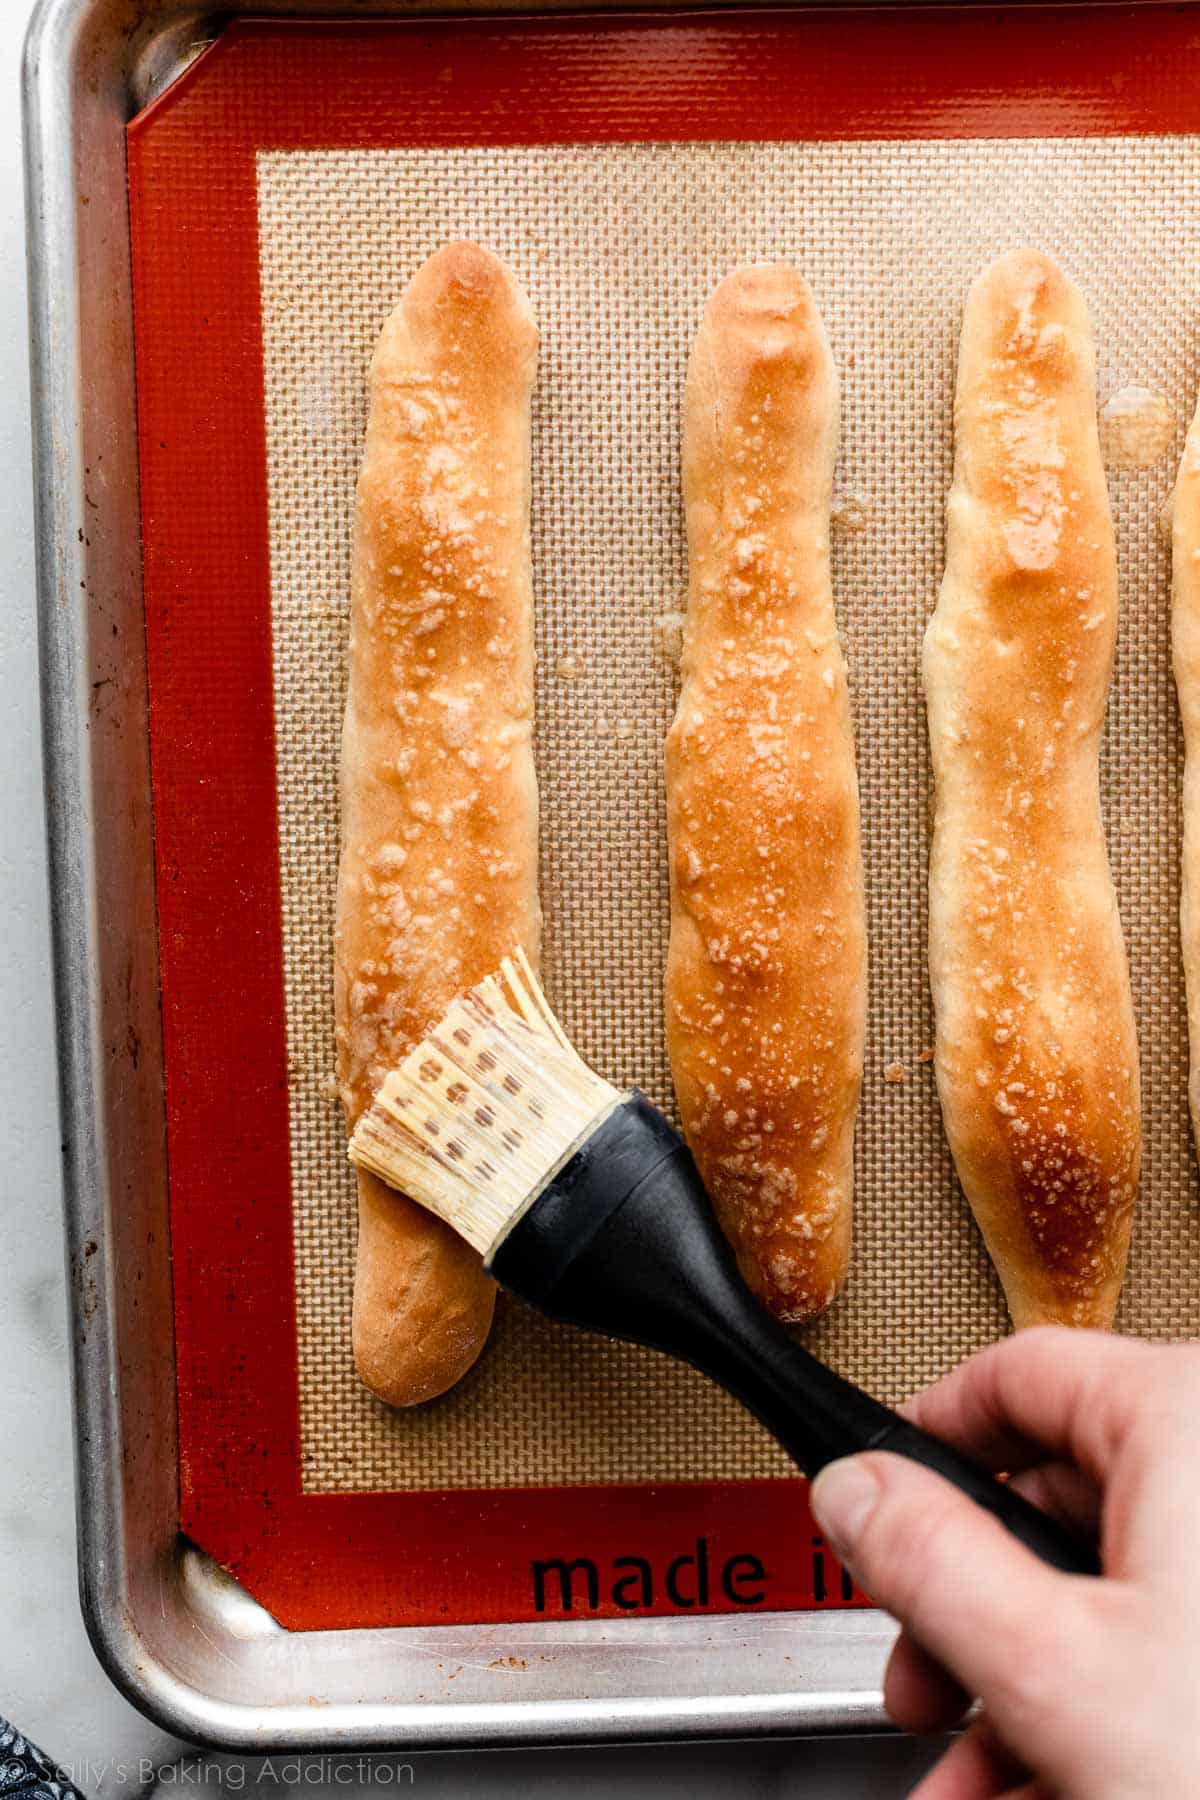
After buttering, you can sprinkle a little dried parsley or basil on top, too. These breadsticks taste best while they’re still warm, so serve right away (or reheat as needed).
What to Serve Them With
You’ll love these alongside dishes like minestrone soup, alphabet vegetable soup, bruschetta chicken, and slow cooker turkey meatballs. They’re also a perfect accompaniment for your favorite pasta meal, or serve them as an appetizer with a dipping sauce such as marinara, spicy cheese sauce, beer cheese dip, or homemade basil pesto.
The only downside to this recipe? You might have to make a second batch, because everyone lucky enough to dine at your table is definitely going to ask for unlimited refills of these breadsticks.


Homemade Soft Breadsticks
Prep Time: 2 hours, 40 minutes (includes rises)
Cook Time: 18 minutes
Total Time: 3 hours
Yield: 14 breadsticks
Category: Bread
Method: Baking
Cuisine: American
Description
Soft, fluffy, garlic butter-topped homemade breadsticks are the perfect accompaniment to pretty much any dinner. The dough requires 2 rises, but the 2nd rise is pretty quick as the oven preheats. Reference my Baking With Yeast Guide for answers to common yeast FAQs.
Instructions
- Prepare the dough: Whisk the warm water, yeast, and sugar together in the bowl of your stand mixer. Loosely cover and allow to sit for 5–10 minutes until foamy and frothy on top. *If you do not own a stand mixer, you can do this in a large mixing bowl and in the next step, mix the dough together with a large wooden spoon/rubber spatula. It will take a bit of arm muscle. A hand mixer works, but the sticky dough repeatedly gets stuck in the beaters. Mixing by hand with a wooden spoon or rubber spatula is a better choice.*
- Add the melted butter, salt, 1 cup (130g) bread flour, and garlic powder, if using. With a dough hook attachment, mix on low speed for 30 seconds, scrape down the sides of the bowl with a rubber spatula, then add the remaining flour. Beat on medium speed until the dough comes together and pulls away from the sides of the bowl, about 2 minutes. If the dough seems too wet to a point where kneading in the next step would be impossible, beat in more flour 1 Tablespoon at a time until you have a workable dough. Keep in mind that dough should be soft and a little tacky, but still manageable to knead with lightly floured hands.
- Knead the dough: Keep the dough in the mixer and beat for an additional 8–10 full minutes, or knead by hand on a lightly floured surface for 8–10 full minutes. After kneading, the dough should still feel a little soft. Poke it with your finger—if it slowly bounces back, your dough is ready to rise. You can also do a “windowpane test” to see if your dough has been kneaded long enough: tear off a small (roughly golfball-size) piece of dough and gently stretch it out until it’s thin enough for light to pass through it. Hold it up to a window or light. Does light pass through the stretched dough without the dough tearing first? If so, your dough has been kneaded long enough and is ready to rise. If not, keep kneading.
- 1st Rise: Lightly grease a large bowl with oil or nonstick spray. Place the dough in the bowl, turning it to coat all sides in the oil. Cover the bowl with aluminum foil, plastic wrap, or a clean kitchen towel. Allow the dough to rise in a relatively warm environment for 1.5–2 hours or until double in size. (I always let it rise on the counter. Takes about 2 hours. For a tiny reduction in rise time, see my answer to Where Should Dough Rise? in my Baking With Yeast Guide.)
- Line 2 baking sheets with parchment paper or silicone baking mats. Set aside.
- Shape the breadsticks: When the dough is ready, punch it down to release the air. Divide the dough in half—each half should weigh just under 1 pound. Working with 1 half at a time, cut 7 pieces, roughly equal in size (each piece will weigh about 2 ounces, or 55g, but don’t worry about making them exact). Using lightly floured hands and a very lightly floured work surface (you still want some grip for the tacky dough, so do not over-flour), roll each piece of dough into a log about 8 inches (20cm) long. Arrange 7 breadsticks on each prepared baking sheet. Repeat with 2nd half of dough.
- 2nd Rise: Cover shaped breadsticks with aluminum foil, plastic wrap, or a clean kitchen towel. Allow to rise until slightly puffy, about 20 minutes.
- Meanwhile, preheat oven to 400°F (204°C).
- Bake the breadsticks: Remove cover from breadsticks and bake for 18–19 minutes or until golden brown on top, rotating the pans (top to bottom, bottom to top) halfway through. If you notice the tops browning too quickly, loosely tent with aluminum foil.
- Make the topping: Melt butter, and stir in salt and garlic powder.
- Remove breadsticks from the oven, brush with garlic butter topping, and allow breadsticks to cool for a couple minutes before serving. Sprinkle with dried parsley or your favorite herb, if desired, and serve warm.
- Cover leftover rolls tightly and store at room temperature for 1 day or in the refrigerator for up to 5 days. Reheat as desired.
Notes
- Freezing Instructions for Baked Breadsticks: Freeze the baked and cooled breadsticks for up to 3 months. To thaw, leave out on the counter for a few hours or overnight in the refrigerator. Warm in the microwave for 30 seconds or covered on a baking sheet in a 300°F (149°C) oven for 10 minutes.
- Freezing Instructions for Dough: After the dough rises and you divide the dough in half in step 6, you can freeze half or some of the dough to use at a later time. Or you can simply freeze all of the dough. Lightly coat all sides of the dough you want to freeze with nonstick spray or olive oil. Place the dough into a zipped-top bag and seal tightly, squeezing out all the air. Freeze for up to 3 months. To thaw, place the frozen dough in the refrigerator for about 8 hours or overnight. When ready to use, remove the dough from the refrigerator and allow to rest for 30 minutes on the counter. Preheat the oven and continue with step 6, punching down the dough to release air if needed.
- Overnight/All Day Dough Instructions: Prepare the dough through step 3. Then, grease a large bowl, place dough inside, and coat all sides of dough as instructed in step 4. Cover dough and allow to rise for 8–12 hours in the refrigerator. (If it needs to be in the refrigerator for longer, use cooler water in the dough, which will slow the dough’s rise and allow for more time.) The slow rise gives the dough wonderful flavor! When ready, continue with step 5. If the dough didn’t quite double in size during this time, let it sit at room temperature for 30–45 minutes before punching down (step 6).
- Special Tools (affiliate links): Stand Mixer | Baking Sheets | Bench Scraper | Pastry Brush
- Yeast: I usually use instant yeast. You can use active dry yeast instead, with no changes to the preparation. Rise times will be slightly longer. Reference my Baking With Yeast Guide for answers to common yeast FAQs.
- Flour: If you don’t have bread flour, you can use all-purpose flour. All-purpose flour is convenient for most, but bread flour produces chewier breadsticks. The breadsticks are still soft and fluffy no matter which you use.
- Can I Add Cheese on Top? Yes, absolutely. Bake for just 15 minutes. Remove from the oven, carefully push the warm breadsticks together so they are touching, brush with the garlic butter topping, and then top each batch with 1/2 cup (about 55g) of shredded mozzarella or cheddar cheese (or a mix). There are 2 batches of 7 breadsticks, so you’ll need 1 cup (about 110g) of shredded cheese total. Return to the oven for 3-4 more minutes until cheese has melted and breadsticks are golden brown. Or try these flatter cheesy breadsticks.
Keywords: homemade breadsticks
Source link
#Homemade #Breadsticks #Olive #Garden #Sallys #Baking #Addiction